
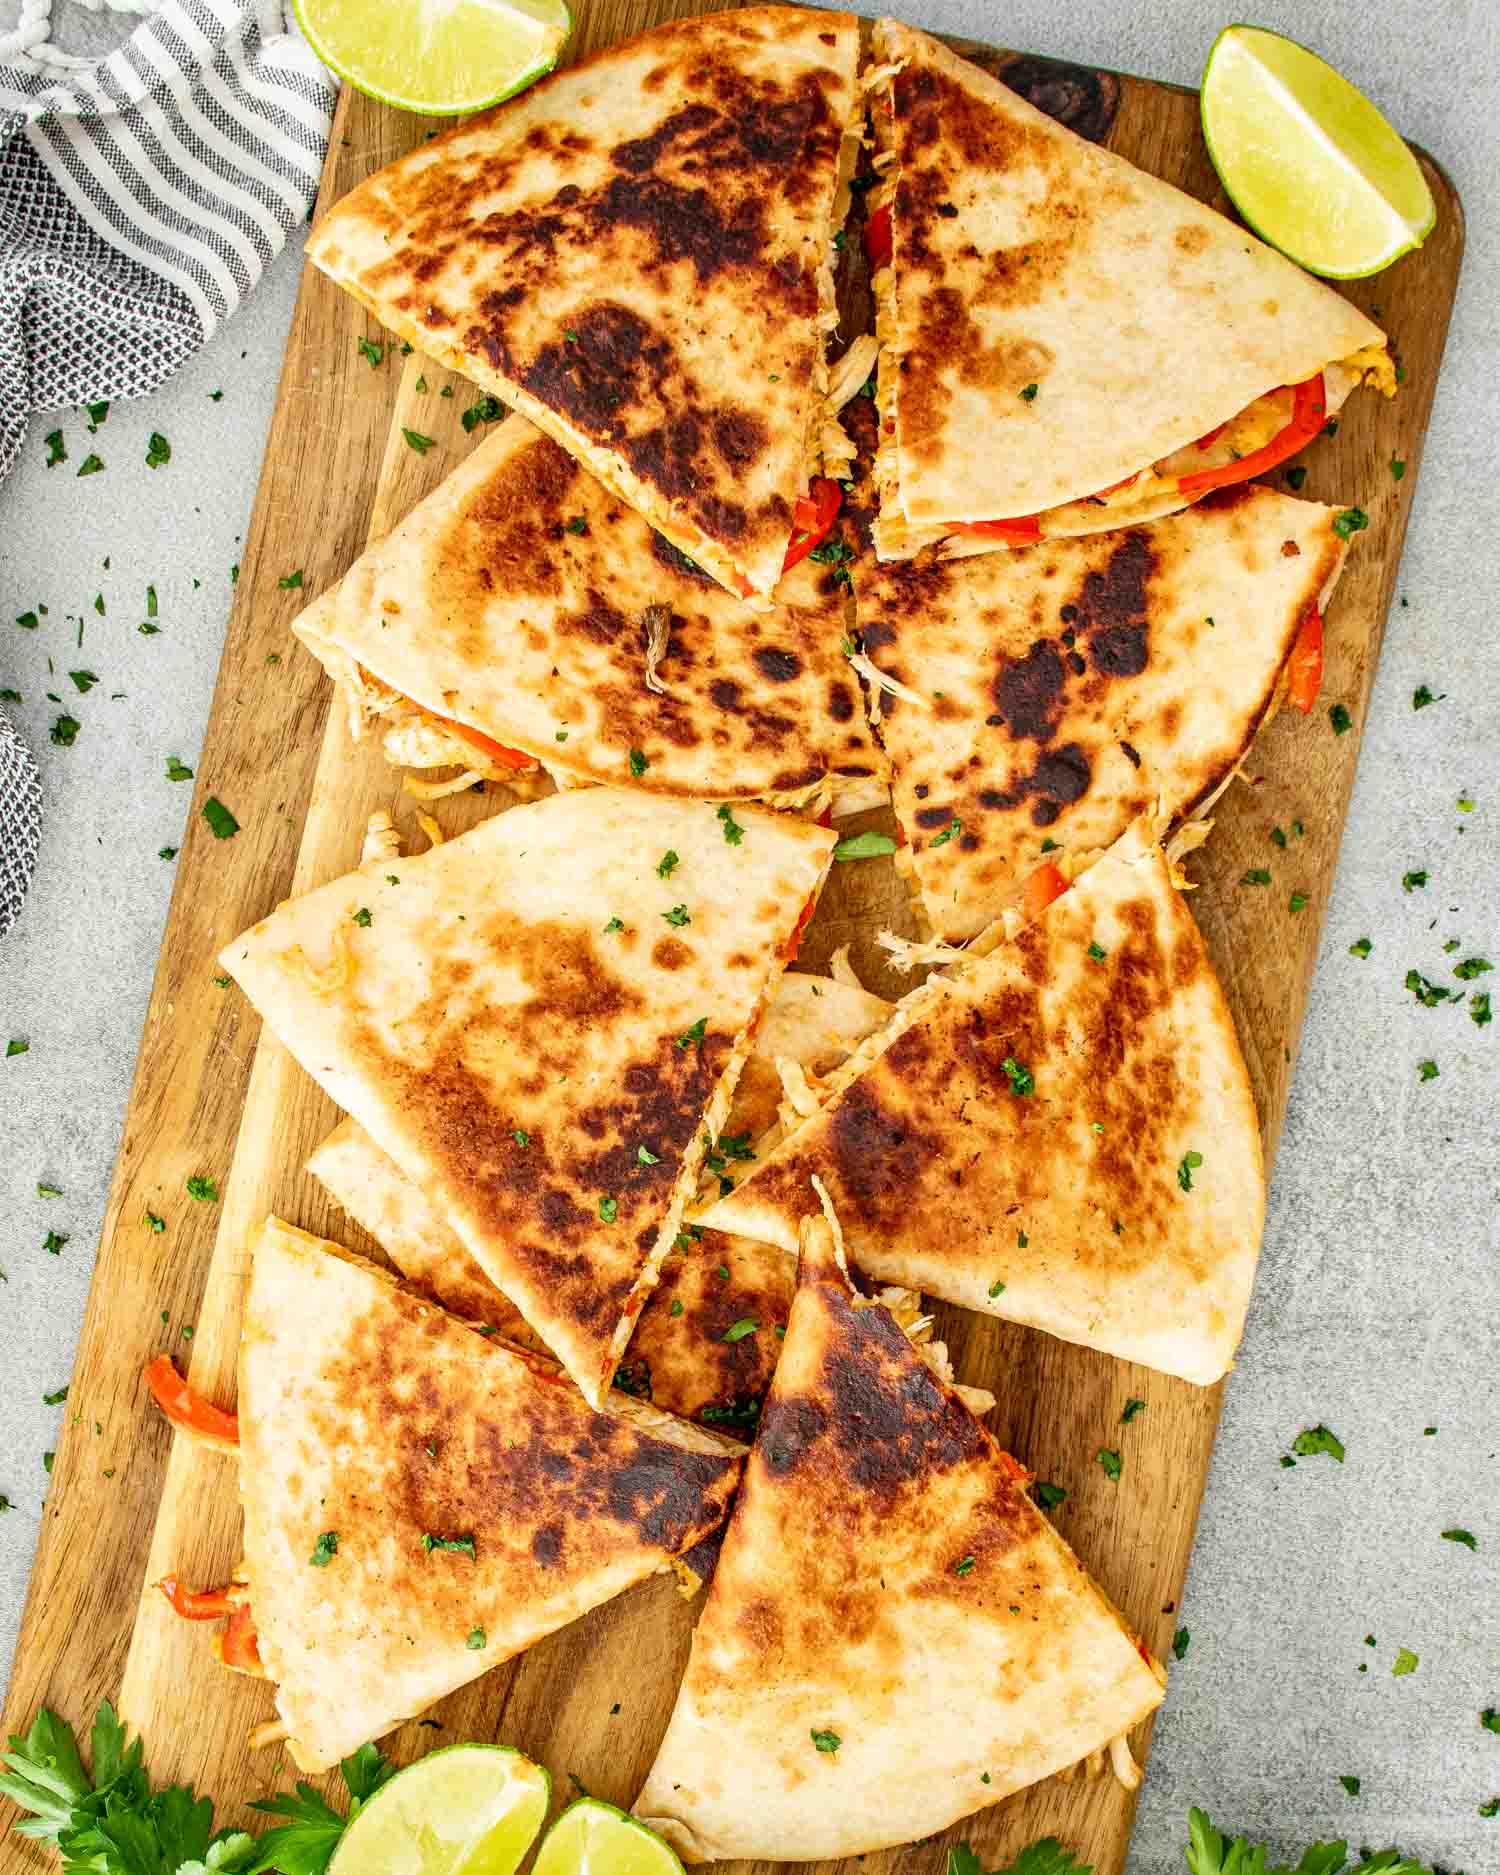
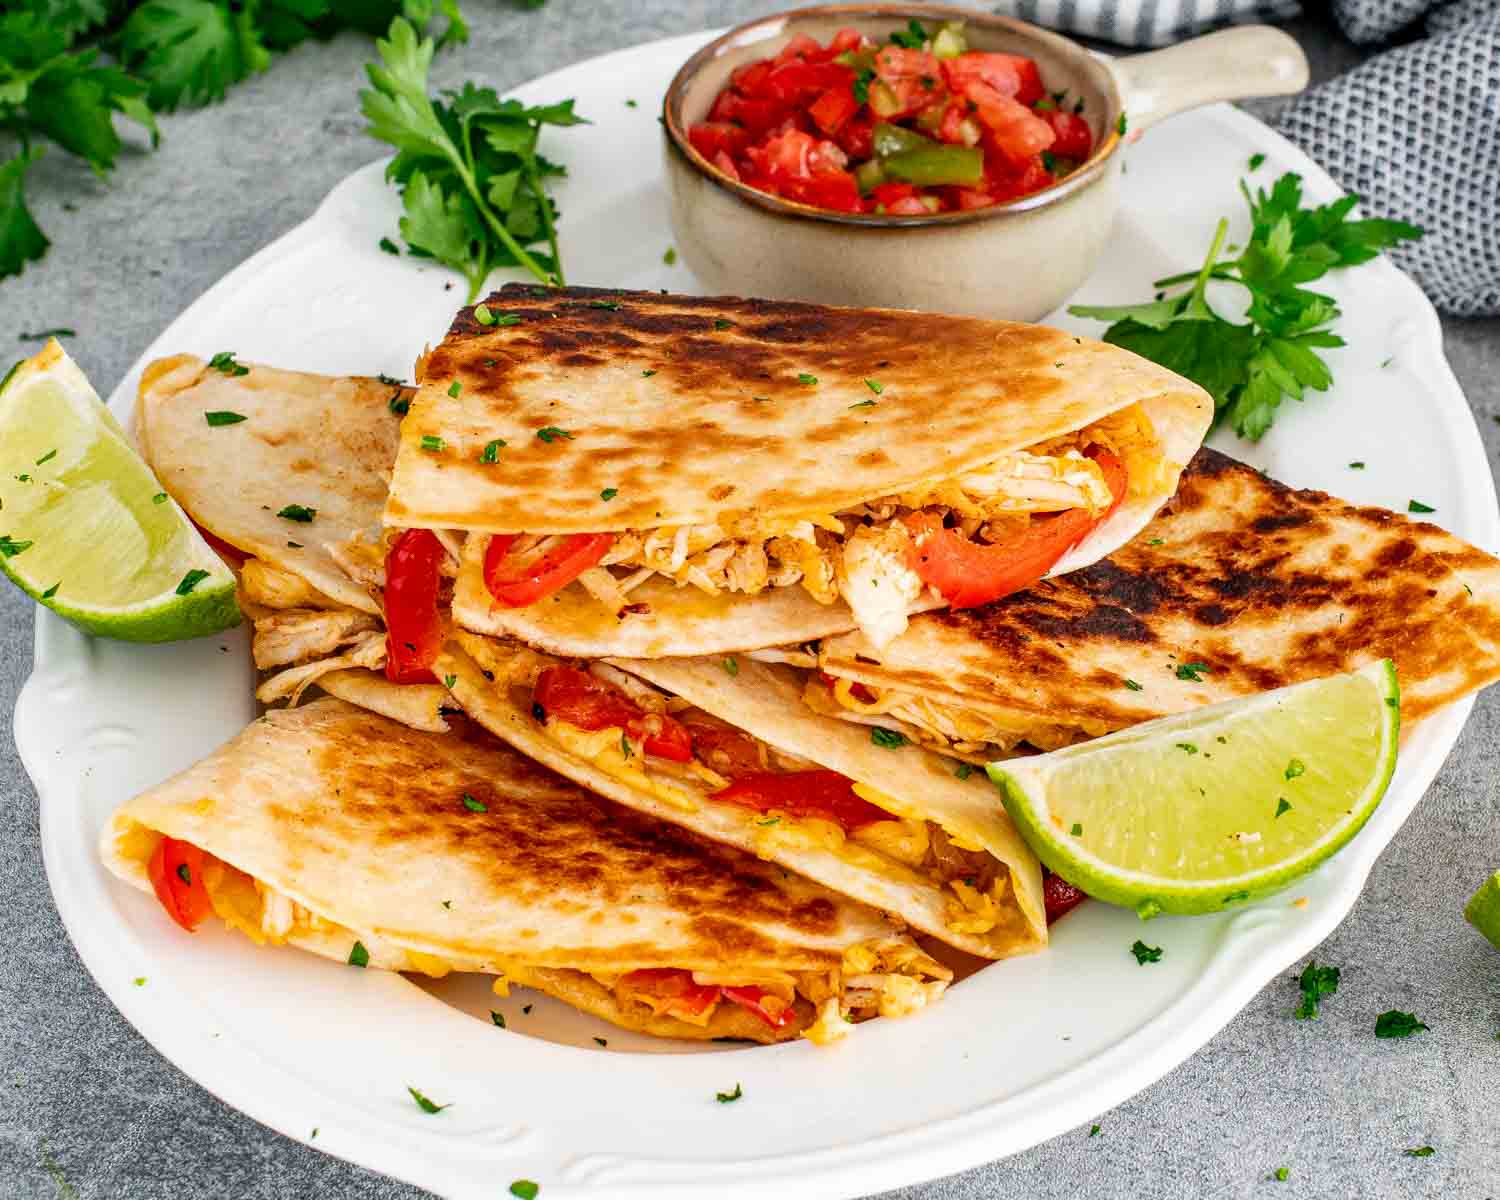
These Chicken Quesadillas are quick, crispy, cheesy, and ready in 30 minutes. Seasoned chicken, bell pepper, onion, and loads of melty cheese all wrapped in a butter crisped tortilla. The kind of recipe you make once and then make every single week.

Some recipes don’t need a backstory. Chicken quesadillas are just good and everyone knows it.
For years these were my default lunch order at every job I ever had. Didn’t matter the city, didn’t matter the office, didn’t matter what else was on the menu. Quesadillas. Every time. Quick, satisfying, enough cheese pull to make a Wednesday feel survivable.
Now I make them at home in 30 minutes and they’re better than most of what I used to order. Which is either a win for my cooking skills or a comment on restaurant food. Probably both.

Why You’ll Love This Recipe
- It’s 30 minutes start to finish. Which means you can make it, eat it, and still have time to question your life choices before bed.
- The filling is properly seasoned. Chili powder, paprika, cumin, garlic. Not the sad unseasoned chicken that shall not be named.
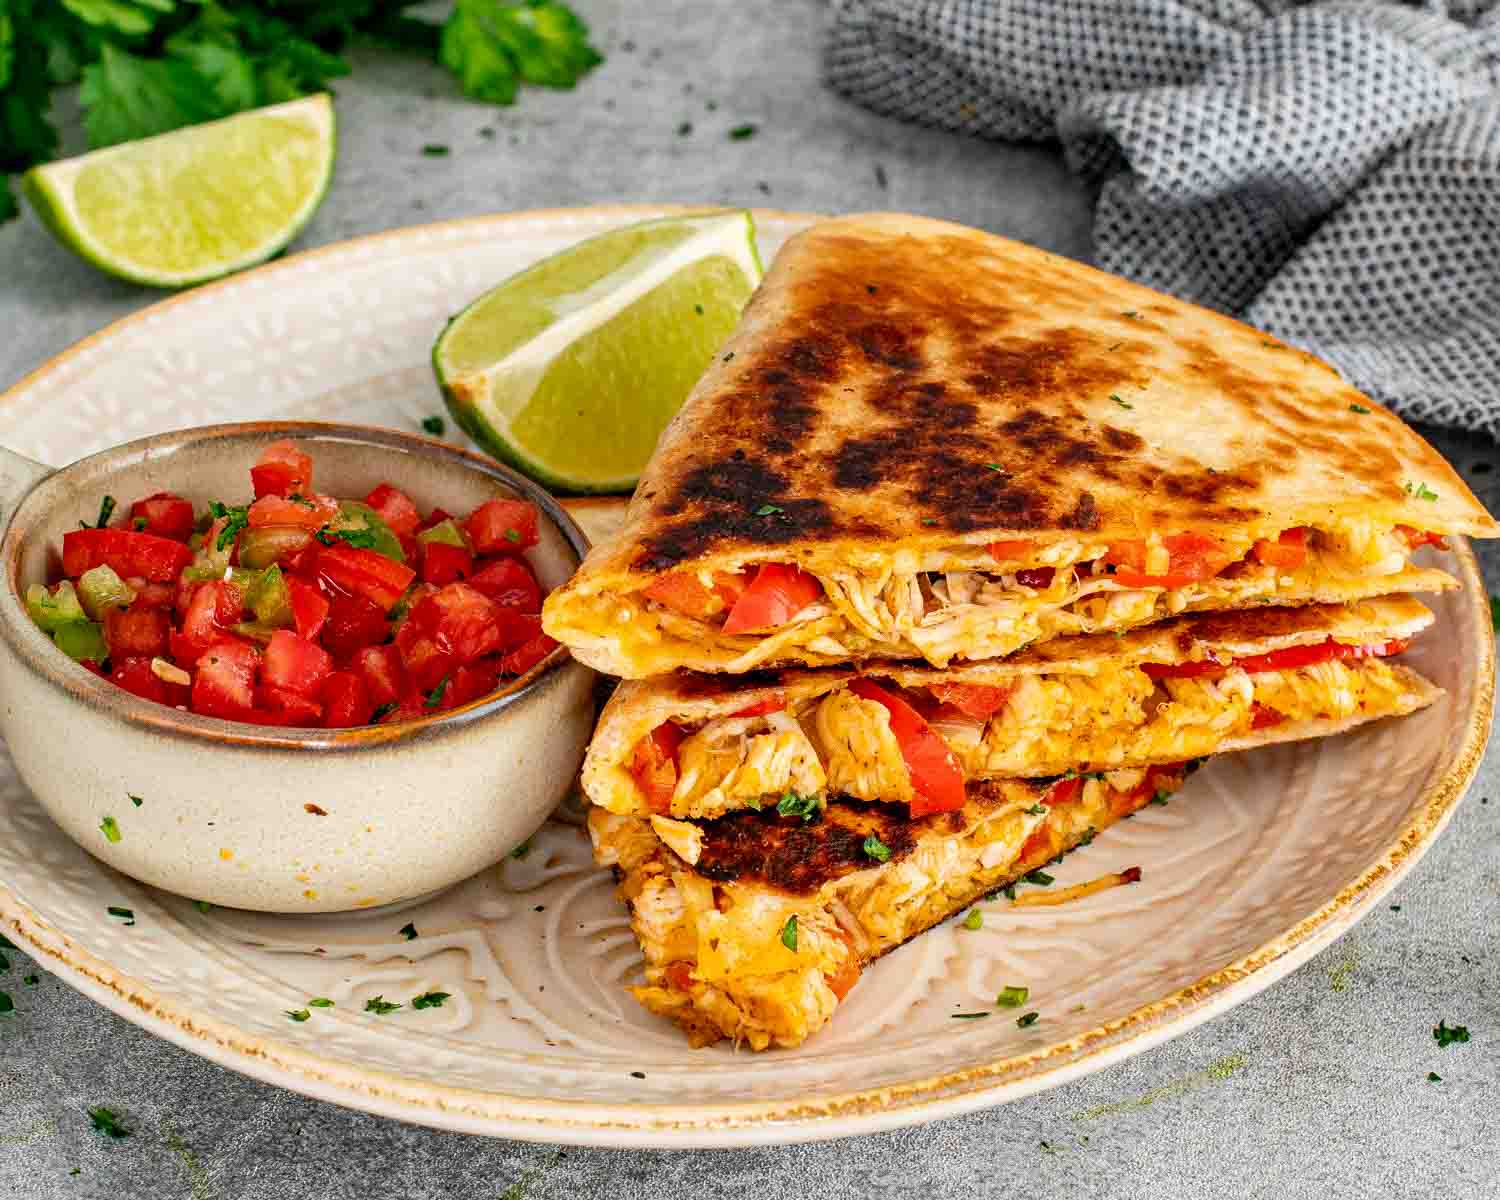
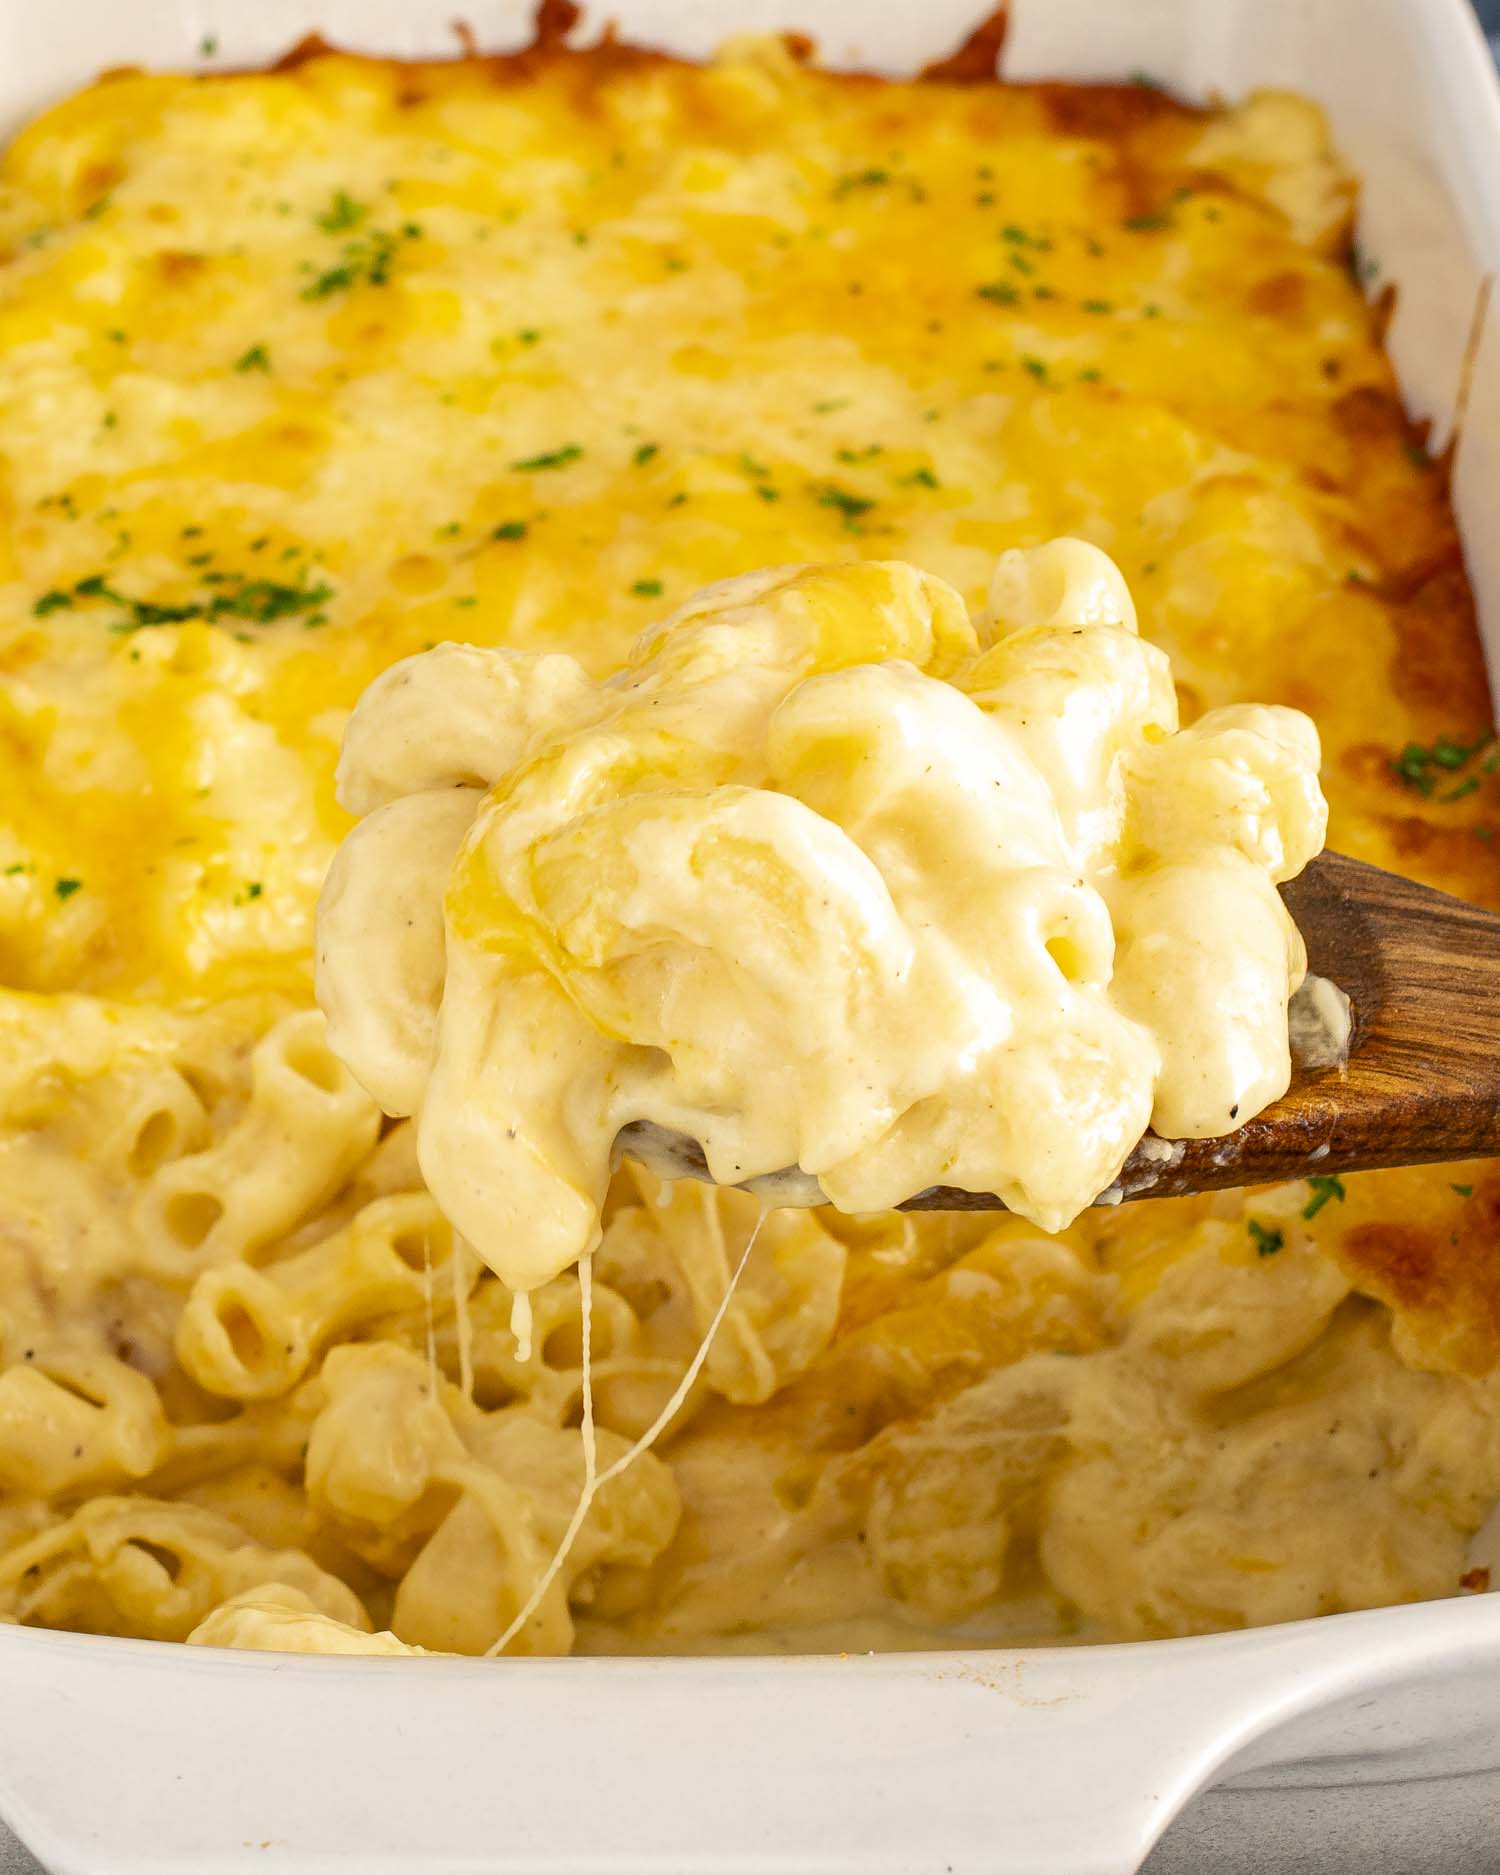
- The cheese pull is very real. Use a good melty cheese and prepare to feel something.
- It works with whatever you have. Different protein, different veggies, different cheese. This recipe is basically the golden retriever of weeknight dinners. Easygoing, always happy to see you, never lets you down.
What Ingredients You’ll Need
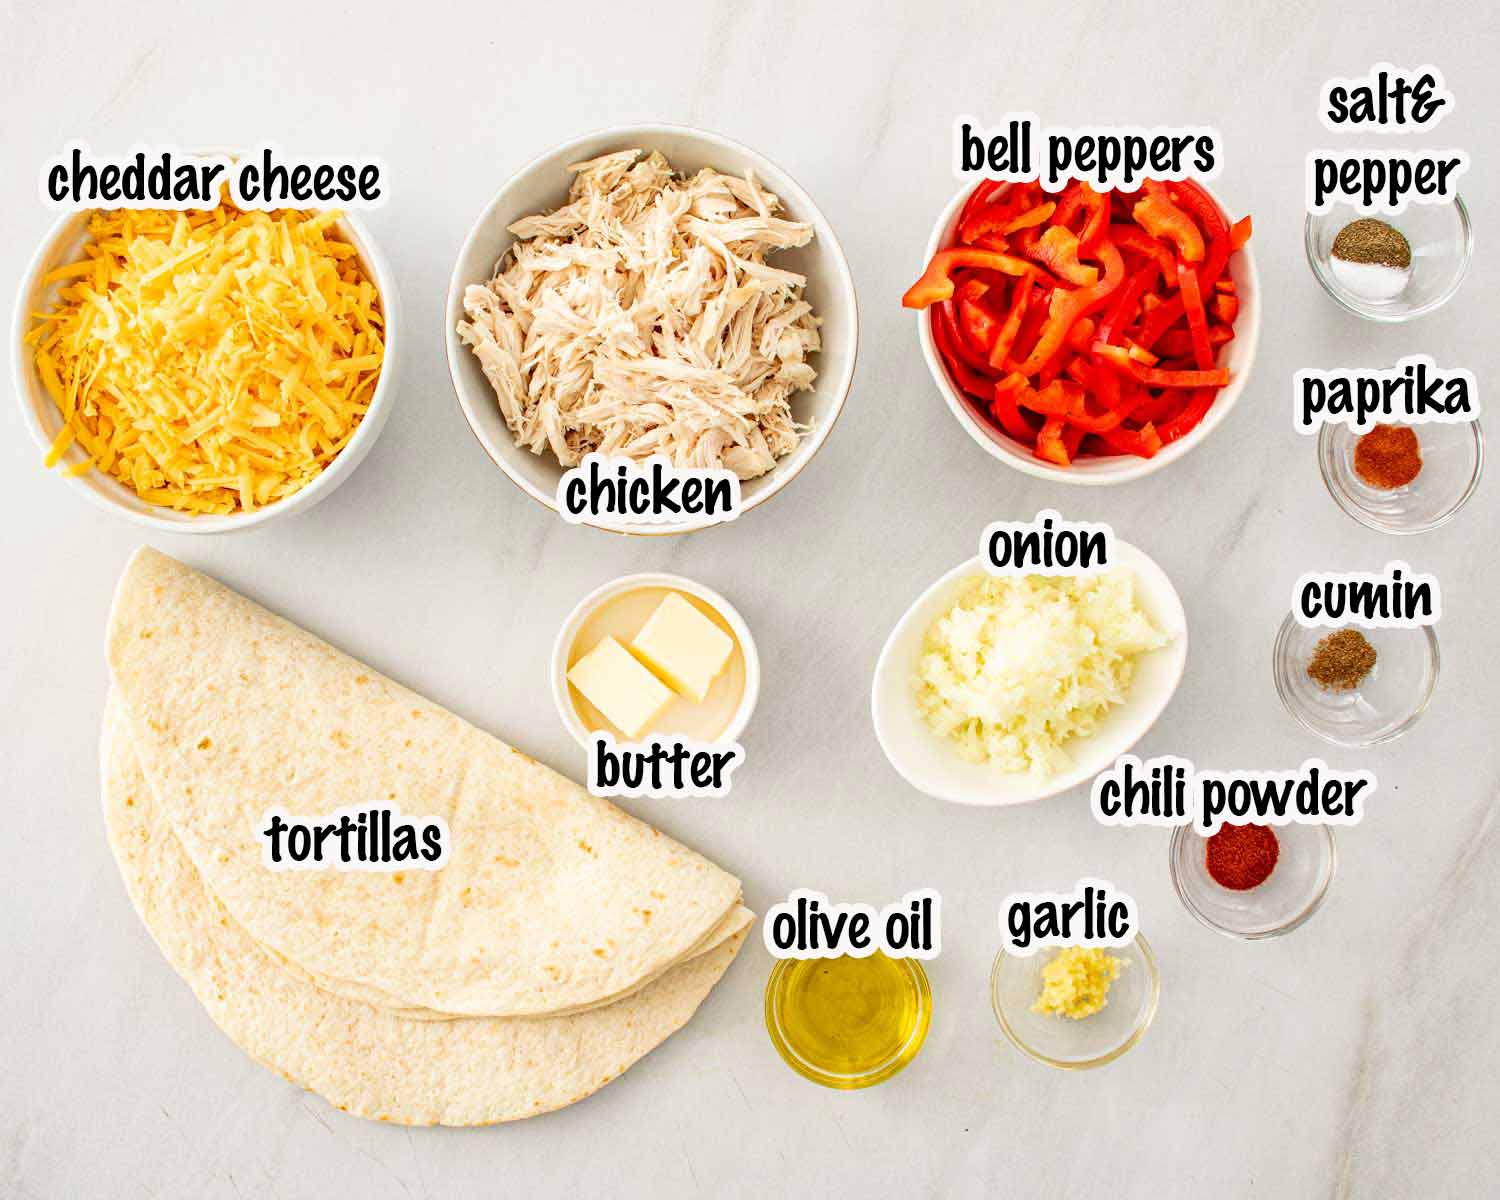
- Cooked chicken: Shredded or diced. Rotisserie chicken is the move here because we are adults who make smart decisions sometimes.
- Flour tortillas: Large ones. Don’t use small tortillas unless you enjoy eating 7 quesadillas and still feeling unsatisfied.
- Cheese: Mexican blend is the go to. You want stretch. You want melt. You want to pull the quesadilla apart and feel like you’re in a cheese commercial.
- Bell pepper and onion: The classic filling base. Cook them until properly soft. Crunchy raw onion in a quesadilla is a crime.
- Garlic: Always. No exceptions. This is not negotiable.
- Chili powder, paprika, cumin: The trio that makes the filling taste like actual food rather than just chicken in a tortilla.
- Butter: For cooking the quesadillas. Not oil. Butter. This is where the golden crispy exterior comes from and we are not compromising on this.
- Olive oil: For the filling. Different job, different fat. Keep up.
How to Make Chicken Quesadillas
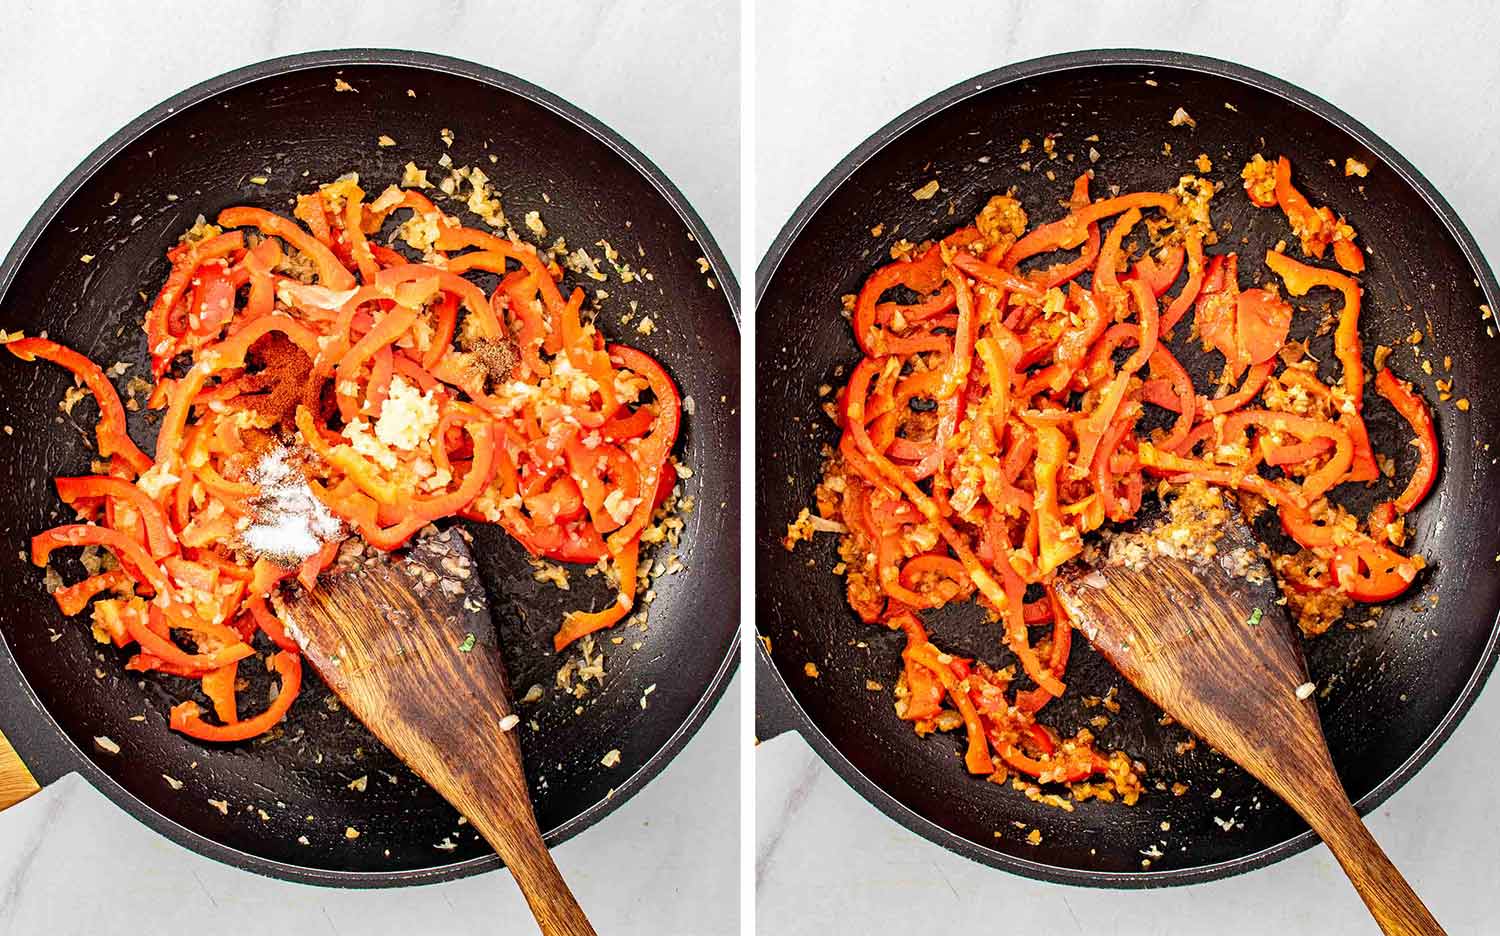
Start with the filling. Cook the onion and bell pepper in olive oil for 4 to 5 minutes until soft. Add the garlic and spices and cook for 30 seconds until your kitchen smells incredible and your neighbors start wondering what’s going on over there.
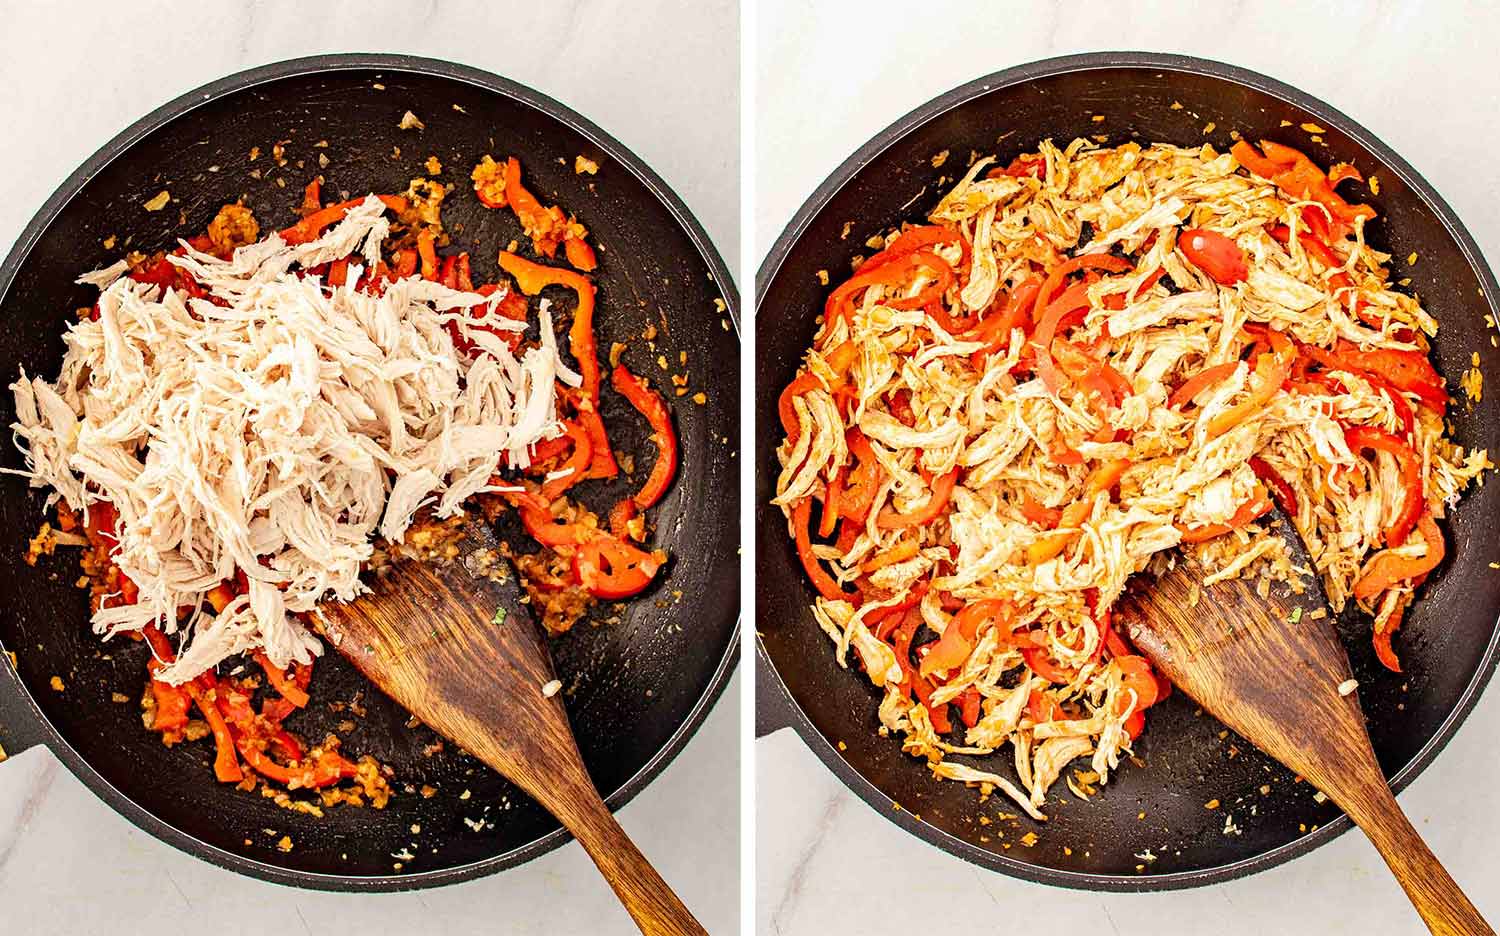
Add the chicken, stir everything together, cook for 2 to 3 minutes until heated through, then set aside. Try not to eat it all straight from the pan. I’m not saying I’ve done this. I’m also not saying I haven’t.
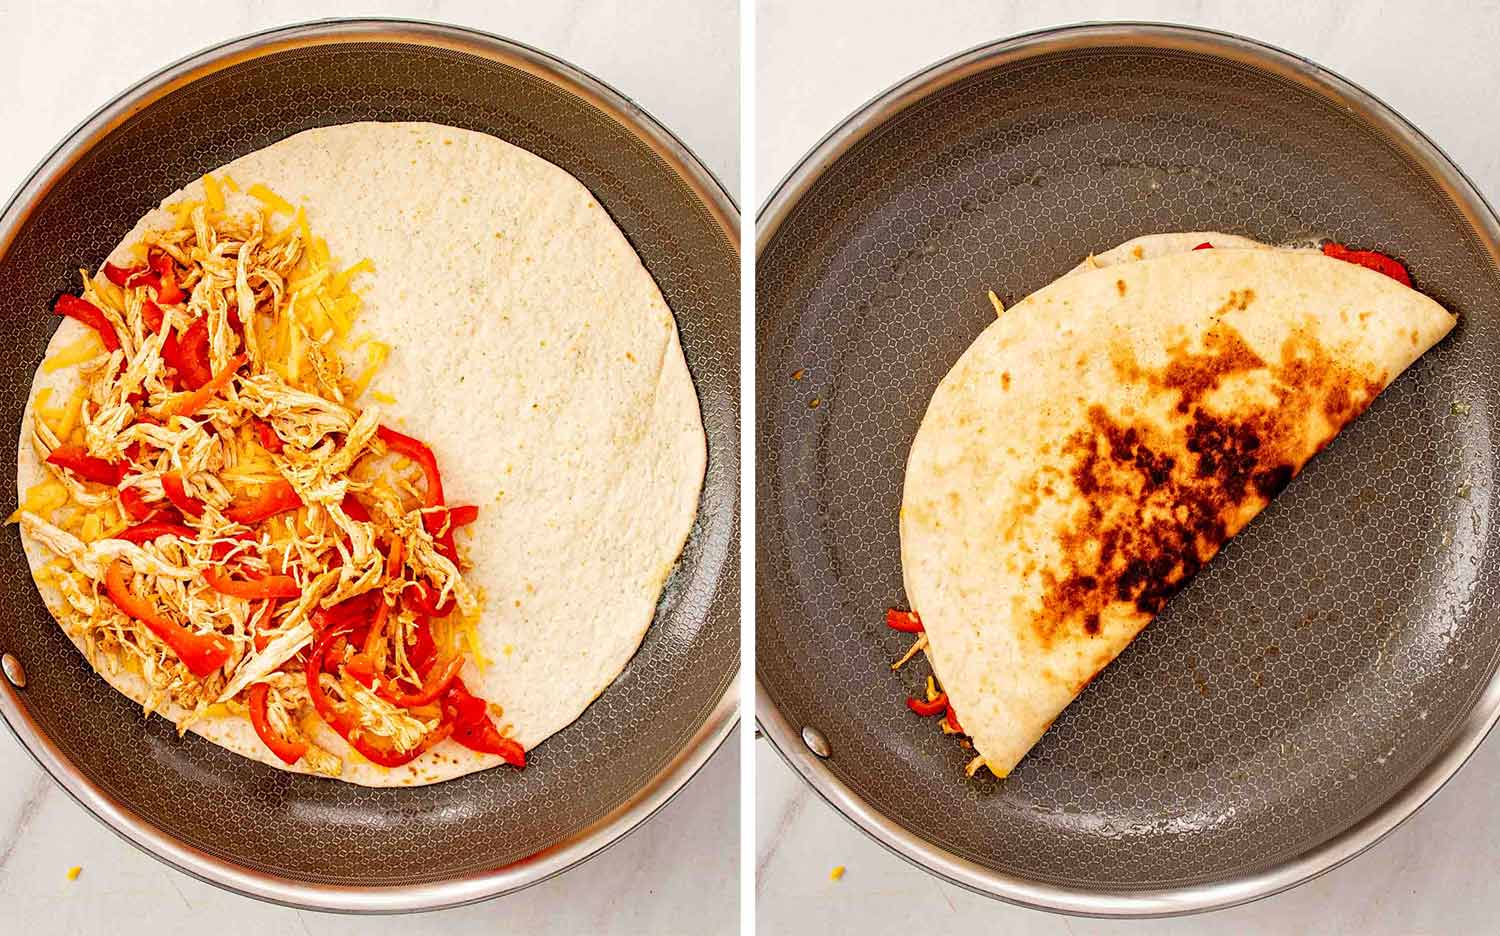
Now for the quesadillas. Melt butter in a skillet over medium heat. Tortilla in the pan, quarter cup of cheese on half, half cup of filling on the cheese, another quarter cup of cheese on top. Fold it over. Cook 2 to 3 minutes per side until golden, crispy, and the cheese is fully melted.
Repeat until all 4 are done. Try to share them. Do your best.
Tips and Tricks
- Don’t overfill. I know. The temptation is real. But too much filling means the quesadilla won’t close properly and everything falls out when you flip it and then you’re just standing there holding a spatula feeling betrayed.
- Cheese on both sides of the filling. This is the move that holds everything together. Cheese bottom, filling, cheese top. The melted cheese is the glue. Respect the system.
- Medium heat only. Too high and the tortilla burns before the cheese melts. This is a lesson everyone learns the hard way at least once.
- Press it down gently while it cooks. Better contact, better crisp. You can use a spatula or just stand there looking authoritative.
- Let it rest for a minute before cutting. The cheese needs time to settle. Cut too early and everything slides out and the quesadilla falls apart and nobody is happy.
- Rotisserie chicken is your best friend. Already cooked, already seasoned, just shred and go. Dinner in 20 minutes. You’re welcome.
What to Serve With Chicken Quesadillas
- Salsa: Non negotiable. Store bought is fine on a Tuesday. Homemade is better if you’re trying to impress someone or just feel good about yourself.
- Sour cream: Always yes. No further discussion needed.
- Guacamole: If you have the extra 10 minutes it is absolutely worth it. If you don’t, store bought exists and nobody is judging you. Well. Maybe a little.
- A simple green salad: For balance. And so you can tell yourself this was a healthy dinner.
- Rice: Mexican rice on the side turns this from a snack into a proper meal and you will feel very accomplished.
Variations
- Different protein: Steak, shrimp, pulled pork, or black beans for a vegetarian version. This recipe does not discriminate.
- Different cheese: Monterey Jack, pepper jack if you like it spicy, gruyere if you’re feeling fancy and want to confuse your family.
- Add some heat: A few slices of jalapeño or a dash of hot sauce. For those of us who like to suffer a little.
- Different veggies: Corn, black beans, spinach, mushrooms, zucchini. Basically anything in your fridge that needs to be used before it becomes a science experiment.
Try These Recipes Next
- Garlic Shrimp Couscous Bowls
- Potato, Rosemary & Cheddar Quiche
- Southern BBQ Salmon Bowl
- French Onion Grilled Cheese

Chicken Quesadillas
Ingredients
- 2 cups cooked chicken, shredded or diced
- 1 tablespoon olive oil
- 1 small onion, finely chopped
- 1 medium bell pepper, sliced
- 2 cloves garlic, minced
- 1 teaspoon chili powder
- 1 teaspoon paprika
- ½ teaspoon cumin
- ½ teaspoon salt
- ½ teaspoon black pepper
- 2 cups shredded cheese, cheddar or Mexican blend
- 4 large flour tortillas
- 2 tablespoons butter
Instructions
- Heat 1 tablespoon olive oil in a large skillet over medium heat. Add the chopped onion and sliced bell pepper and cook for 4 to 5 minutes until softened.
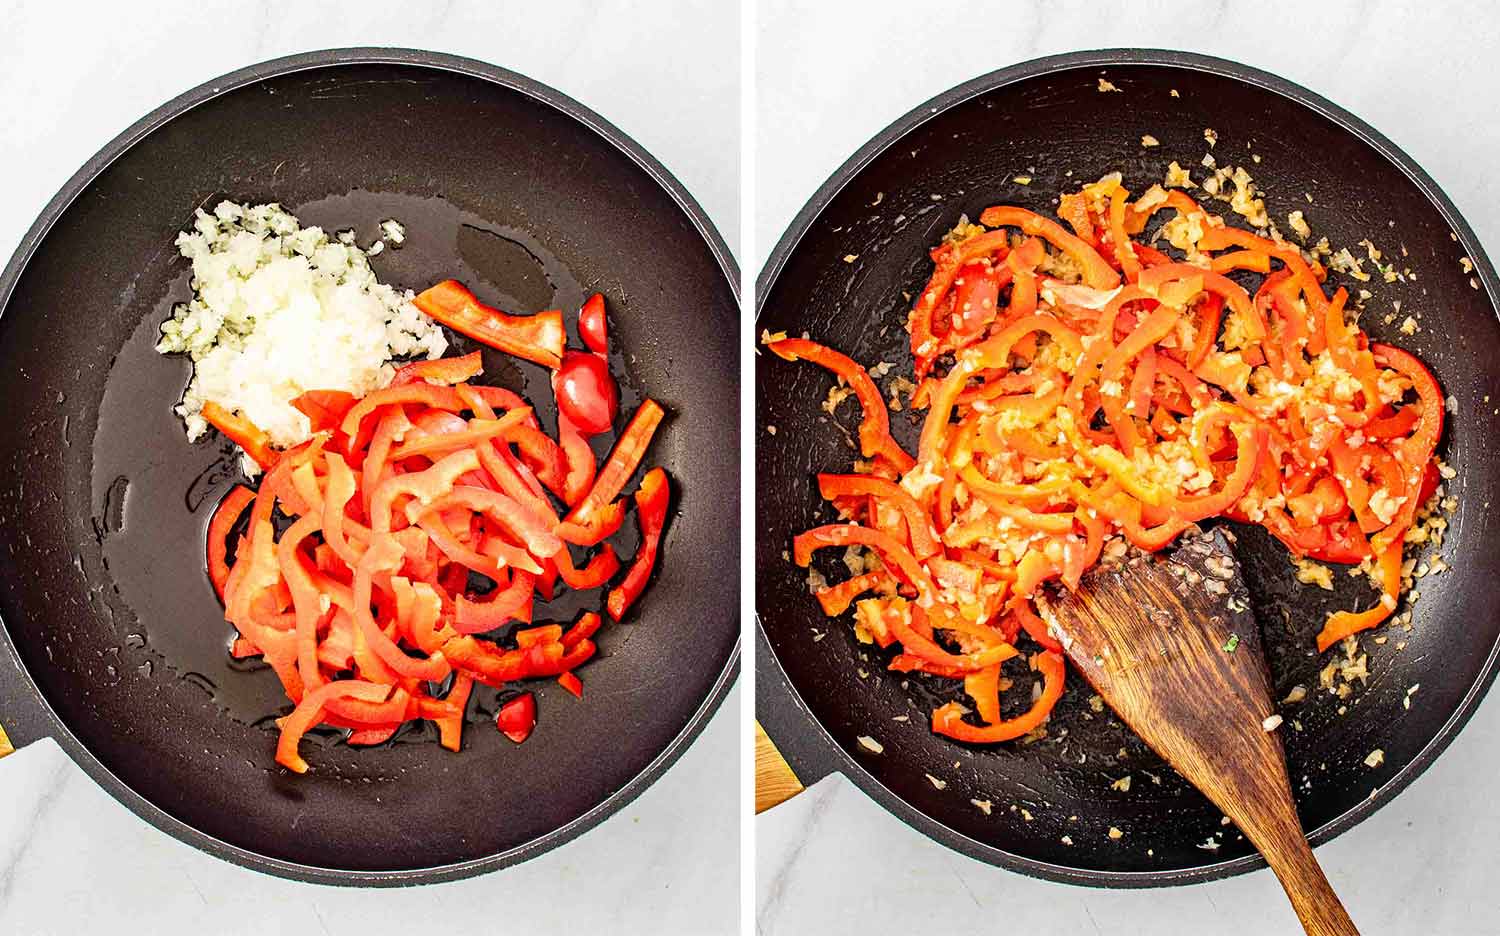
- Stir in the 2 cloves minced garlic, 1 teaspoon chili powder, 1 teaspoon paprika, ½ teaspoon cumin, ½ teaspoon salt, and ½ teaspoon black pepper. Cook for 30 seconds until fragrant.
- Add the 2 cups cooked chicken and stir to combine. Cook for 2 to 3 minutes until heated through, then remove from heat.
- Heat a large skillet over medium heat and melt a little of the 2 tablespoons butter. Place 1 flour tortilla in the skillet. Sprinkle about ¼ cup shredded cheese over half of the tortilla. Add about ½ cup of the chicken mixture over the cheese, then top with another ¼ cup shredded cheese. Fold the tortilla over and cook for 2 to 3 minutes per side, until golden and crispy and the cheese is melted.
- Repeat with the remaining tortillas, chicken mixture, and cheese, adding more butter to the pan as needed. Slice and serve warm.
Recipe Notes
- Rotisserie chicken: The ultimate shortcut here. Already cooked, already seasoned, just shred and go. Dinner in 20 minutes.
- Cheese: Mexican blend is the go to for melt and stretch factor. Monterey Jack, pepper jack, or a mix of cheddar and mozzarella all work well. Avoid pre-shredded cheese with anti-caking agents if you can, it doesn’t melt as cleanly.
- Butter in the pan: Don’t swap this for oil. Butter is what gives you that golden crispy exterior and we are not compromising on this.
- Don’t overfill: Half a cup of filling per quesadilla is the sweet spot. Too much and it won’t seal properly and everything falls out when you flip it.
- Cheese on both sides: Sprinkle cheese on the tortilla first, then filling, then more cheese on top. The melted cheese acts as the glue that holds everything together.
- Medium heat only: Too high and the tortilla burns before the cheese melts. Patience.
- Rest before cutting: Let the quesadilla sit for 1 minute before slicing. The cheese needs to settle or everything slides out.
- Make ahead: The filling keeps in the fridge for up to 3 days. Cook the quesadillas fresh when you’re ready to serve.
- Freeze: Cool completely, wrap individually in foil, and freeze for up to 2 months. Reheat in a skillet or oven at 375°F. Do not microwave unless you enjoy a soggy tortilla.
- Leftover filling: Serve over rice, use as taco filling, stuff into a baked potato, or toss into a salad. Nothing goes to waste.
Nutrition Information
Frequently Asked Questions
Yes. Use the sauté function to cook the bacon, sear the pork, and build the sauce right in the pot. Add the beans and cook on high pressure for 45 minutes with a natural release of 15 minutes. The pork should fall apart easily. If the sauce is too thin use the sauté function to reduce it uncovered for a few minutes.
Absolutely and you should. It reheats beautifully and tastes even better the next day. Store in the fridge for up to 4 days.
Yes. Let it cool completely, transfer to freezer safe containers, and freeze for up to 3 months. Thaw overnight in the fridge and reheat on the stove over low heat.
Navy beans are classic but great northern beans or cannellini beans work well too. Avoid kidney beans, they’re too firm for this kind of long braise.
Pork shoulder is the move. It’s got enough fat to stay tender through the long cook time without drying out. Pork loin will dry out. Stick with shoulder.
Yes but it adds significant time. You’ll need to soak them overnight first, then expect them to need at least an extra hour of cook time in the oven. Make sure they’re fully cooked before serving. Honestly canned beans are just easier here and the result is just as good, so that’s what I recommend.


Leave a Reply