
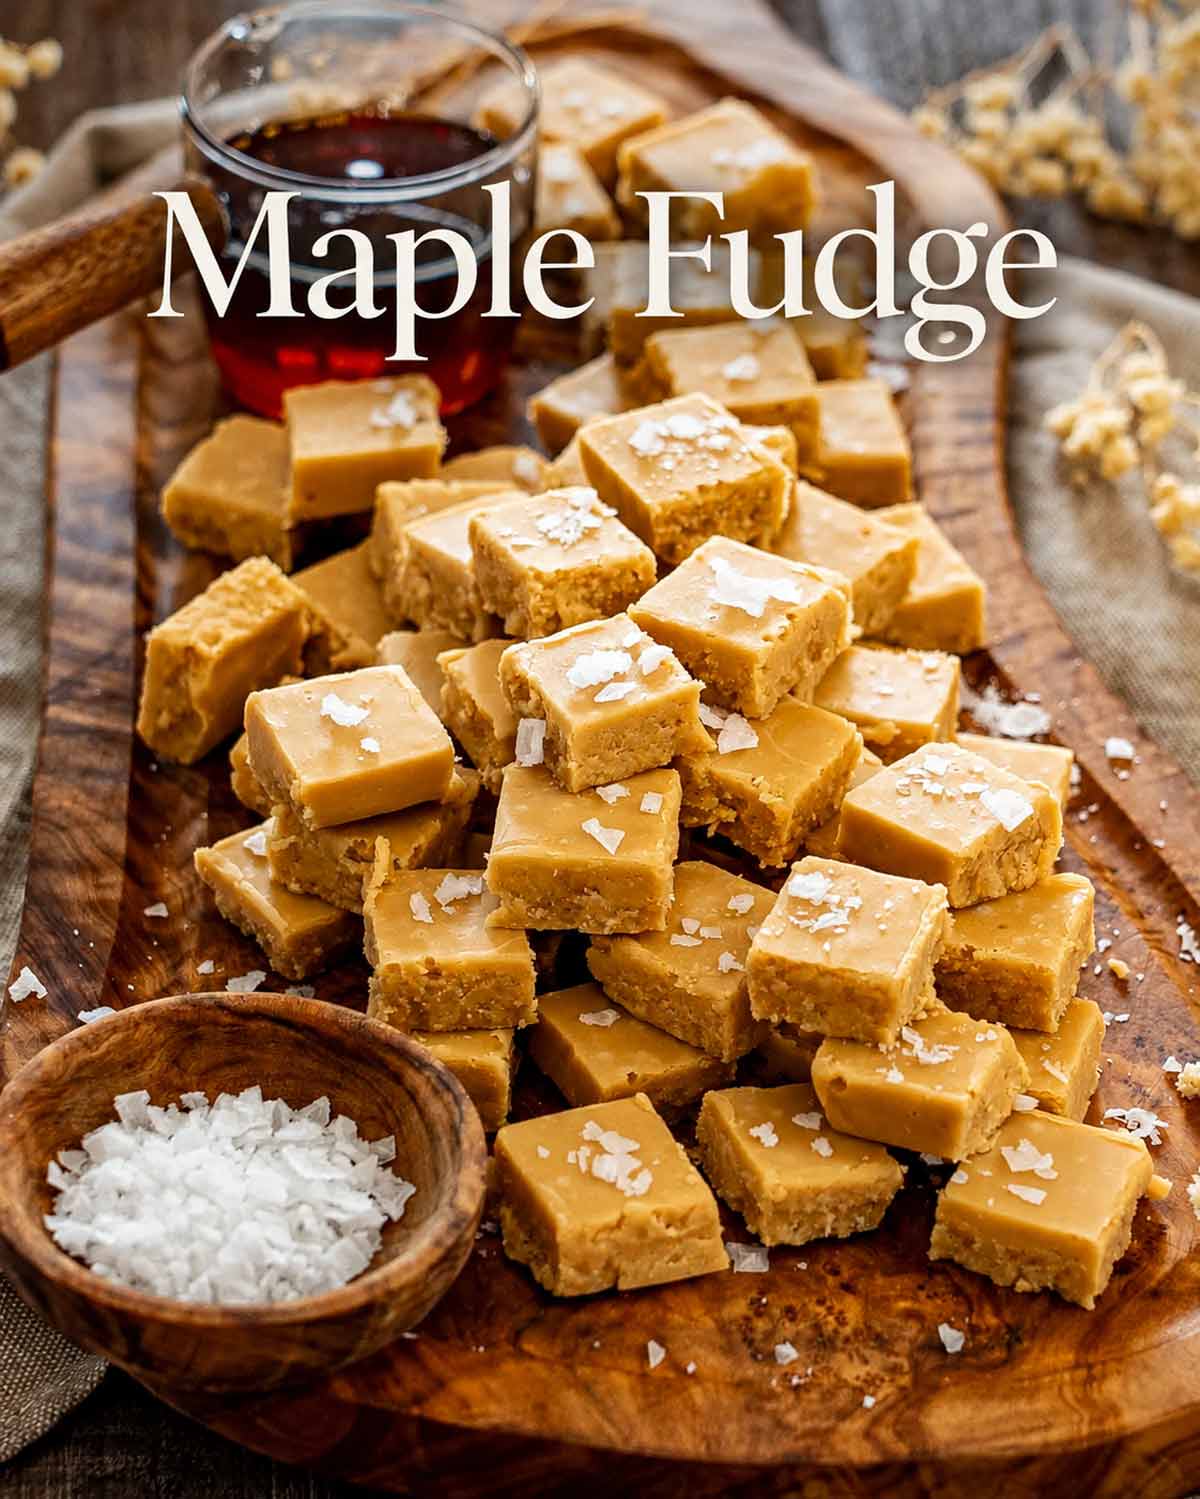
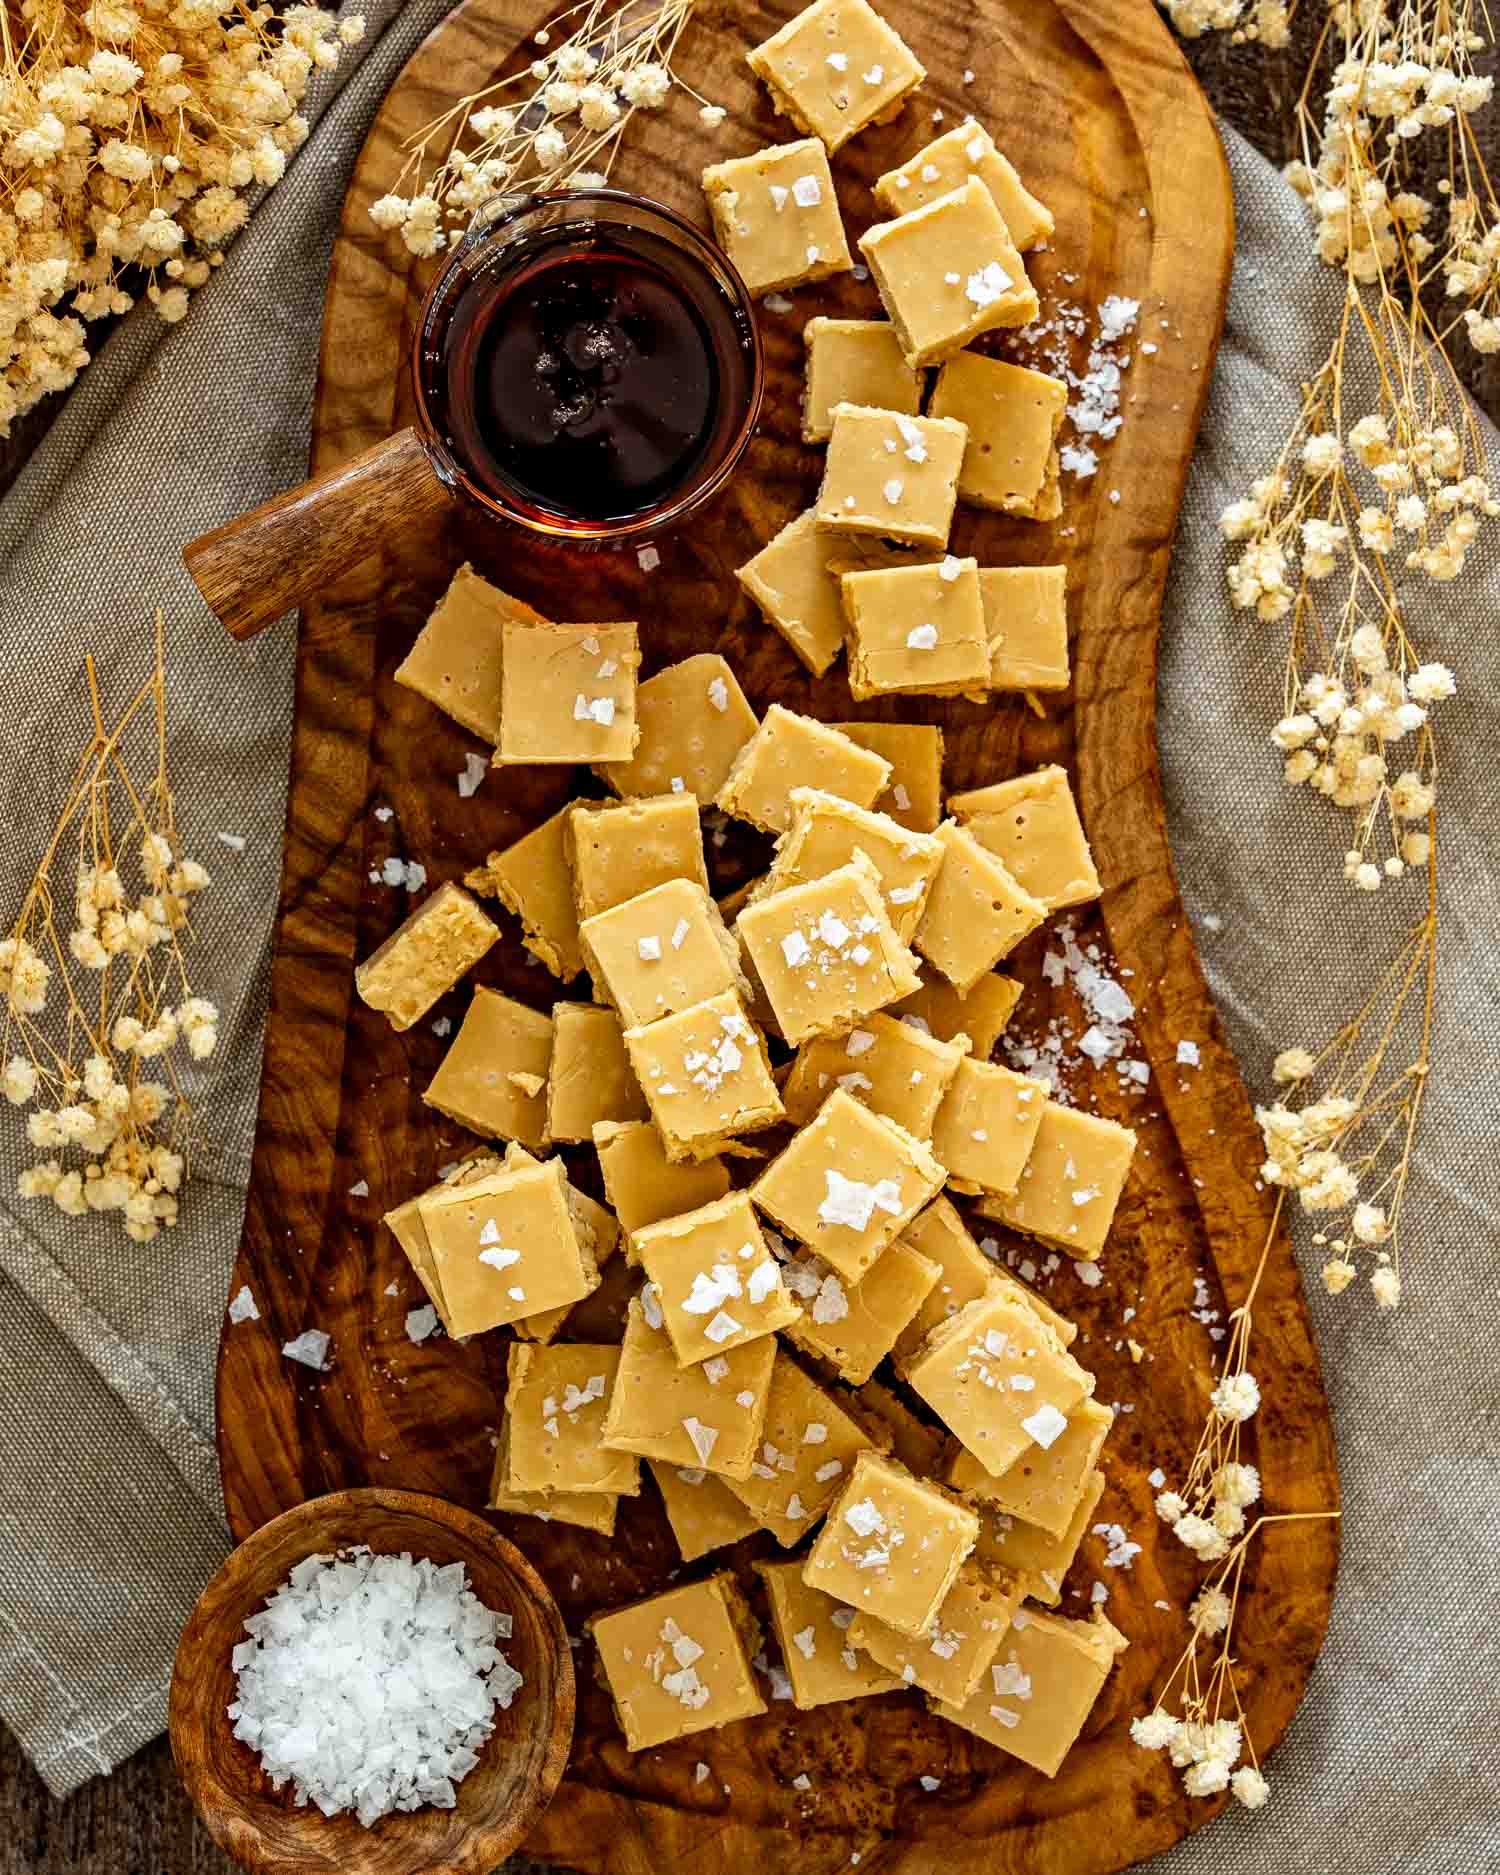
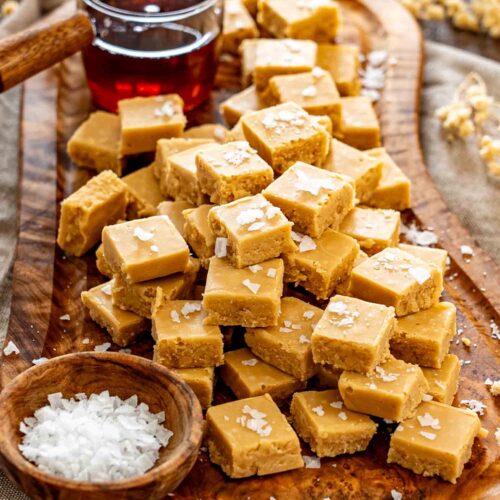
This Maple Fudge is made with just 5 ingredients, pure maple syrup being the only one that really matters, and it tastes like someone distilled an entire Canadian autumn into a small square of candy. You beautiful hungry people, this one is dangerously good and dangerously easy to eat the entire pan of.
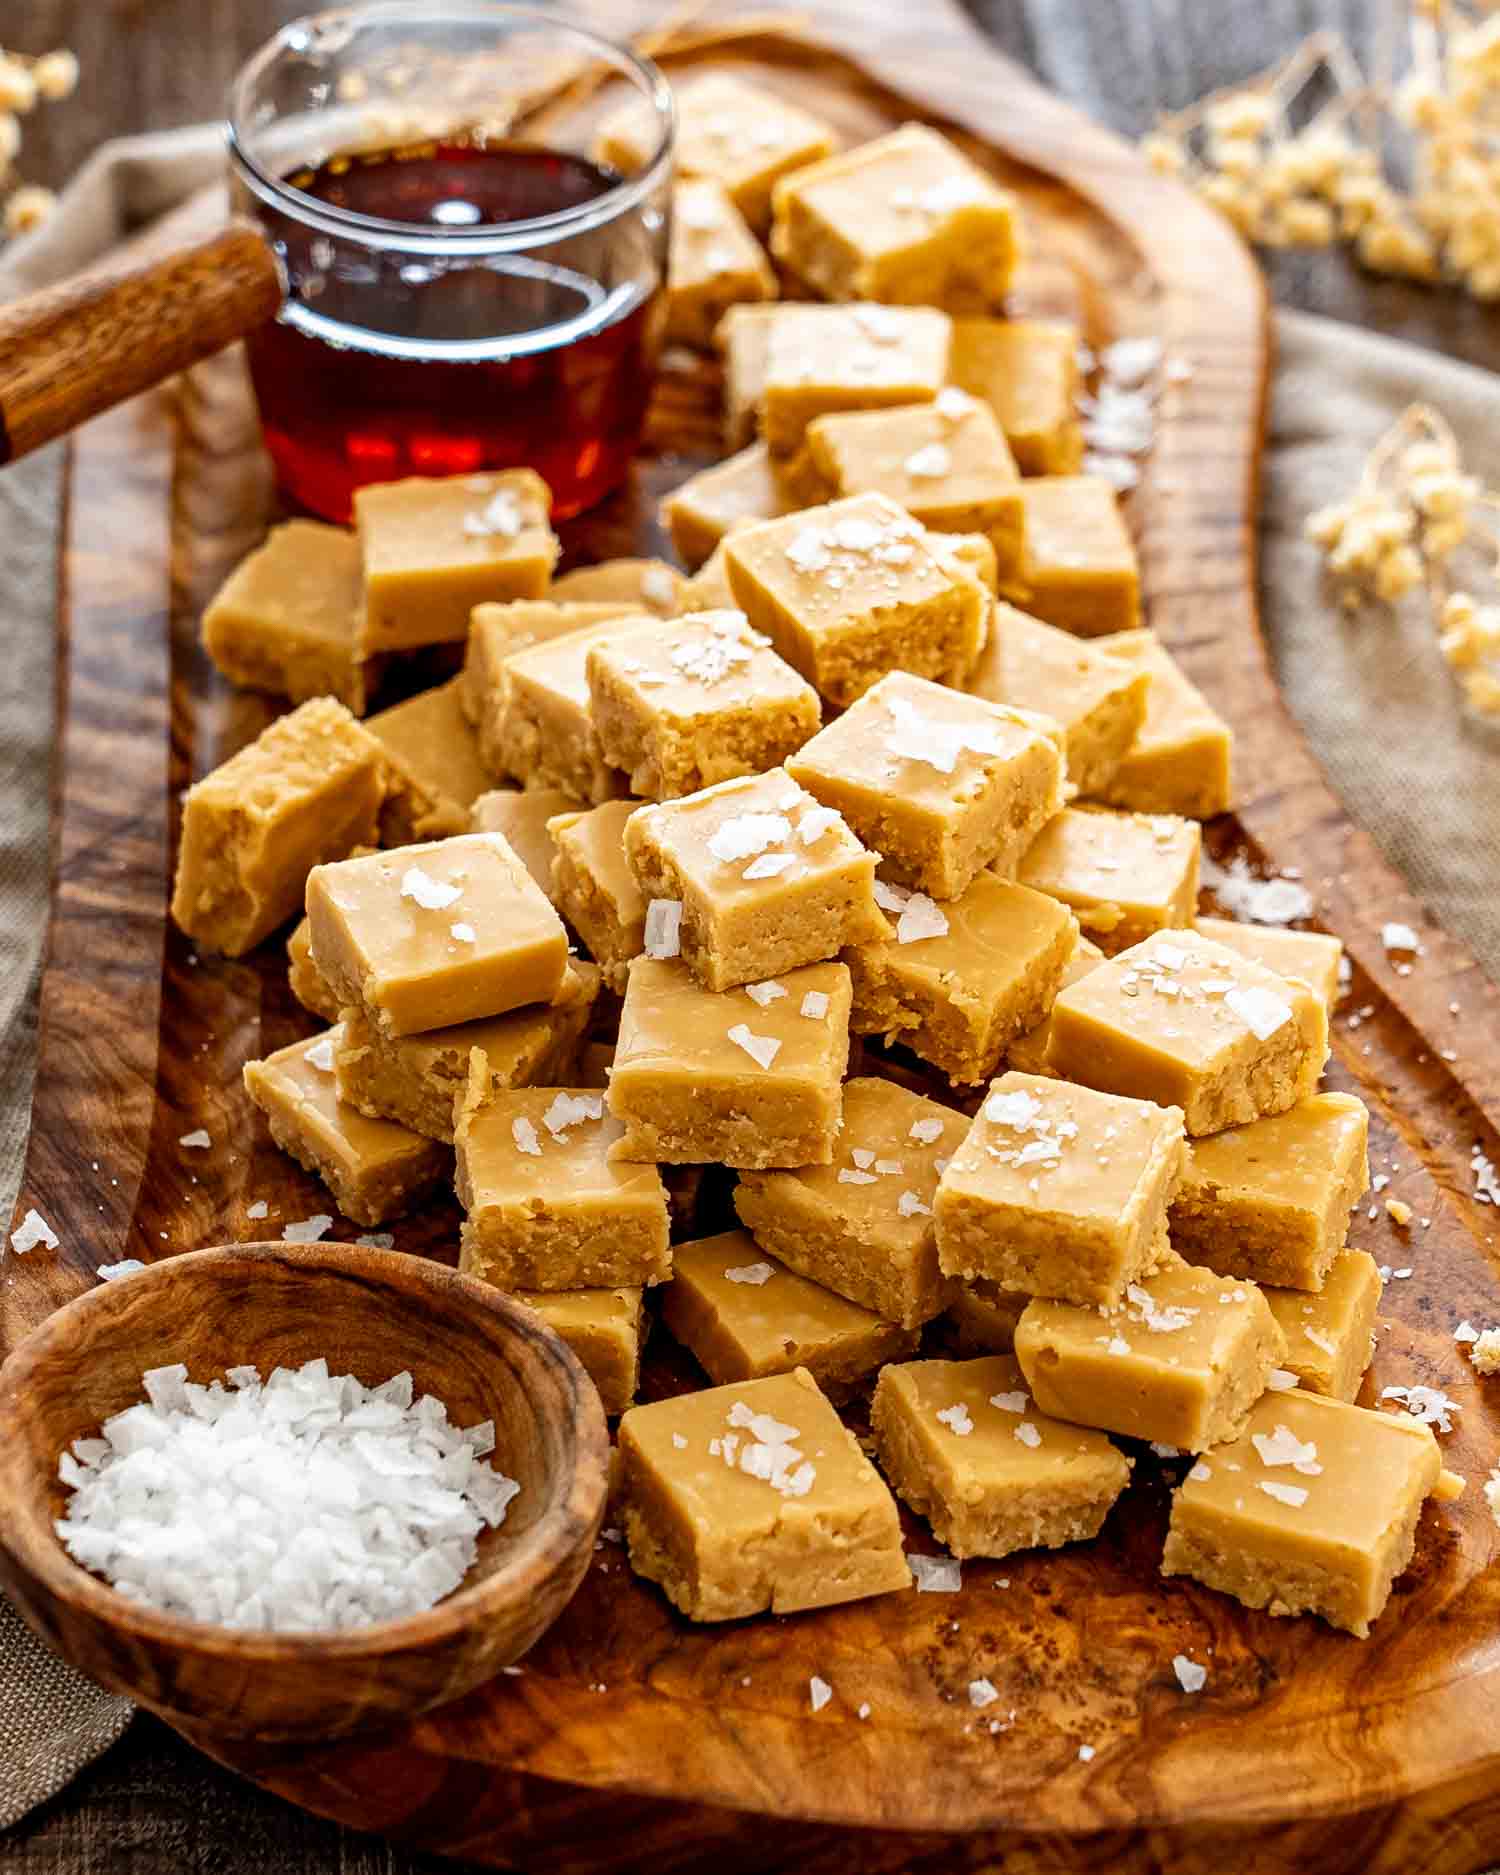
Maple Fudge
Let’s talk about maple syrup for a second. Not the pancake syrup that comes in a bottle shaped like a woman. The real thing. Pure maple syrup with that deep caramel complexity that tastes like nothing else on earth. That’s what this fudge is built on and it’s why 5 ingredients is all you need.
This is old fashioned candy making at its simplest. You cook the syrup and cream to the right temperature, let it cool without touching it which is harder than it sounds, beat it until it transforms into something thick and matte and fudge-like, then spread it into a pan and wait 2 hours. The waiting is the hardest part and also the only part that requires any discipline.
The result is a fudge that tastes unmistakably of maple. Not maple flavored. Maple. There’s a difference and you’ll taste it immediately.
Why You’ll Love My Recipe
- 5 ingredients. Maple syrup, heavy cream, butter, salt, vanilla. That’s it. No condensed milk, no chocolate chips, no mystery ingredients.
- It tastes like real maple. Because it is real maple. Pure maple syrup is the whole flavor base and it comes through in every single bite.
- It’s genuinely impressive to give as a gift. Cut it into squares, put it in a pretty box, and watch people assume you’re far more talented in the kitchen than this recipe requires you to be.
- And the technique is simpler than it sounds. A candy thermometer does all the thinking for you. Hit the right temperature, cool it properly, beat it at the right moment, done.
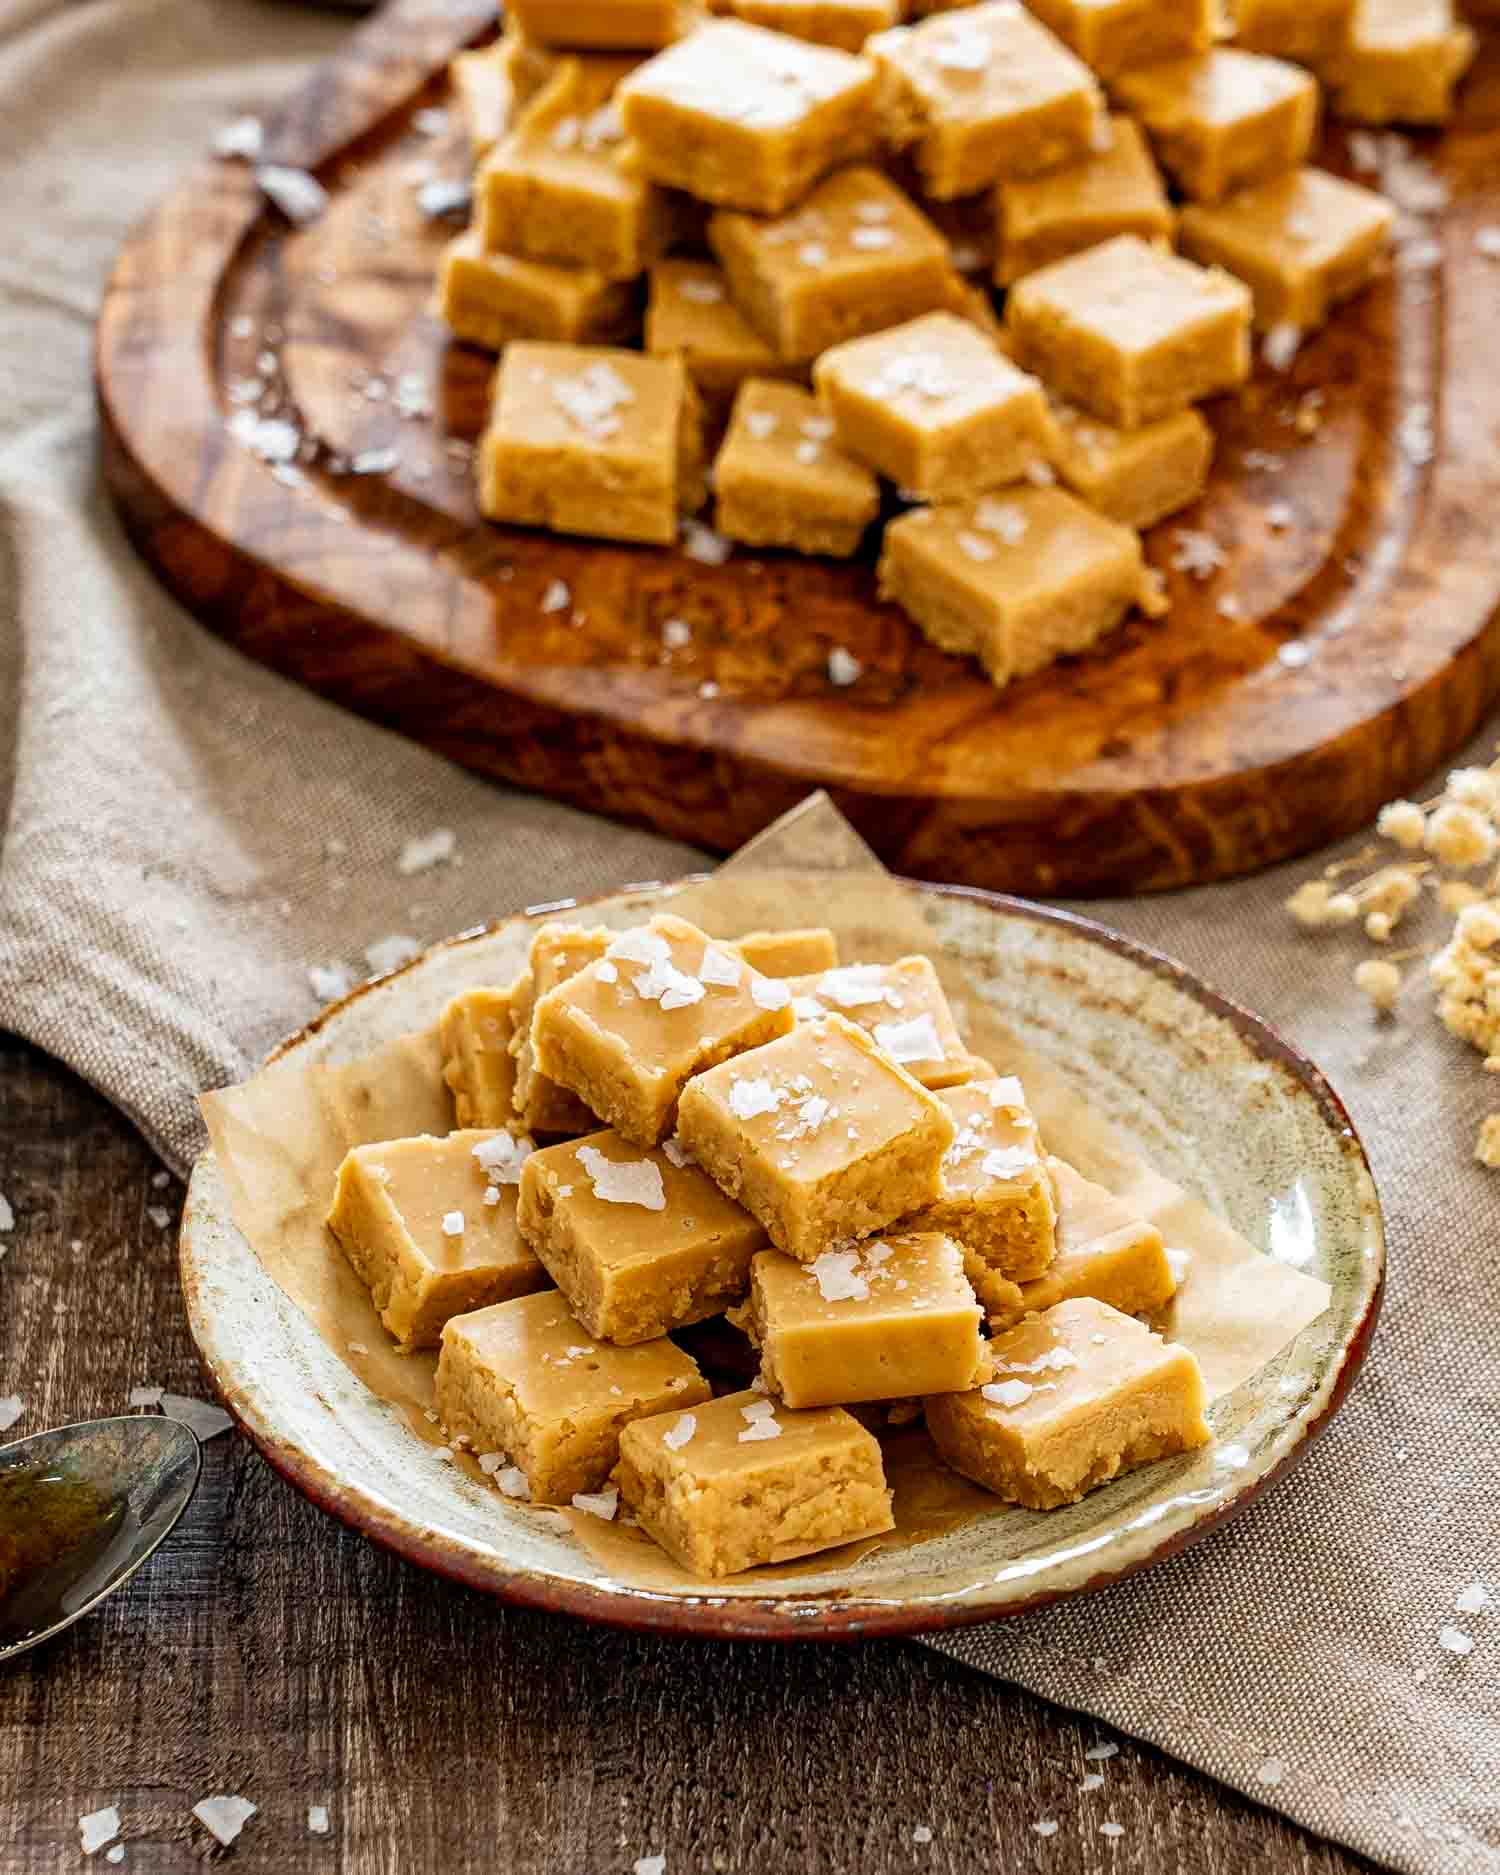
The Candy Thermometer Situation
I know. Some people see candy thermometer in a recipe and immediately close the tab. Don’t close the tab.
A candy thermometer is the only way to know when the syrup mixture has reached the right temperature for fudge. Too low and the fudge stays soft and won’t set. Too high and it turns grainy and crumbly. 235°F is the soft ball stage and it’s the exact sweet spot for fudge that’s firm enough to cut but soft enough to melt in your mouth.
If you don’t have a candy thermometer you can use the cold water test. Drop a small amount of the mixture into a glass of cold water. At the right temperature it should form a soft pliable ball that flattens when you pick it up. It’s less precise but it works.
The thermometer is worth the investment though. It takes the guesswork out of candy making entirely and costs very little.
Ingredients in Maple Fudge
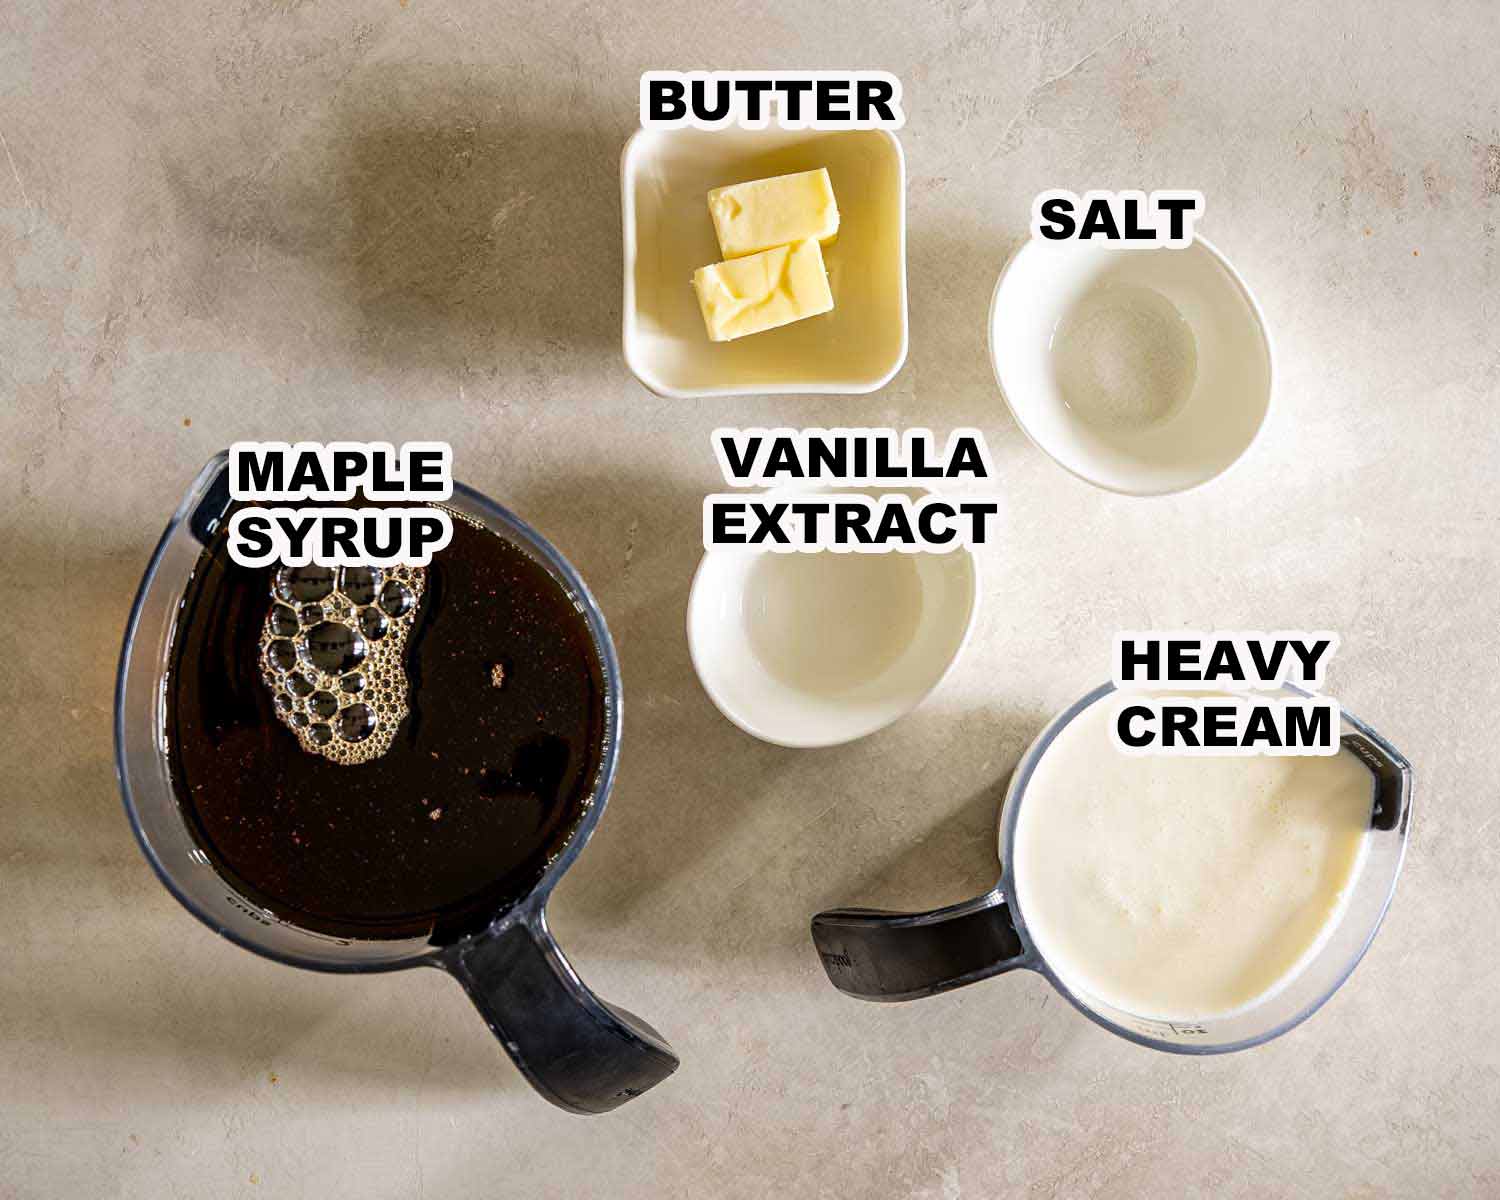
- Pure maple syrup (2 cups): The whole point of this recipe. Use pure maple syrup, not pancake syrup, not maple flavored syrup, not the stuff in a plastic jug that has never been near a maple tree. Pure. Maple. Syrup. Grade A dark robust is my preference for the deepest flavor but any grade of pure maple syrup works.
- Heavy cream (1 cup): Adds richness and gives the fudge its smooth creamy texture. Don’t substitute with milk or half and half, the fat content matters here.
- Butter (2 tablespoons): A small amount that adds richness and helps the texture.
- Salt (¼ teaspoon): Balances the sweetness and makes the maple flavor pop. Don’t skip it.
- Vanilla extract (1 teaspoon): Goes in after the cooking is done. Adds a subtle warmth that complements the maple beautifully.
How to Make Maple Fudge
Line an 8 by 8 inch baking pan with parchment paper and set it aside within arm’s reach. You’ll need it quickly when the fudge is ready.
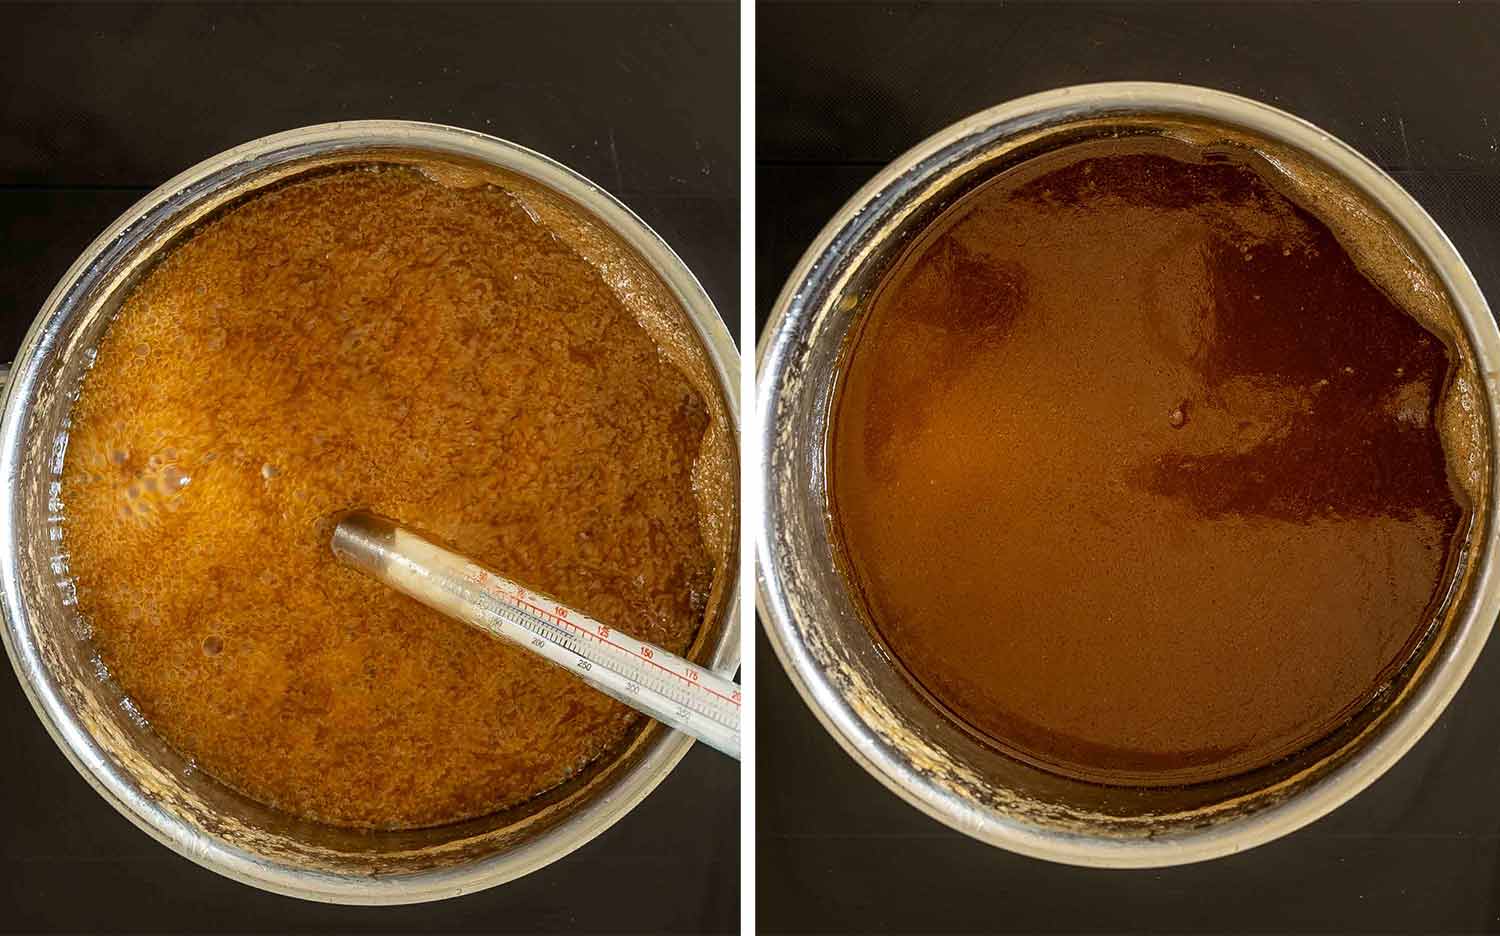
Combine the maple syrup, heavy cream, butter, and salt in a heavy bottomed saucepan over medium heat. Stir occasionally as it heats up. Once it starts bubbling, clip your candy thermometer to the side of the pan and watch it closely. You’re waiting for 235°F and you need to be ready when it gets there.
When the mixture hits 235°F, remove the pan from the heat immediately and set it somewhere undisturbed to cool. Do not stir it. Do not touch it. Do not even look at it funny. Stirring while it cools can cause the sugar crystals to form unevenly and you’ll end up with grainy fudge instead of smooth fudge. Just leave it alone until it drops to about 110°F which takes 30 to 40 minutes.
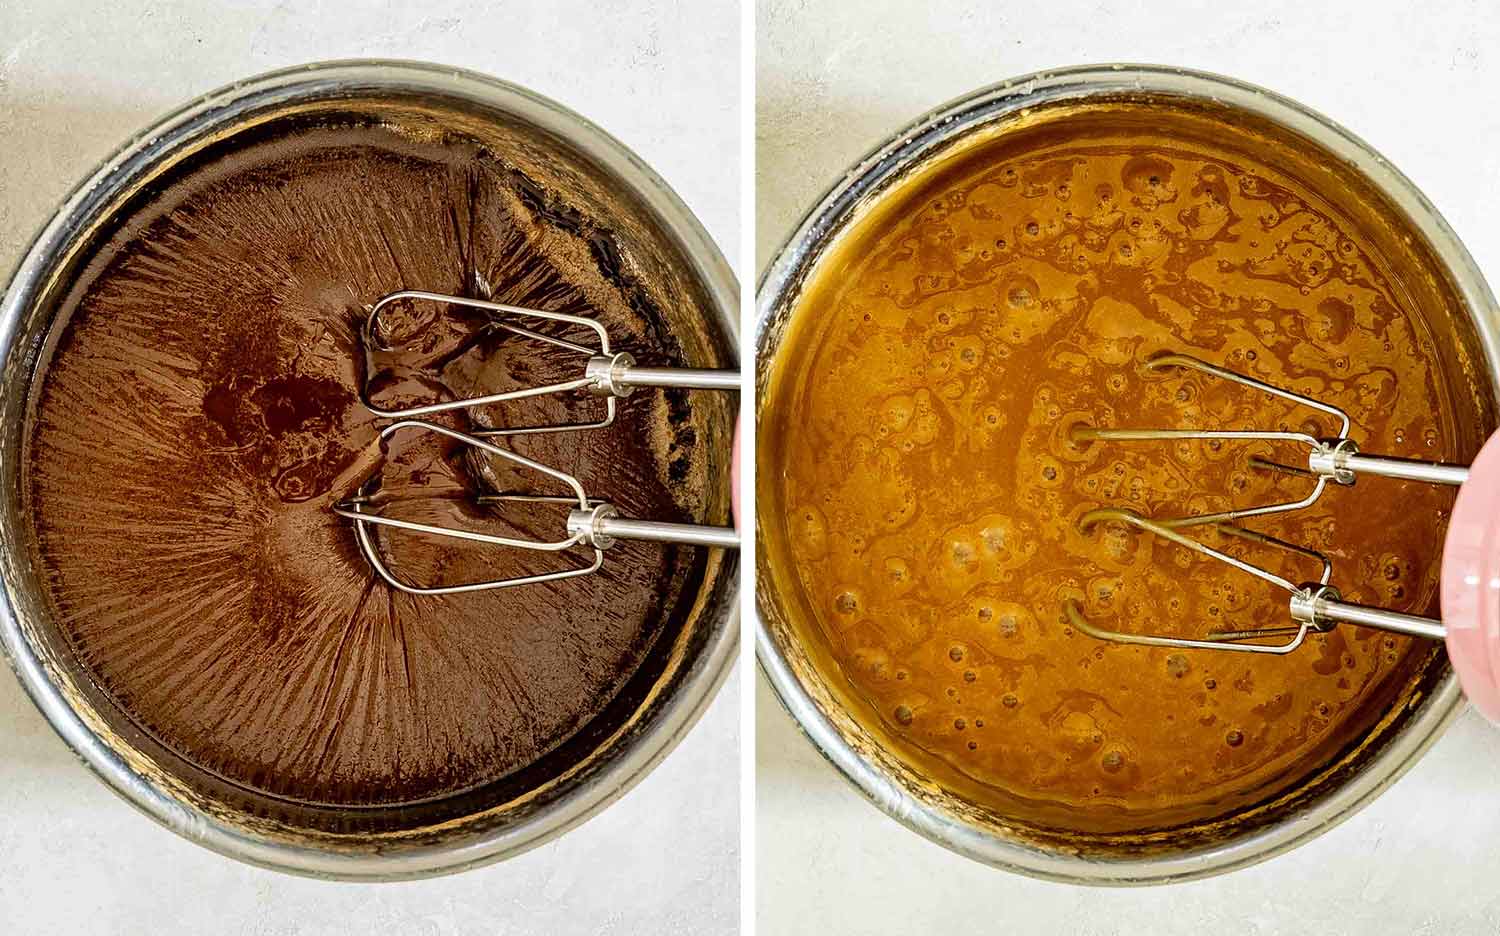
Once it’s cooled to 110°F, add the vanilla extract and start beating. You can use a wooden spoon or a hand mixer. Beat for 5 to 8 minutes until the fudge thickens, turns lighter in color, and loses its glossy shine. This is the moment it transforms from syrup into fudge and it’s genuinely satisfying to watch happen.
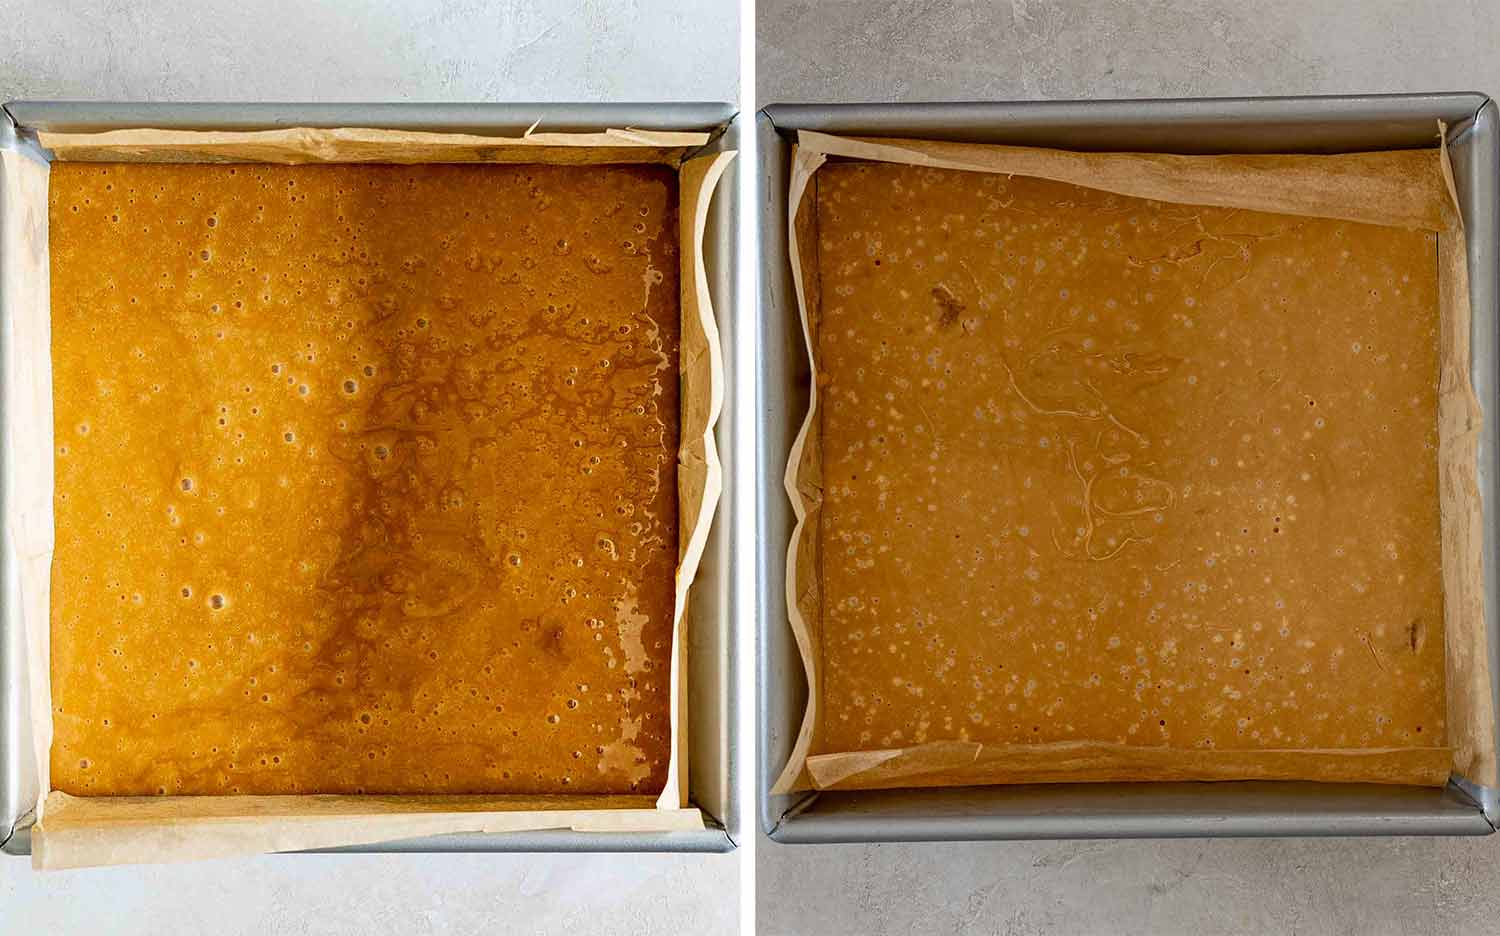
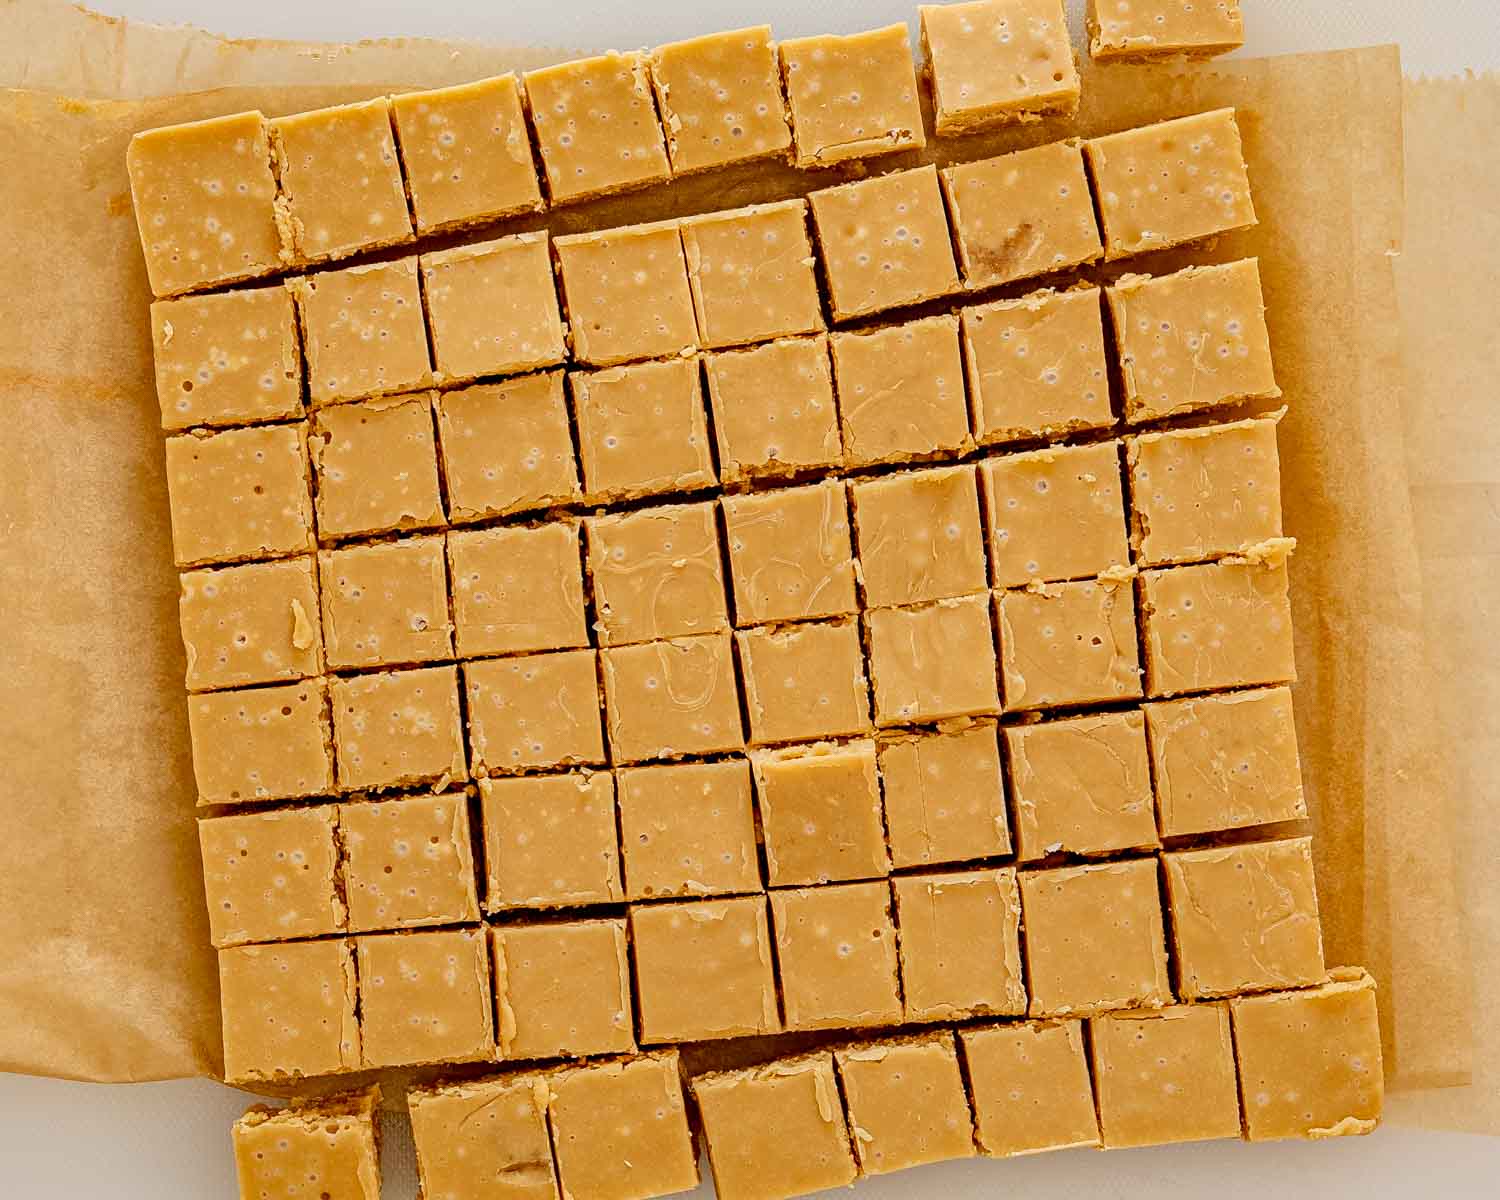
Work quickly once it’s ready because the fudge sets fast. Spread it into the prepared pan, smooth the top, and let it cool completely for 2 hours before cutting into squares.
Tips and Tricks
- Use a heavy bottomed saucepan. Thin pans create hot spots and the mixture can scorch before it reaches the right temperature.
- Don’t stir while it cools. This is the rule everyone wants to break and shouldn’t. Walk away. Make a cup of tea. Watch something on your phone. Just don’t touch the fudge.
- Work quickly once you start beating. The fudge goes from spreadable to set faster than you’d expect. Have the pan ready before you start beating so you’re not scrambling.
- If it gets too thick while you’re spreading it, don’t panic. Press it into the pan as best you can and smooth with damp hands or the back of a damp spoon.
- If it stays too soft after chilling it probably didn’t reach 235°F. A thermometer is your best insurance against this happening.
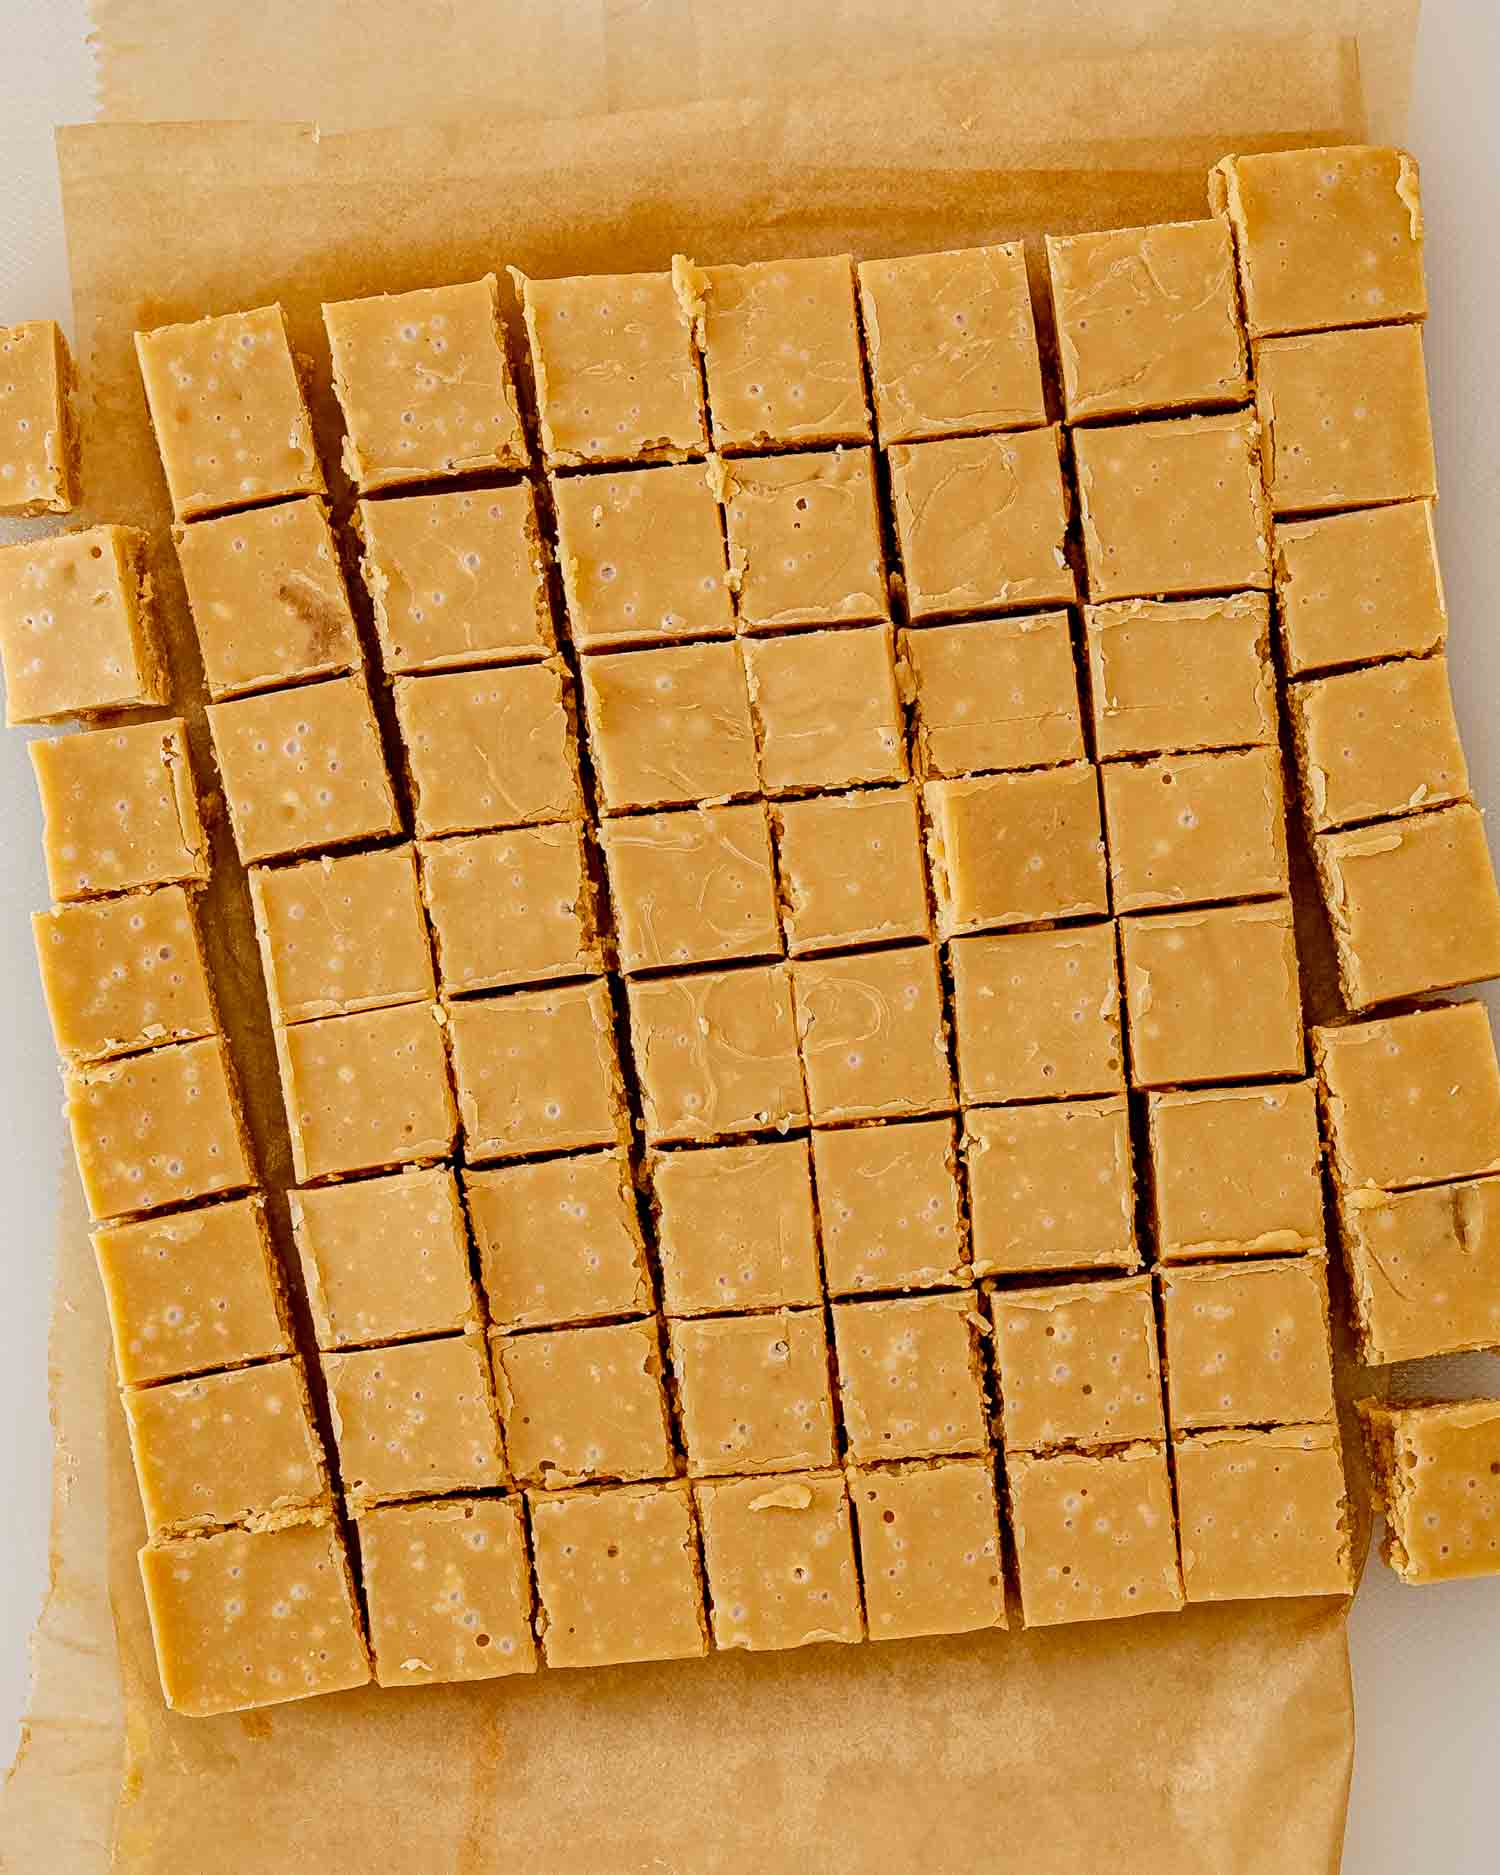
- Cut with a sharp knife. Score the squares first with a light hand then cut all the way through. Clean cuts every time.
Try These Recipes Next
Maple Fudge
Ingredients
- 2 cups pure maple syrup
- 1 cup heavy cream
- 2 tablespoons butter
- ¼ teaspoon salt
- 1 teaspoon vanilla extract
Instructions
- Line an 8×8 inch baking pan with parchment paper and set aside.
- In a heavy bottom saucepan, combine 2 cups maple syrup, 1 cup heavy cream, 2 tablespoons butter, and ¼ teaspoon salt.
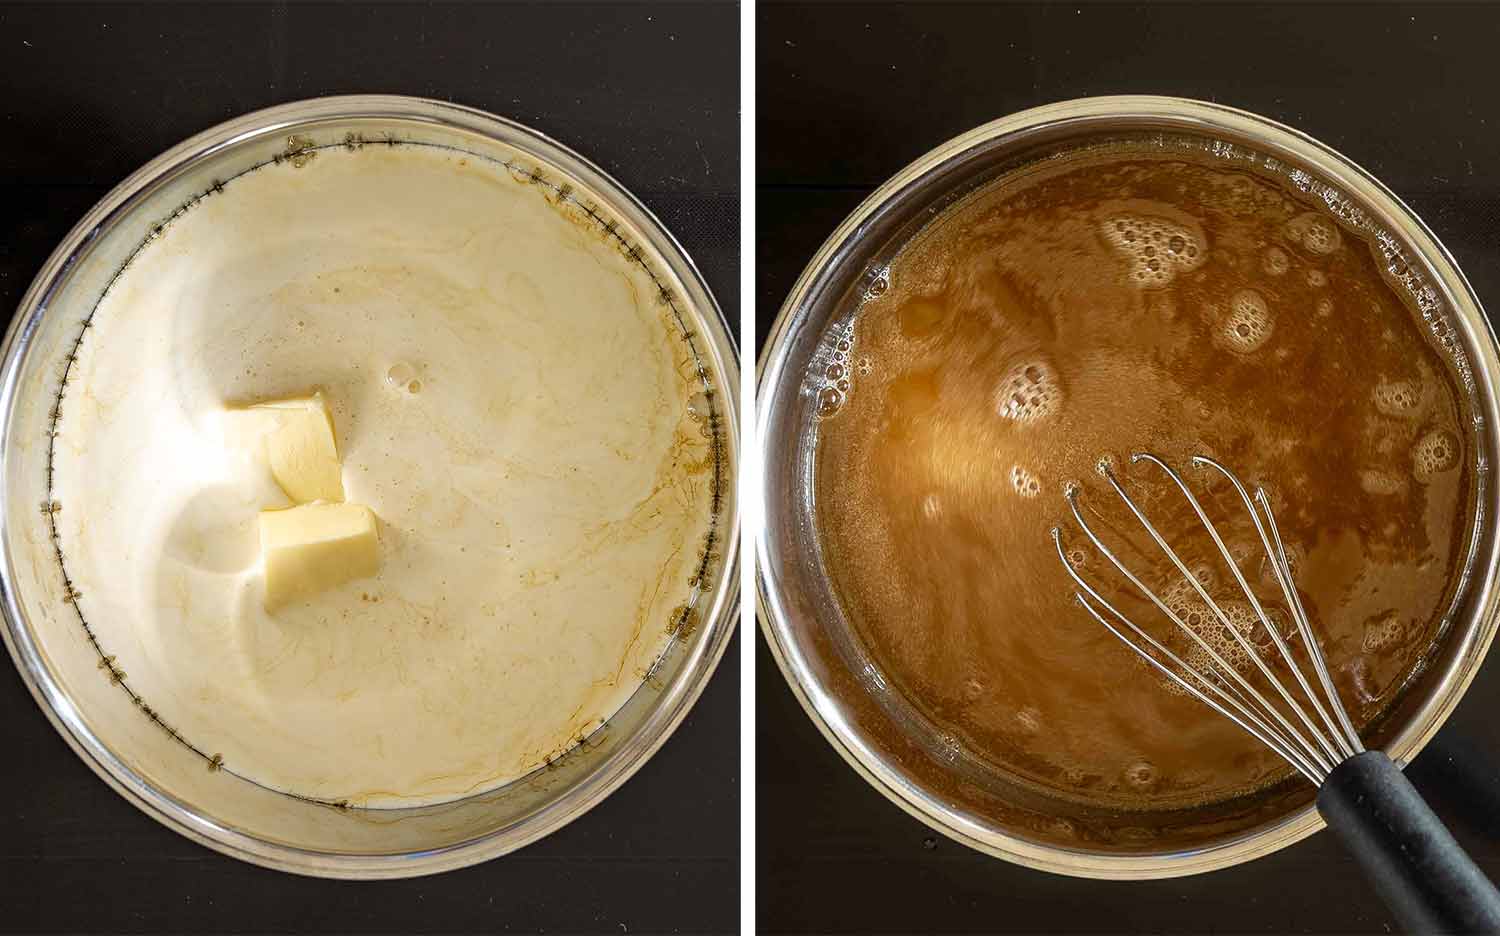
- Cook the mixture over medium heat, stirring occasionally, until it reaches 235°F / 113°C on a candy thermometer.
- Remove the saucepan from the heat and let the mixture cool without stirring until it drops to about 110°F / 43°C, about 30 to 40 minutes.
- Add 1 teaspoon vanilla extract, then beat the mixture with a wooden spoon or hand mixer for 5 to 8 minutes until the fudge thickens, becomes lighter in color, and loses its glossy shine.
- Quickly spread the fudge into the prepared pan and smooth the top.
- Let the fudge cool completely for 2 hours, then cut into squares.
Recipe Notes
- Use pure maple syrup, not pancake syrup.
- Do not stir while the mixture is cooling or the fudge can become grainy.
- If the fudge becomes too thick while beating, spread it into the pan quickly.
- If it stays too soft, it likely didn’t reach the right temperature.
Nutrition Information
Frequently Asked Questions
I wouldn’t. The whole flavor of this fudge comes from pure maple syrup and pancake syrup or maple flavored syrup won’t give you the same result at all. Pure maple syrup is the one non negotiable ingredient in this recipe.
It most likely didn’t reach 235°F before you took it off the heat. A candy thermometer is the most reliable way to prevent this. If the fudge is still soft after chilling you can try putting it back in the saucepan, adding a splash of cream, and cooking it back up to temperature before beating again.
Almost certainly it was stirred while cooling or the mixture was beaten before it cooled sufficiently to 110°F. The cooling and the temperature at which you start beating are both critical steps.
Yes. A handful of chopped walnuts or pecans folded in right before spreading is a classic and excellent addition. A sprinkle of flaky sea salt over the top before it sets is also very good and makes it look like it came from a fancy candy shop.
Store in an airtight container at room temperature for up to 1 week or in the fridge for up to 2 weeks. Layer between sheets of parchment so the pieces don’t stick together.
Yes. Wrap individual pieces in parchment and freeze in an airtight container for up to 3 months. Thaw at room temperature for about 30 minutes before serving.





Leave a Reply