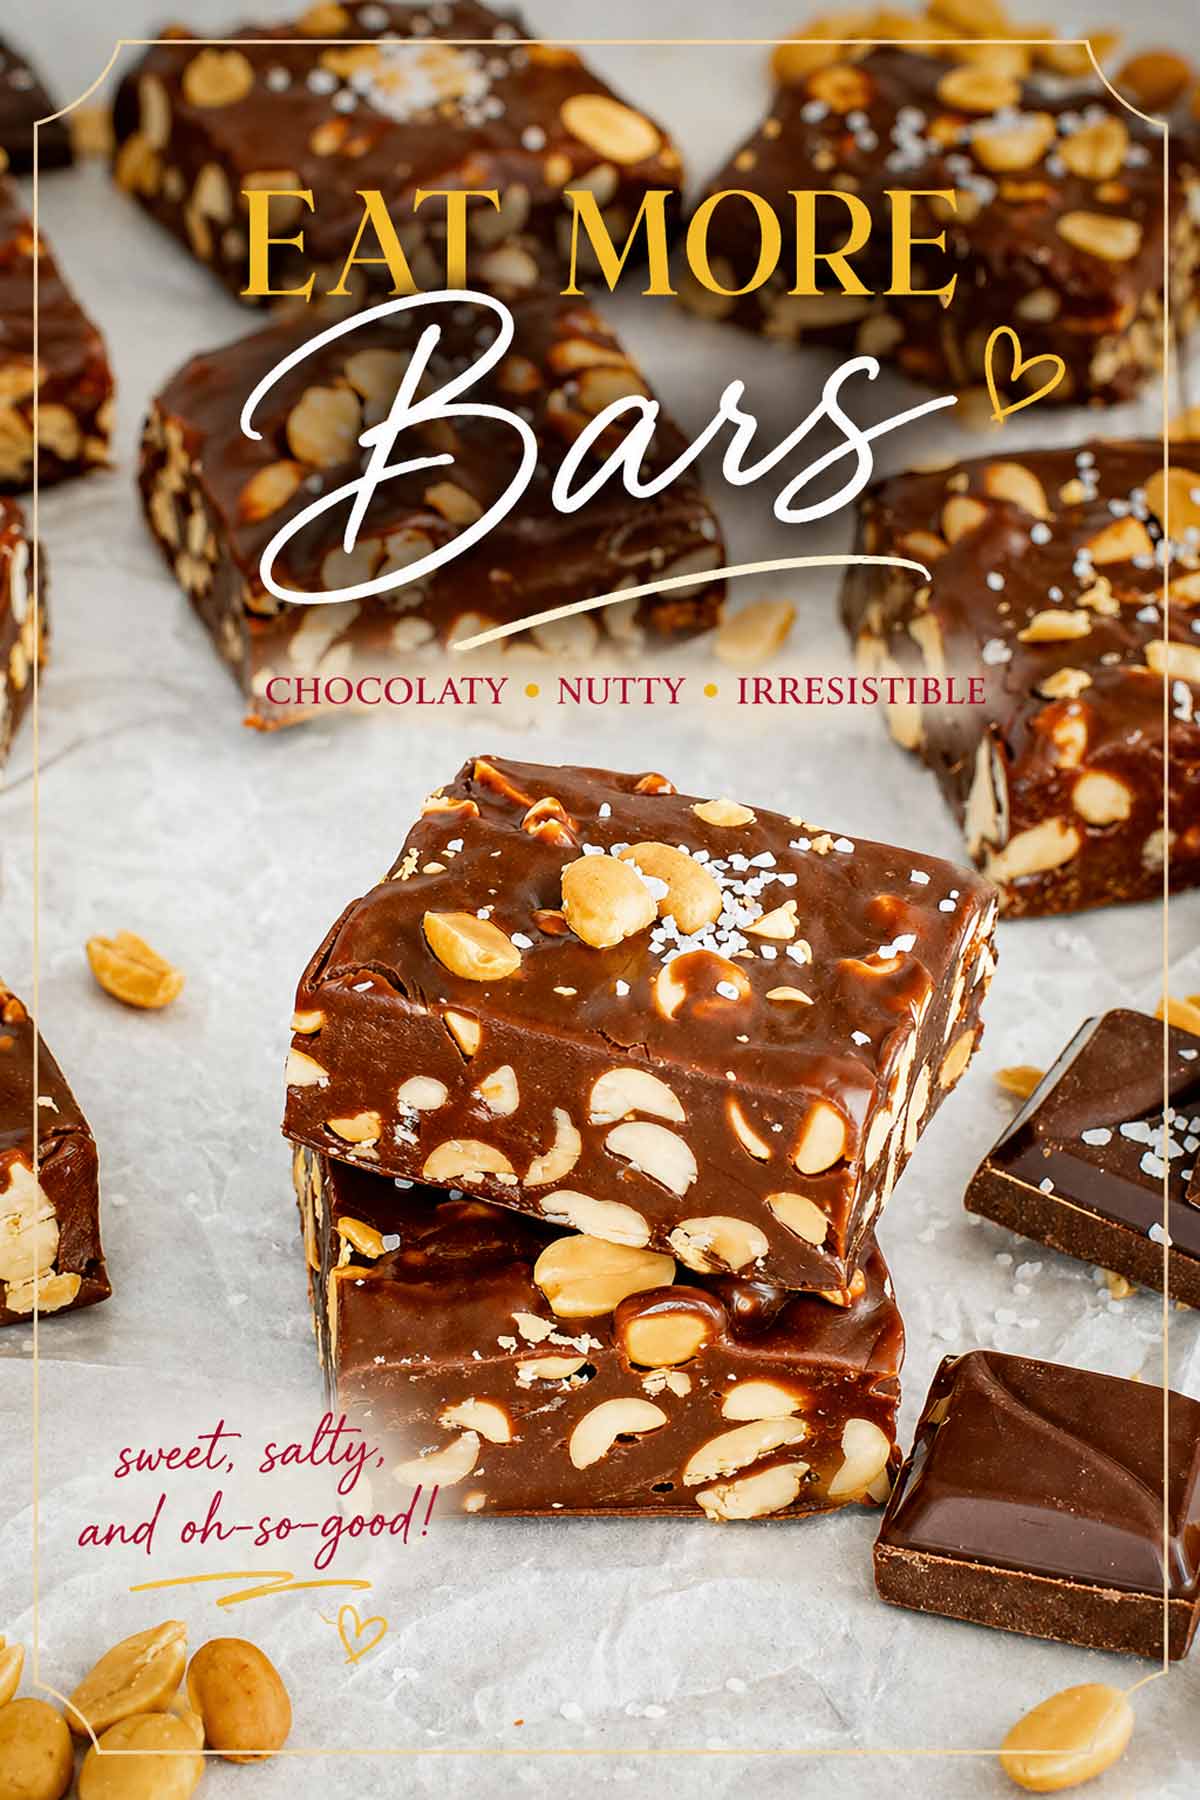
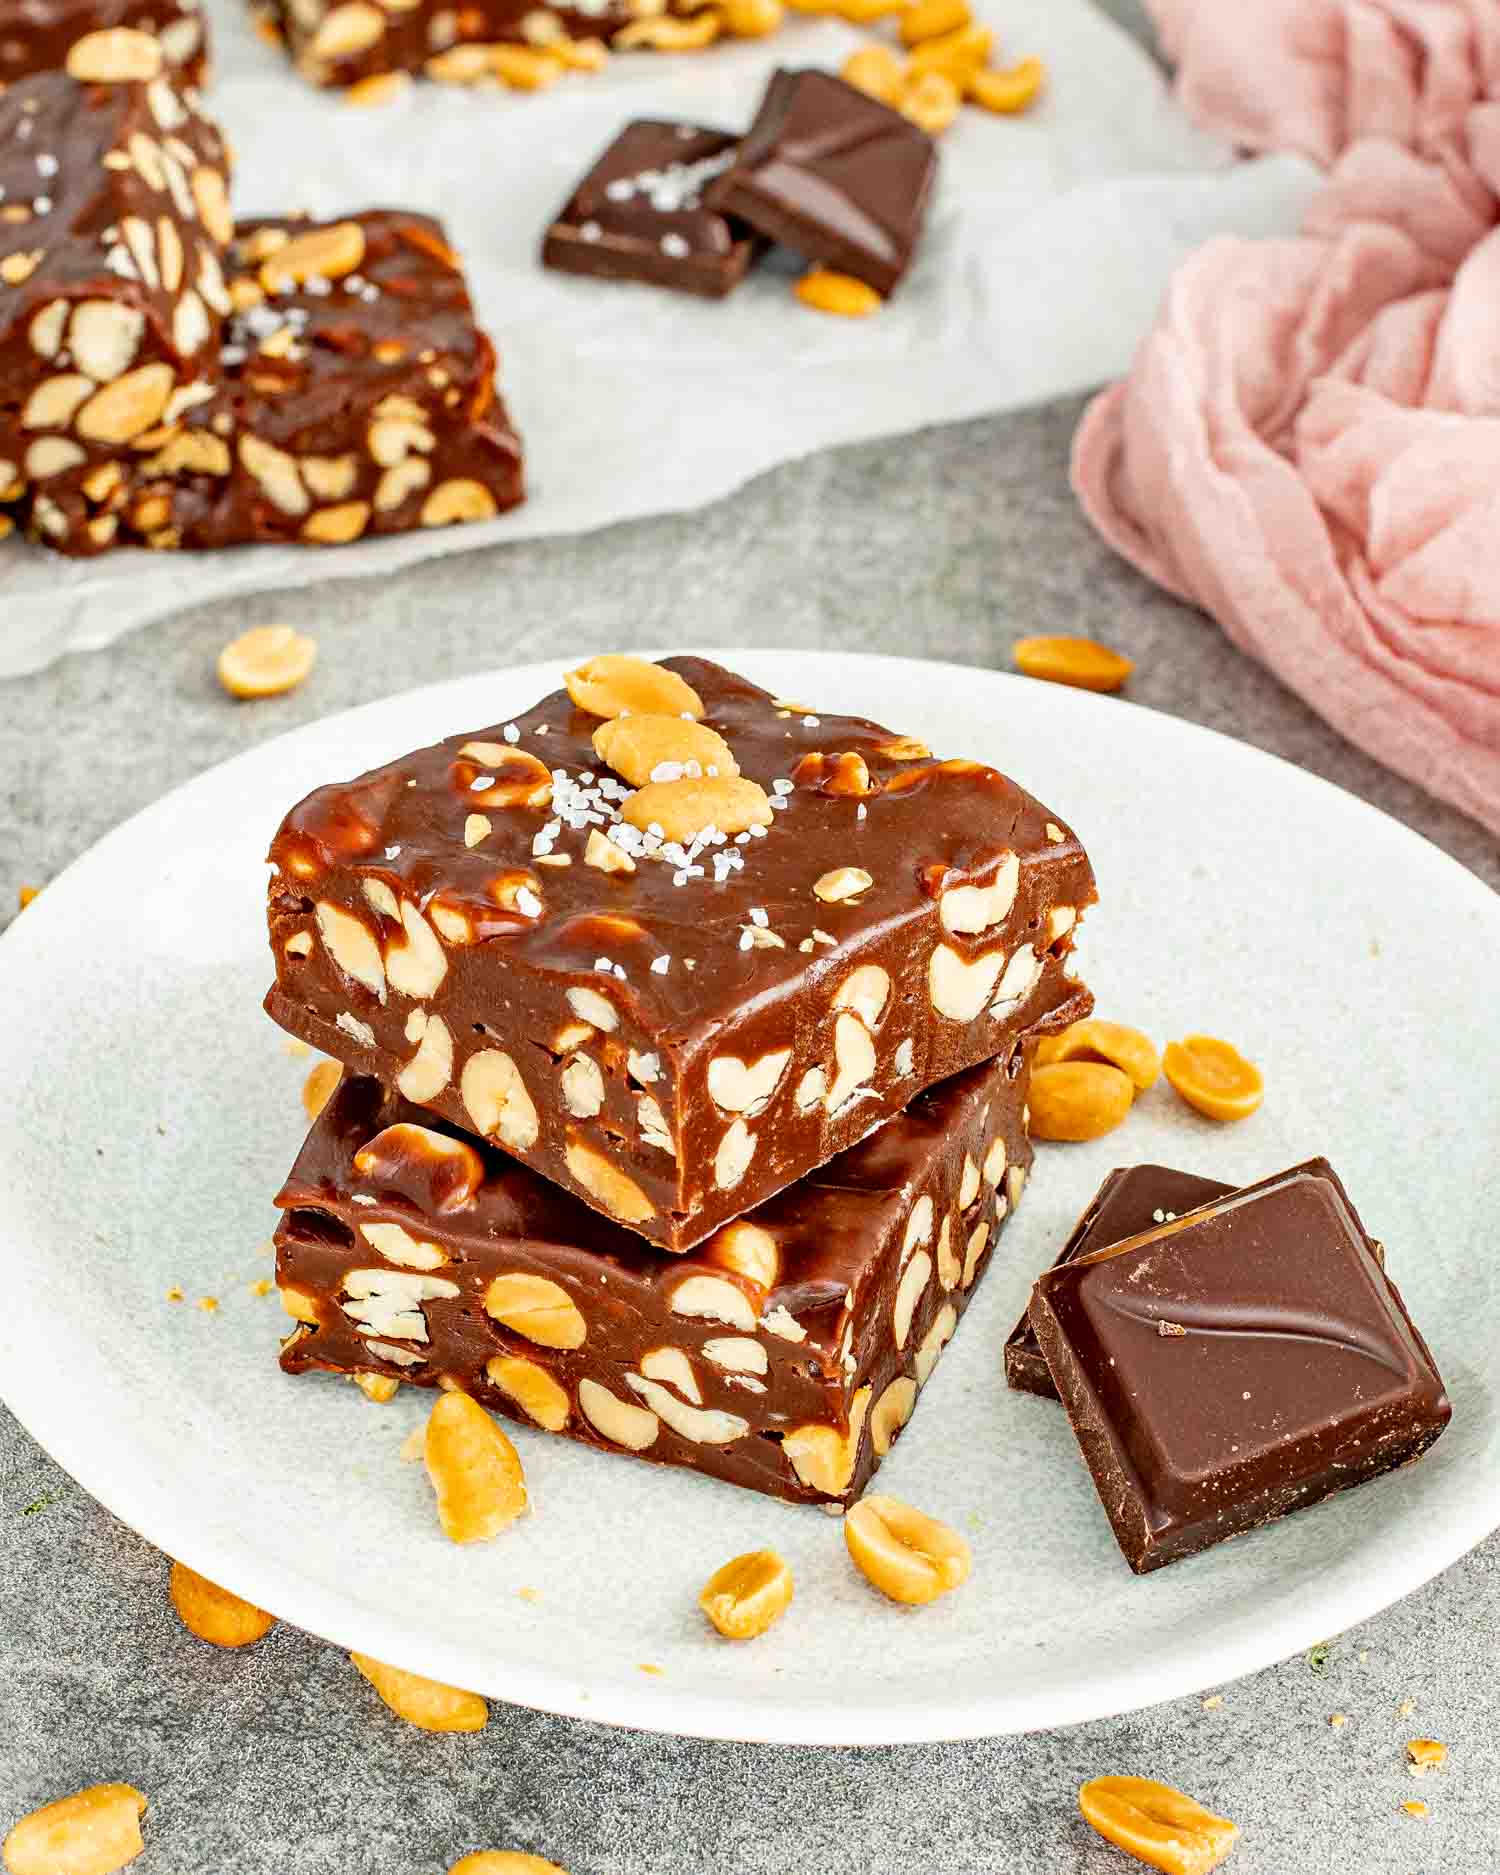
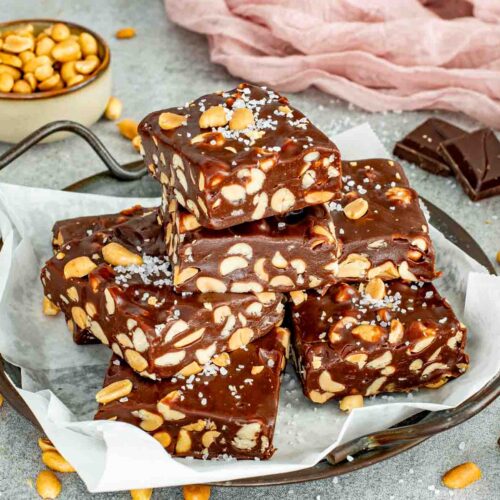
I am officially ending my long term relationship with store bought candy because these homemade Eat More bars are dangerously better. This is the classic Canadian snack you love with that signature long chew but without the weird artificial mystery ingredients. They are dark and stretchy and have enough peanuts to make you feel like you are basically eating a salad.

The Canadian Candy Bar Of Your Dreams (Tested Until My Jaw Ached)
I have spent over 30 years in the kitchen and I can tell you that some of my biggest battles have been with candy. I have made toffee that could break a window and fudge that stayed liquid for three days. But after a lot of testing I have finally mastered these homemade Eat More bars.
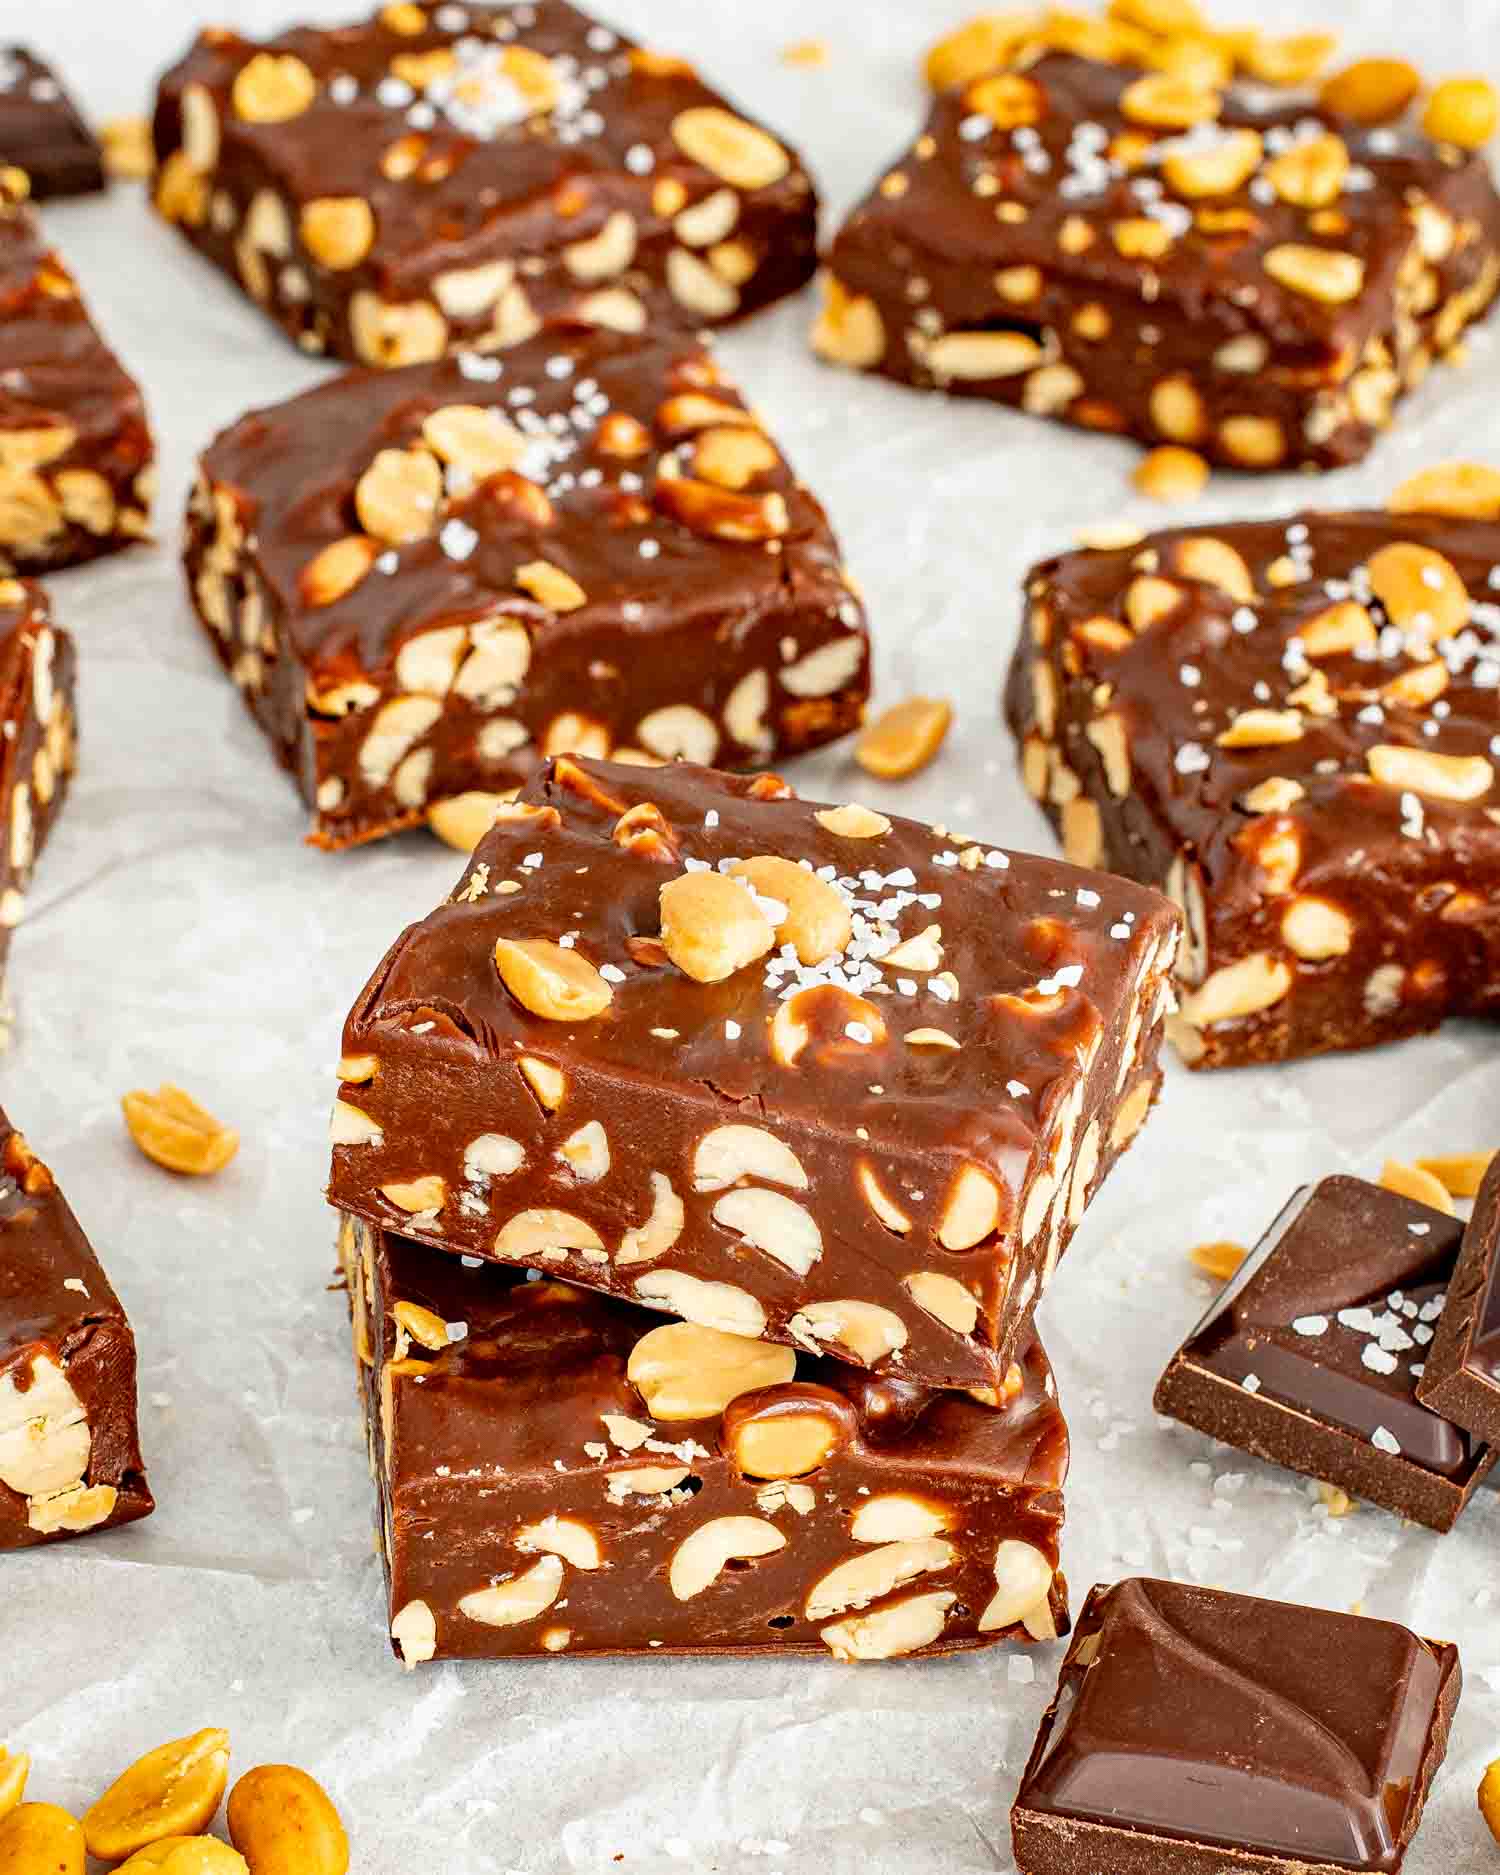
If you are looking for a light and airy snack you should probably keep walking. These bars are for people who want a dark and stretchy treat that actually fights back a little. They are thick and unashamedly chewy and have enough peanuts to keep you busy for a while.
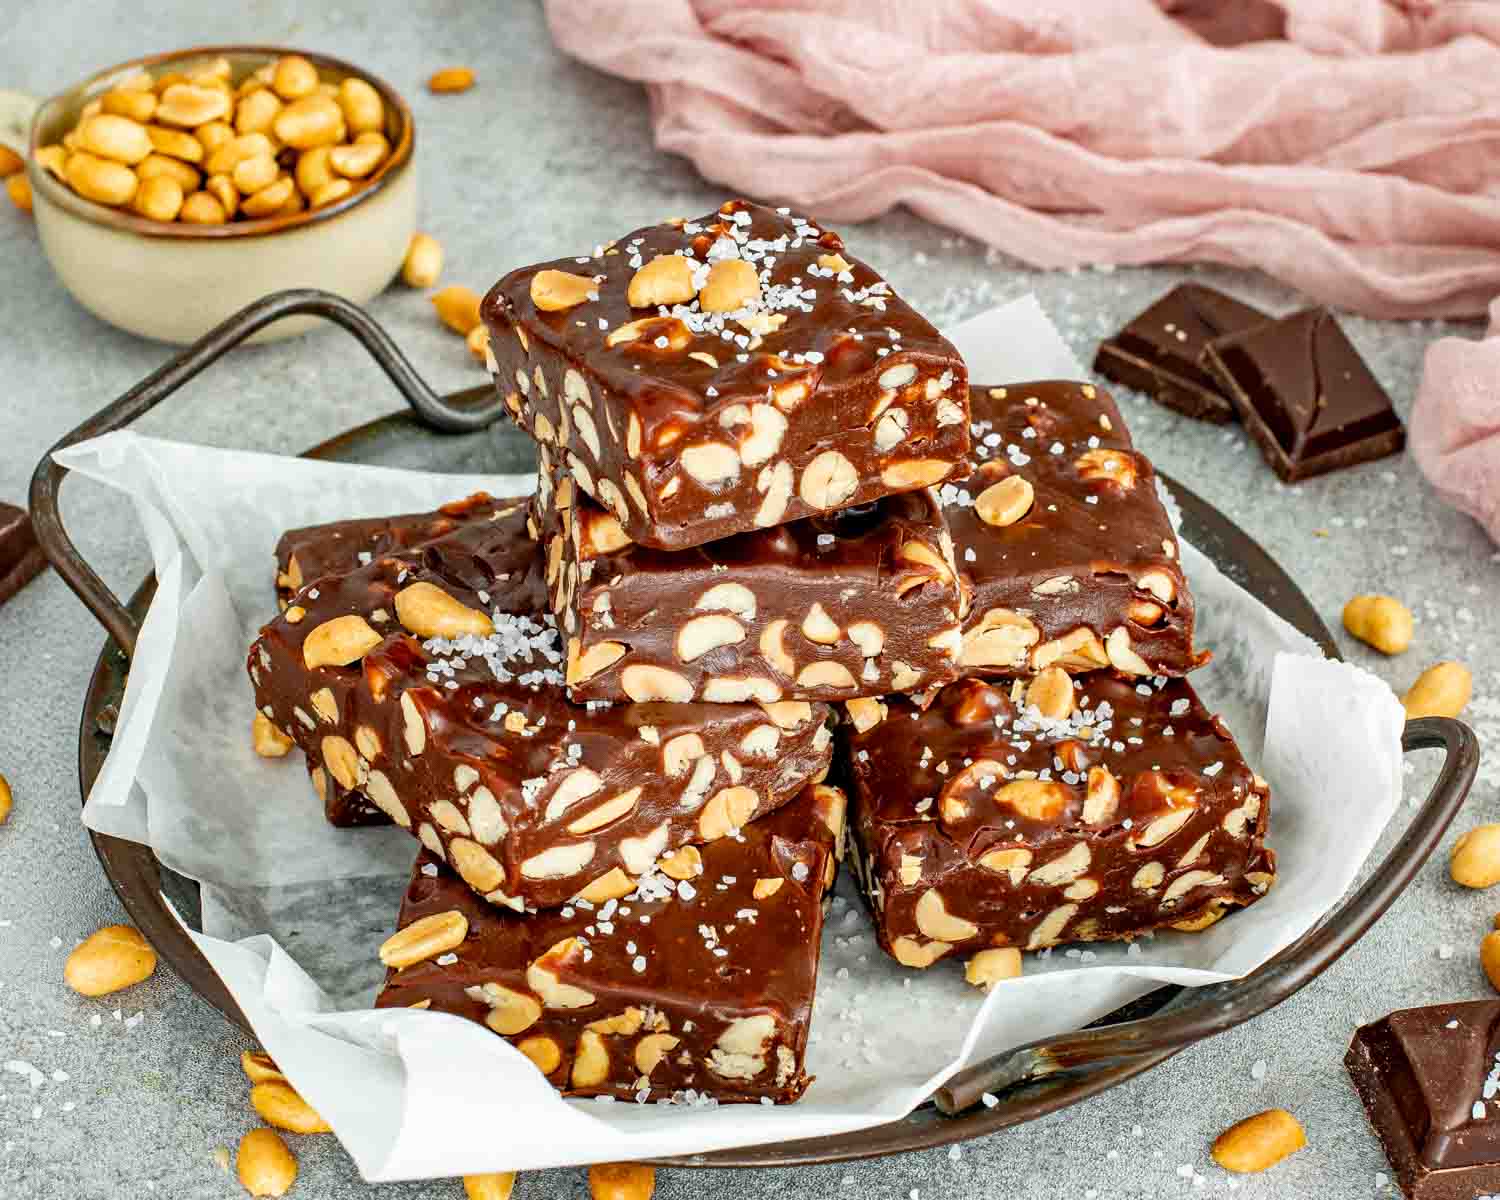
This is the ultimate version of that classic Canadian treat you remember from your childhood. We are talking about a deep and rich chocolate toffee that makes the store bought version look like a sad mistake. Grab a saucepan and let us get into the gooey details.
Why These Are Different (The Science Of The Chew)
I have eaten enough candy bars to know that the store bought stuff is basically flavored wax. We are doing things differently here to make sure these bars actually live up to the hype.
- The Toffee Factor: Instead of using mystery fillers we are simmering dark syrup to create a real toffee base. This gives you a stretch that is satisfying rather than a texture that feels like chewing on a tire.
- The Peanut Gallery: Most commercial bars are stingy with the nuts but we are packing in two full cups of roasted peanuts. Every bite is a crunch fest that balances out that dark and sweet chocolate.
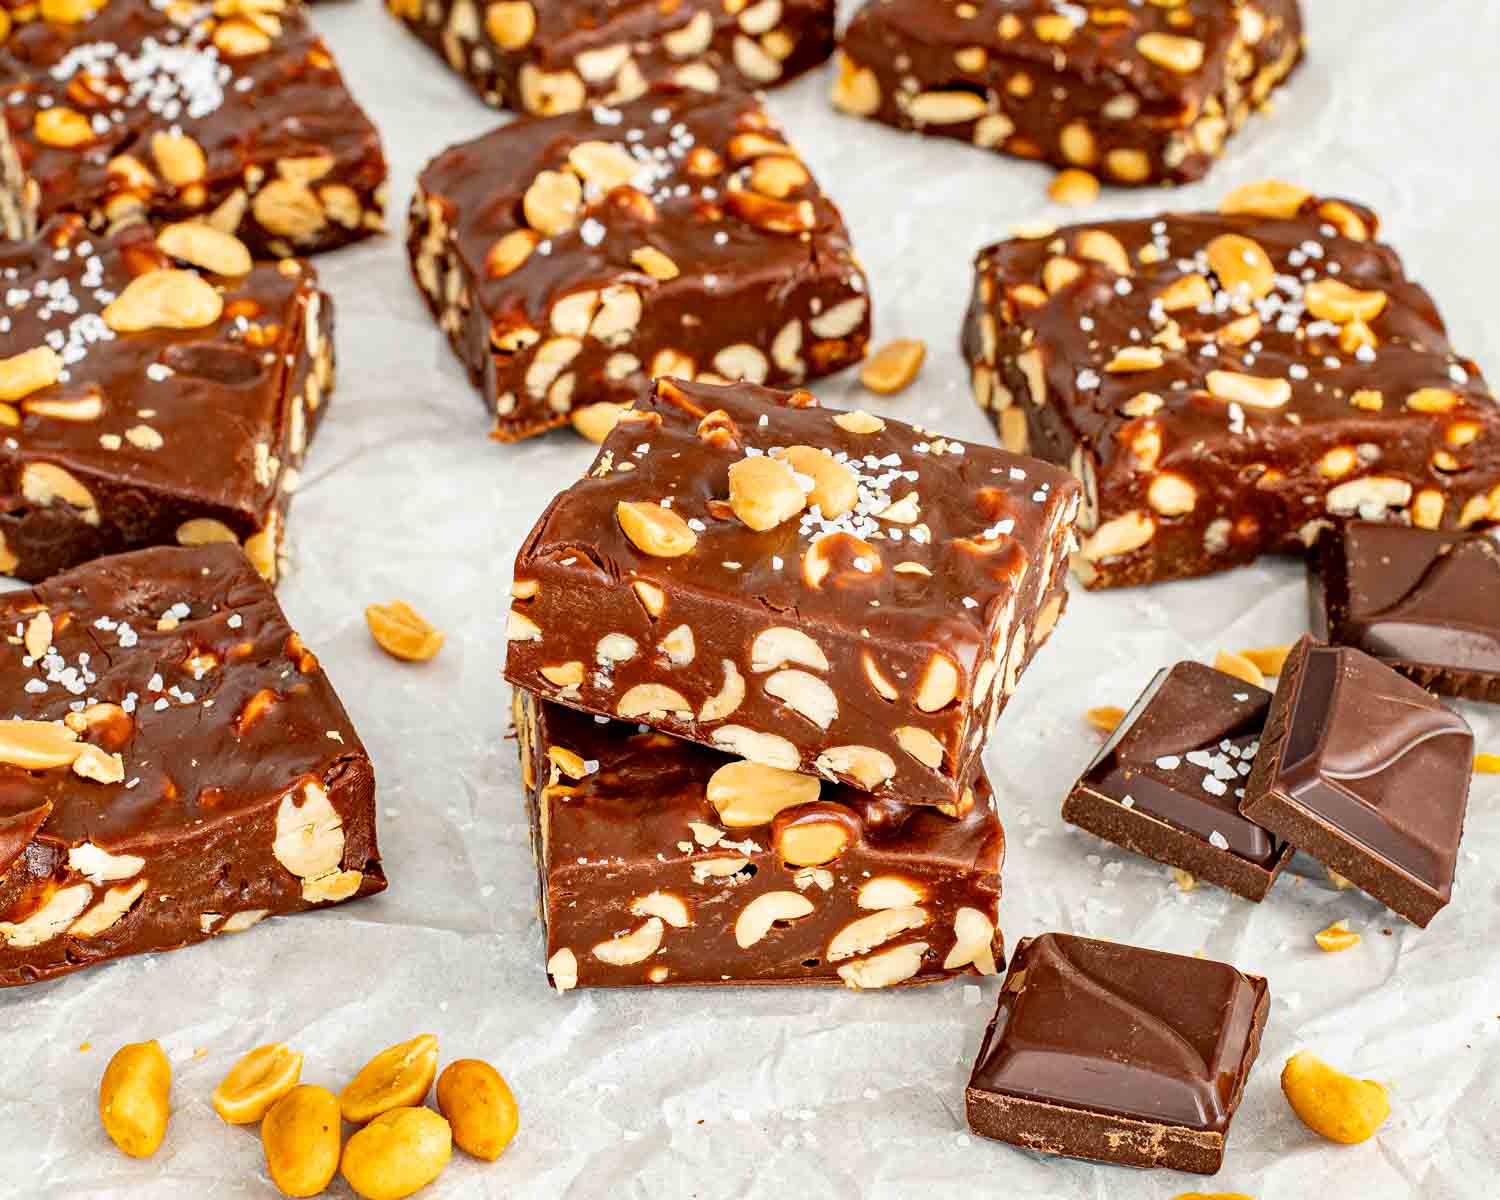
- The Glossy Finish: By cooking the mixture for those specific 4 minutes you get a beautiful shine. It makes the bars look like they came from a fancy boutique instead of a gas station shelf.
The I Have Been There Guarantee
I have made every mistake possible with candy so you do not have to. I have overcooked the syrup until it was hard enough to chip a tooth and I have undercooked it until it was basically a chocolate soup. Trust me when I say that wearing a layer of sticky chocolate toffee is not as fun as it sounds.
This recipe is the battle tested result of all those messy failures on the acreage. It is foolproof and fast and it is the reason my dogs think I am a culinary genius. They are usually right outside the door waiting for me to drop a stray peanut because they know the good stuff stays in this kitchen.
What Goes Into Eat More Bars (And Why Quality Matters)
You only need a few things to make these bars so you better make sure they are the right things. This is not the time to clean out the back of the pantry.
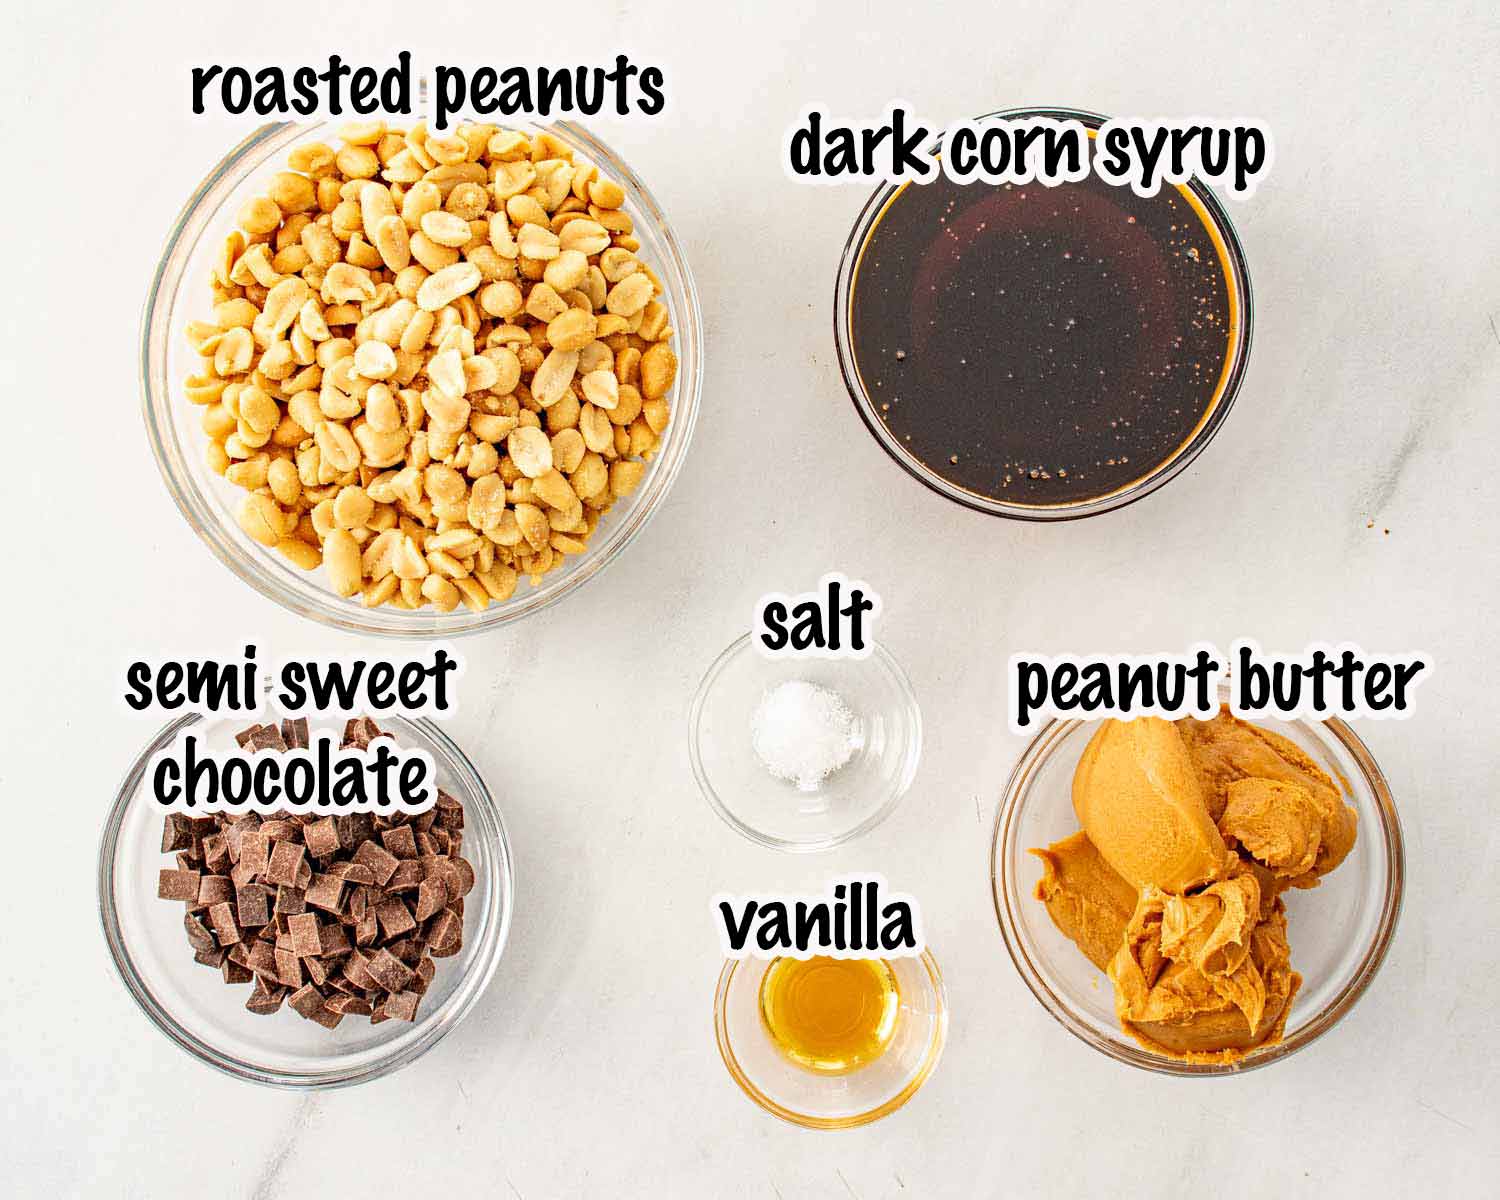
- Dark Corn Syrup: This is the absolute soul of the bar. Do not try to use the light version or you will lose that deep and moody toffee flavor that makes an Eat More iconic.
- Creamy Peanut Butter: Stick to the classic processed stuff here. Natural peanut butter is great on toast but the oil separation will turn this recipe into a greasy disaster.
- Roasted Peanuts: Make sure they are fresh and crunchy. I prefer the salted variety because that extra kick of salt is what keeps the sweet chocolate from being too much.
- Semi Sweet Chocolate: Use a brand you actually like to eat. Since we are simmering this with the syrup the quality of the chocolate really determines how rich the final bar tastes.
- The Vanilla Secret: Never skip the vanilla. It acts like a volume knob for the chocolate and peanut butter and makes everything taste more like a professional confection.
How To Nail These
Cooking candy can feel like a high stakes game but I have already done the legwork for you. Follow these rules and you will have perfect bars every single time.
- The Stir Is Real: You have to stay at the stove for the full four minutes. If you walk away to check on the dogs or grab a coffee the sugar will burn on the bottom of the pan and ruin the whole batch.
- The Paper Handle: Do not just lay the parchment paper in the pan. Leave a few inches hanging over the sides like little handles. Since these bars are incredibly sticky you will want to lift the whole block out before you even think about cutting them.
- The Quick Press: Once the peanuts go in you have to move fast. This mixture starts to set as it cools so get it into the pan and smoothed out immediately while it is still glossy and workable.
- The Sharp Edge: Use a heavy chef knife to cut these. If the bars are sticking to the blade just wipe it with a little bit of butter or oil between cuts to get those clean and professional bakery edges.
Candy Bar Confessional: Your Burning Questions Answered
I know some people are afraid of the syrup bottle but this is not the place for honey or maple syrup. Those swaps are delicious on pancakes but they do not have the right sugar structure to create that specific stretchy chew. If you want a real Eat More bar you have to stick with the dark corn syrup.
If your bars are acting more like a dip than a candy bar you probably did not let the mixture simmer long enough. That four minute window is when the magic happens and the texture tightens up. If this happens just keep them in the freezer and tell everyone they are intended to be frozen fudge treats.
You can try it but I do not recommend it. We are already adding two massive cups of whole peanuts for the crunch. Using creamy peanut butter as the base ensures that the “glue” holding those peanuts together is smooth and stretchy rather than grainy.
This usually happens if the heat was too high or if you used a natural peanut butter with a lot of sitting oil. Keep the heat at a steady medium and keep that spoon moving. If you see a little oil just keep stirring vigorously as it cools and it will usually incorporate back into that glossy dream.
How To Serve (And How Not To Share)
While eating these warm directly from the pan is a valid life choice there are better ways to enjoy the full Canadian experience.
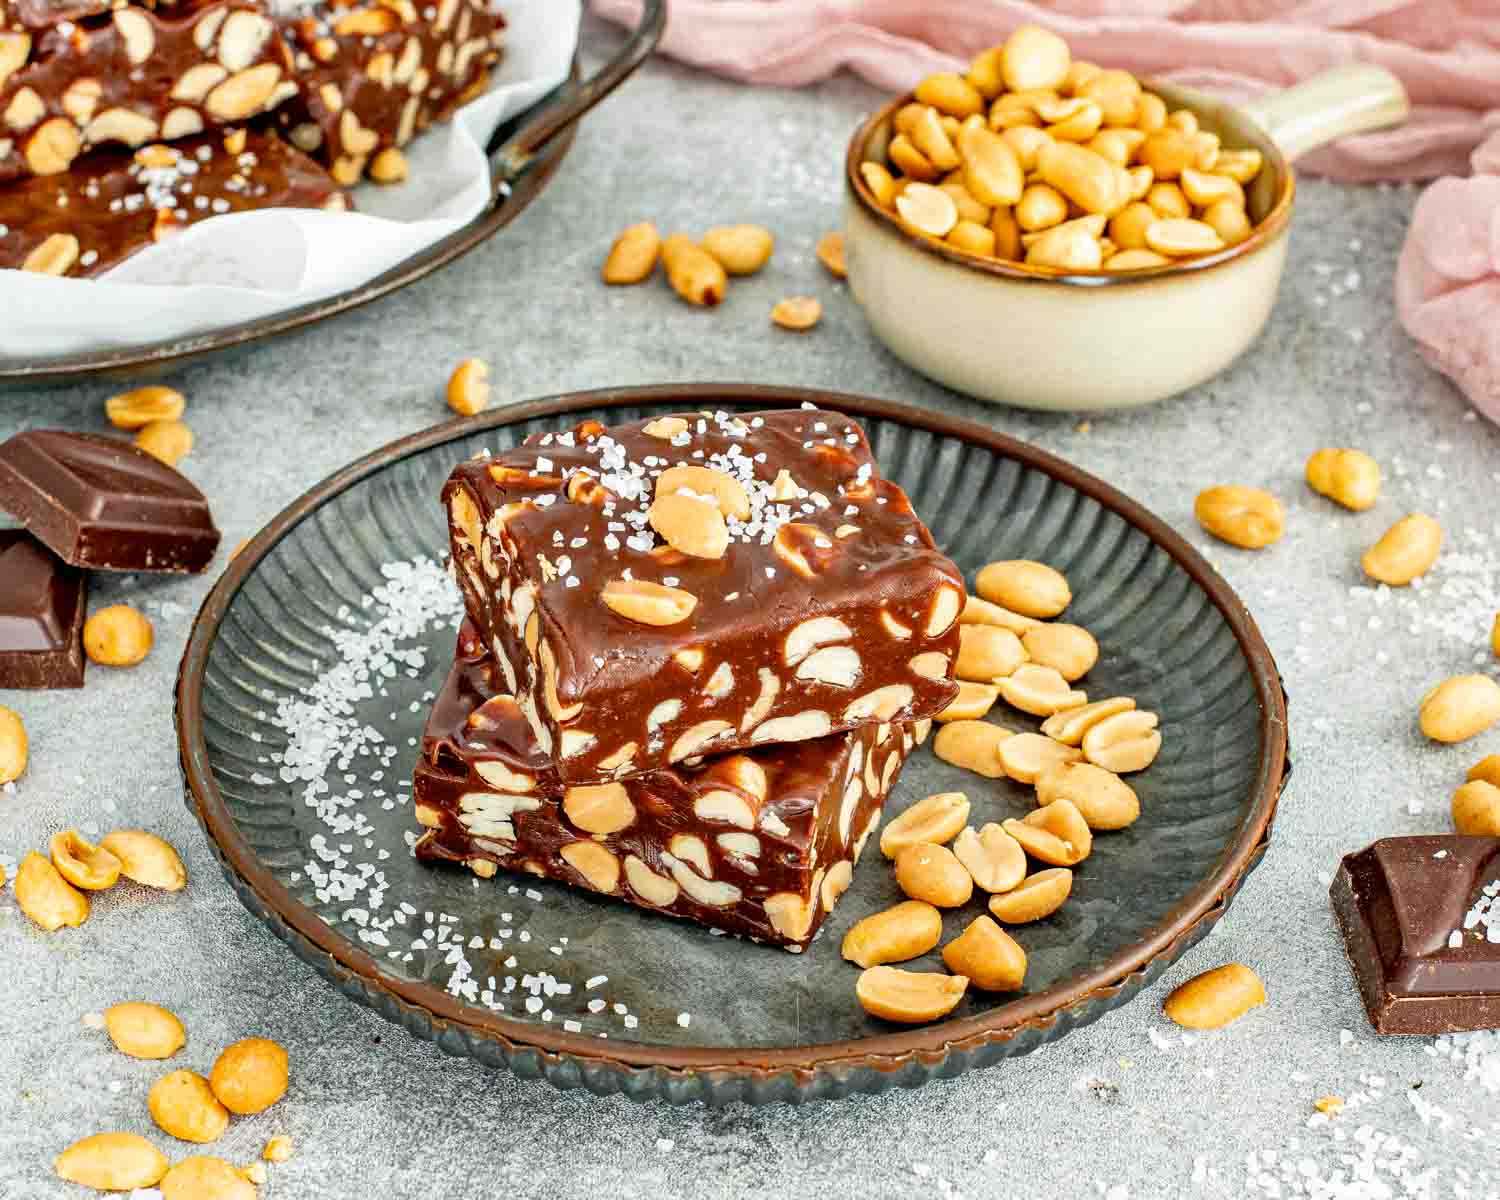
- The Temperature Sweet Spot: These bars are at their peak chewiness at room temperature. If you keep them in the fridge let them sit on the counter for ten minutes before you bite in unless you are looking for a real workout for your jaw.
- The Salty Pairing: Since these are rich and dark they pair perfectly with a cold glass of milk or a very strong black coffee. The bitterness of the coffee cuts right through that sweet toffee and makes it impossible to stop at just one.
- The Stealth Move: If you are living on an acreage like I am you know that the sound of a parchment paper crinkle can be heard from a mile away. If you want to keep these for yourself I suggest cutting them while the dogs are outside or while the rest of the house is asleep.
- The Gift Factor: These bars are sturdy which makes them perfect for sharing. Wrap them in a little wax paper and tie them with some twine for a homemade gift that looks much more expensive than a gas station snack.
The Step By Step (What To Look For)
1. The Hot Simmer
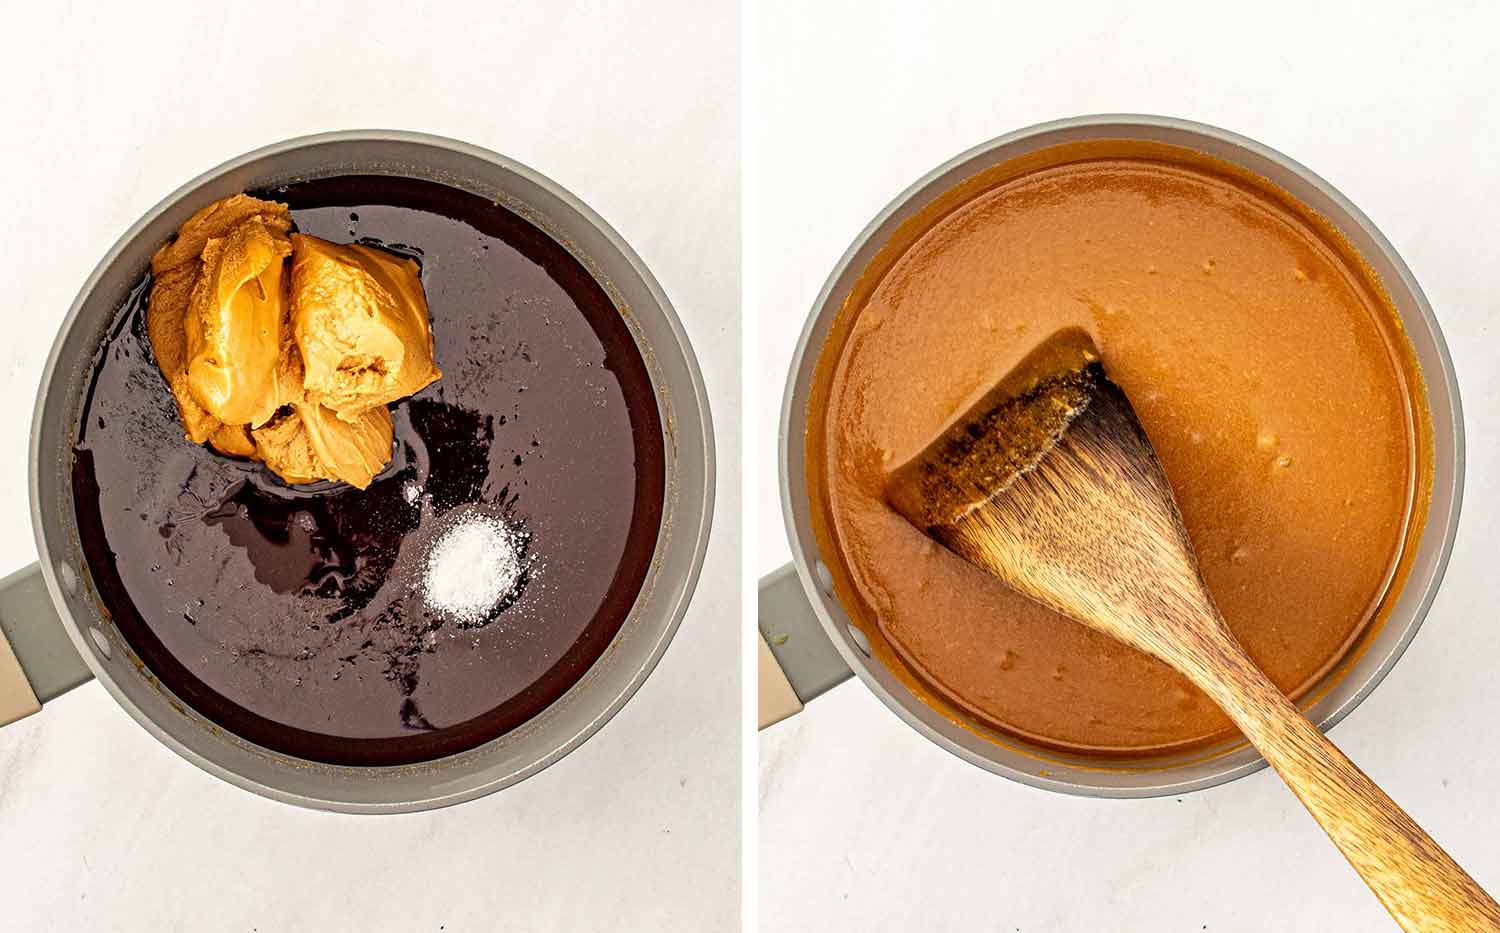
When you first heat the syrup and stir in the peanut butter it will look thin and very liquid. Do not panic. This is just the base layer. You want it to be hot and just starting to bubble before you move to the next step.
2. The Chocolate Melt
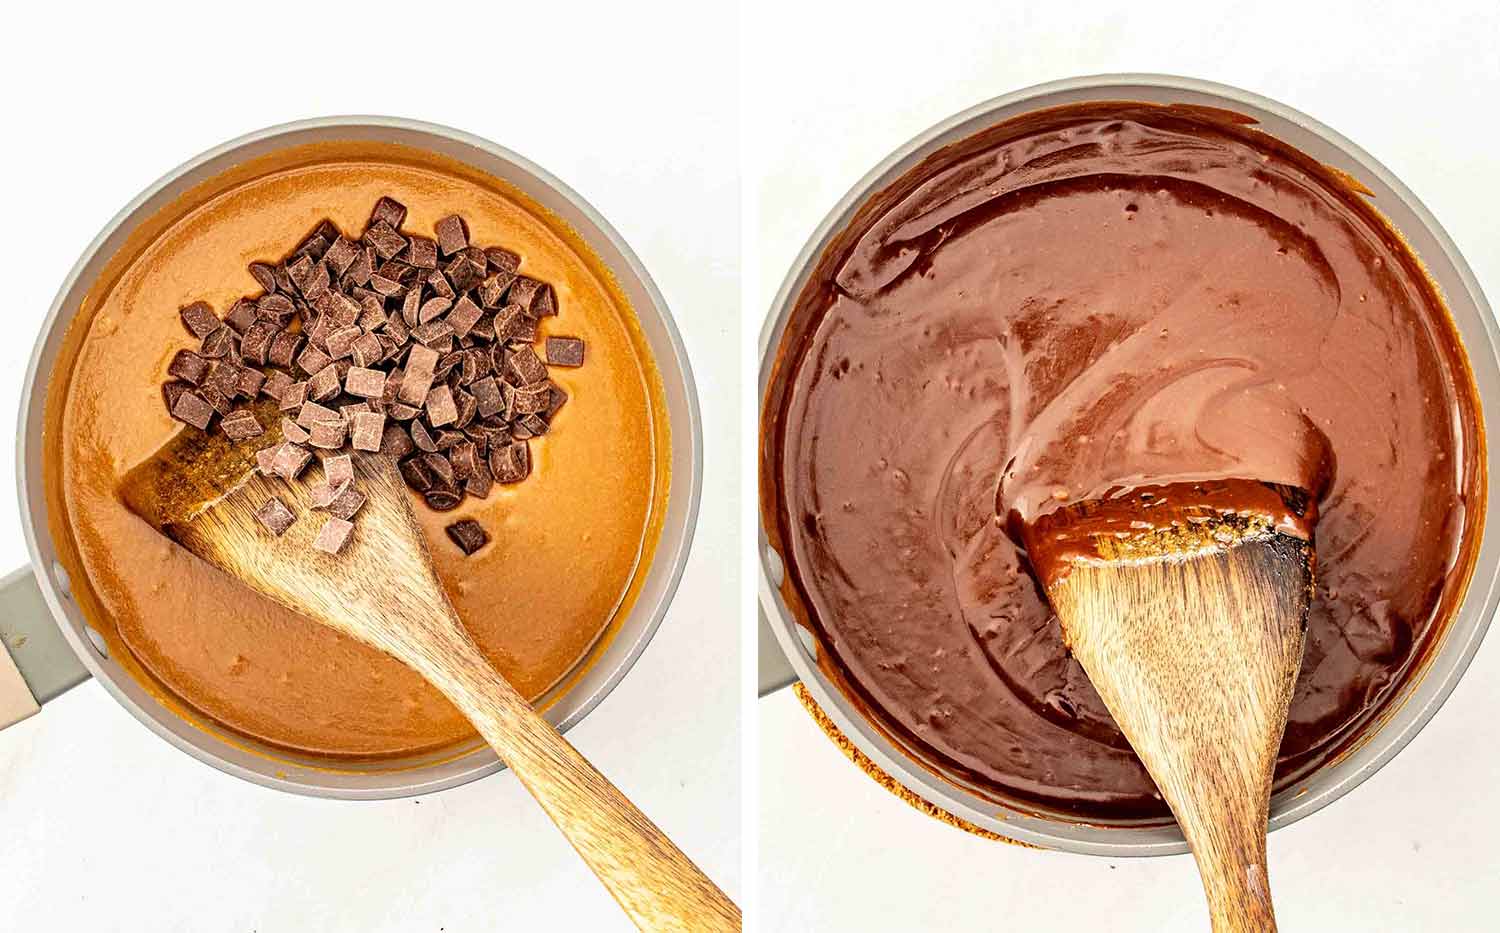
Once those chocolate chips hit the pan the mixture will turn a deep dark brown. At this point it should look like a thick chocolate sauce. Keep that spatula moving so the chocolate does not sit on the bottom and scorch.
3. The Glossy Ribbon Stage
During those four minutes of simmering you will see the texture change. It will go from a thin sauce to something that looks like thick and glossy lava. When you lift your spoon the mixture should fall in a slow and heavy ribbon that holds its shape for a second before melting back in.
4. The Peanut Fold
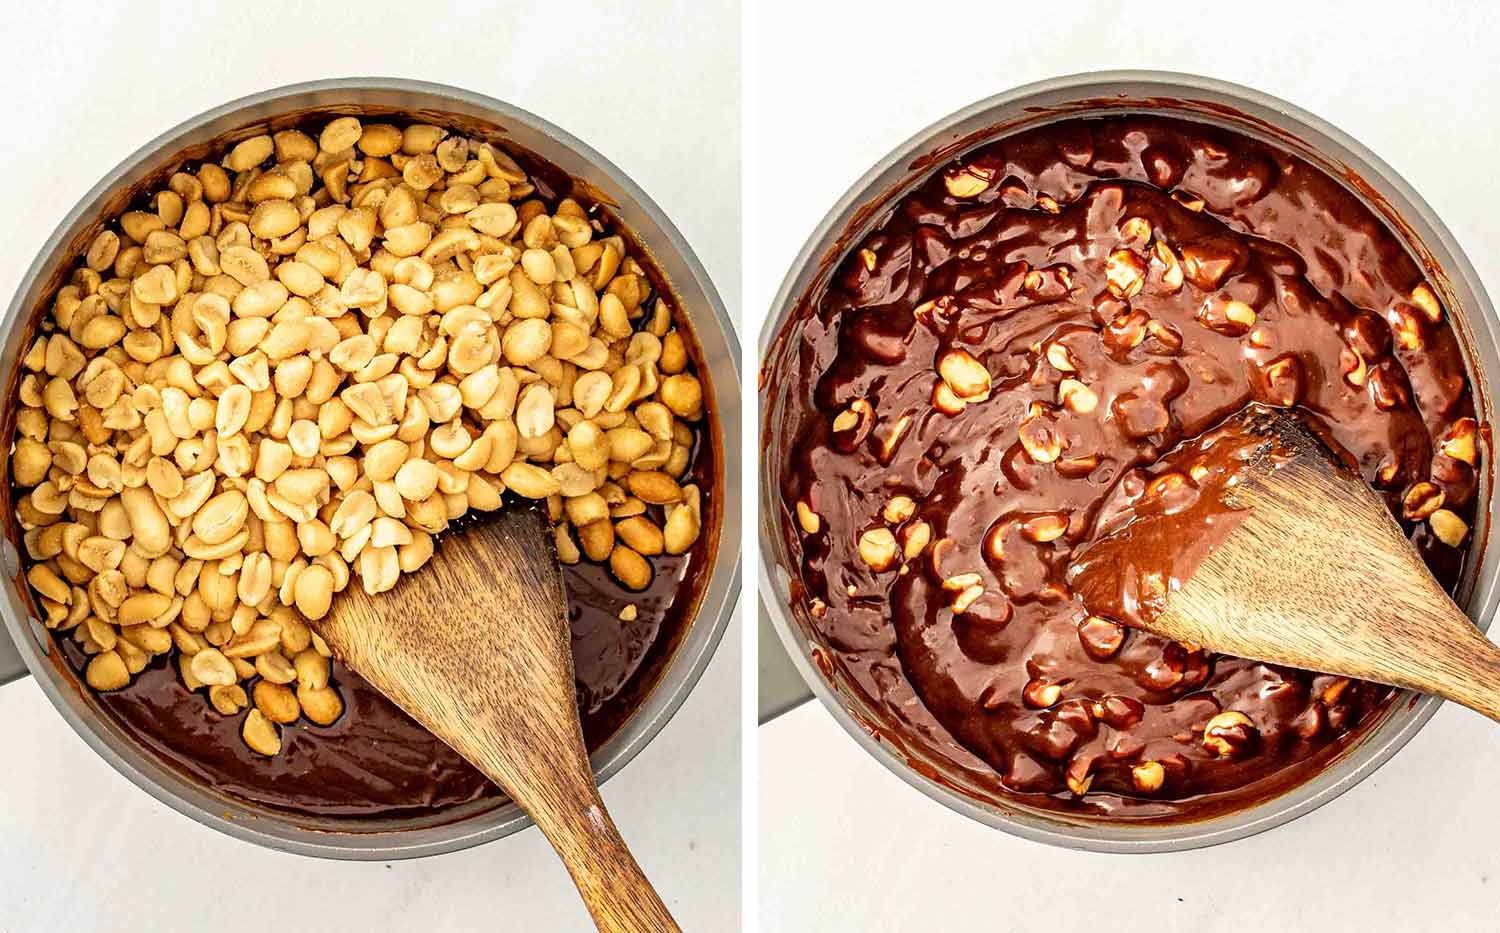
When you dump in the peanuts it will feel like a lot of nuts for the amount of sauce. Keep folding until every single peanut is coated in that dark shine. You want a massive clump of chocolatey goodness that is ready to be pressed flat.
5. The Final Set
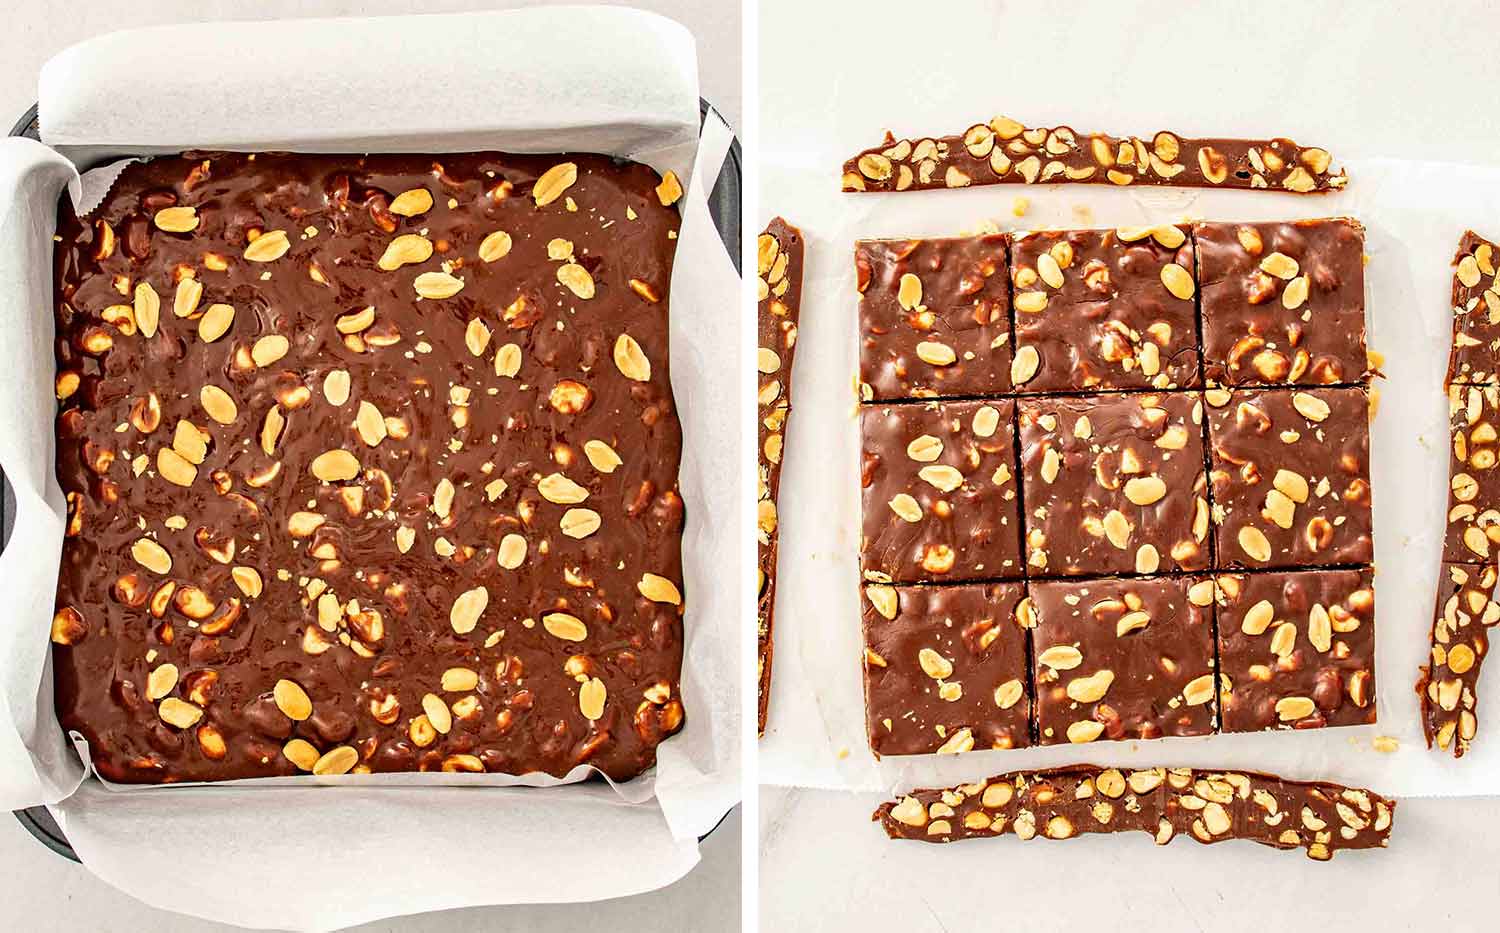
Press it into the pan firmly. You want to see a nice and even top. As it cools in the fridge that glossy shine will dull slightly into a matte finish which tells you that the toffee has set and is ready for the knife.
Try These Recipes Next
- Jumbo Bakery Style Cinnamon Rolls
- Cinnamon Roll Cookies with Cream Cheese Glaze
- Lunch Lady Bars
- Oatmeal Jam Bars
- Coconut Cream Pie Bars
Eat More Bars
Ingredients
- 1 cup dark corn syrup
- ¾ cup creamy peanut butter
- ¼ teaspoon salt
- 1 teaspoon vanilla extract
- 2 cups roasted peanuts
- 1½ cups semi sweet chocolate chips
Instructions
- Line an 8×8 inch baking pan with parchment paper.
- In a saucepan over medium heat, add the 1 cup corn syrup and heat it until it’s hot and almost boiling. Stir in the ¾ cup peanut butter, ¼ teaspoon salt and 1 teaspoon of vanilla extract.
- Stir constantly and cook for 2 minutes before stirring in the chocolate chips. Cook this mixture gently for 4 minutes, stirring constantly and scraping the bottom of the pan as it cooks.
- Remove from heat and stir in 2 cups roasted peanuts and mix until the peanuts are fully coated in the mixture.
- Immediately press the mixture firmly into the prepared pan and smooth the top.
- Refrigerate for 1 hour or until set, then cut into bars.
Recipe Notes
- The Dark Syrup Rule: You must use dark corn syrup to get that deep and moody molasses flavor. Light syrup will work for the texture but you will miss out on the signature Eat More taste.
- The Processed PB Secret: Stick to standard creamy peanut butter like Jif or Skippy. Natural peanut butter has too much oil and will cause the bars to separate and become greasy.
- The Four Minute Timer: Do not guess the cooking time. Use a timer for the four minute simmer once the chocolate is added. This is the exact window needed to develop the stretch without making the bars too hard.
- The Clean Cut: For the best results let the bars sit at room temperature for ten minutes after taking them out of the fridge. Use a large and sharp chef knife to slice them into bars for clean and professional edges.
- Storage Tips: These bars keep beautifully in an airtight container at room temperature for up to one week or in the fridge if you prefer an extra firm and cold chew.


Leave a Reply