
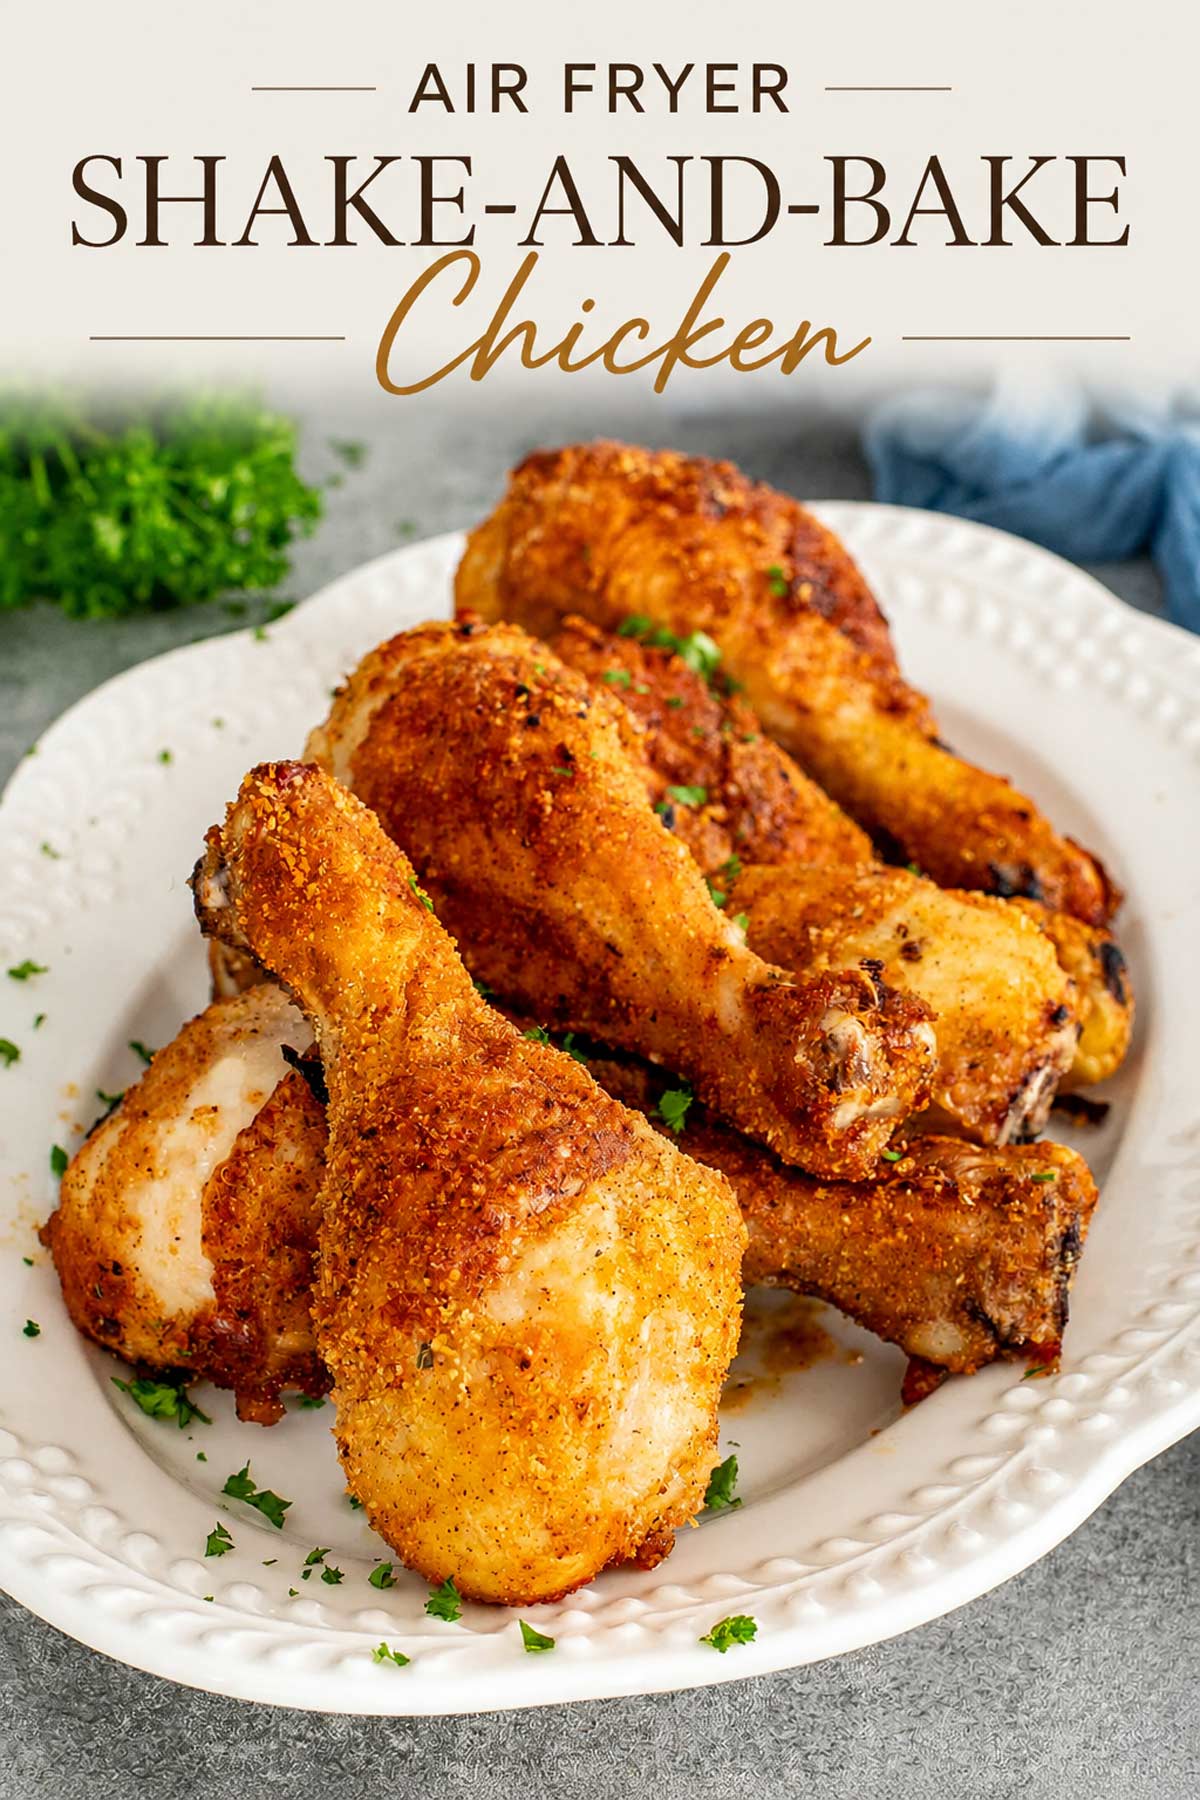
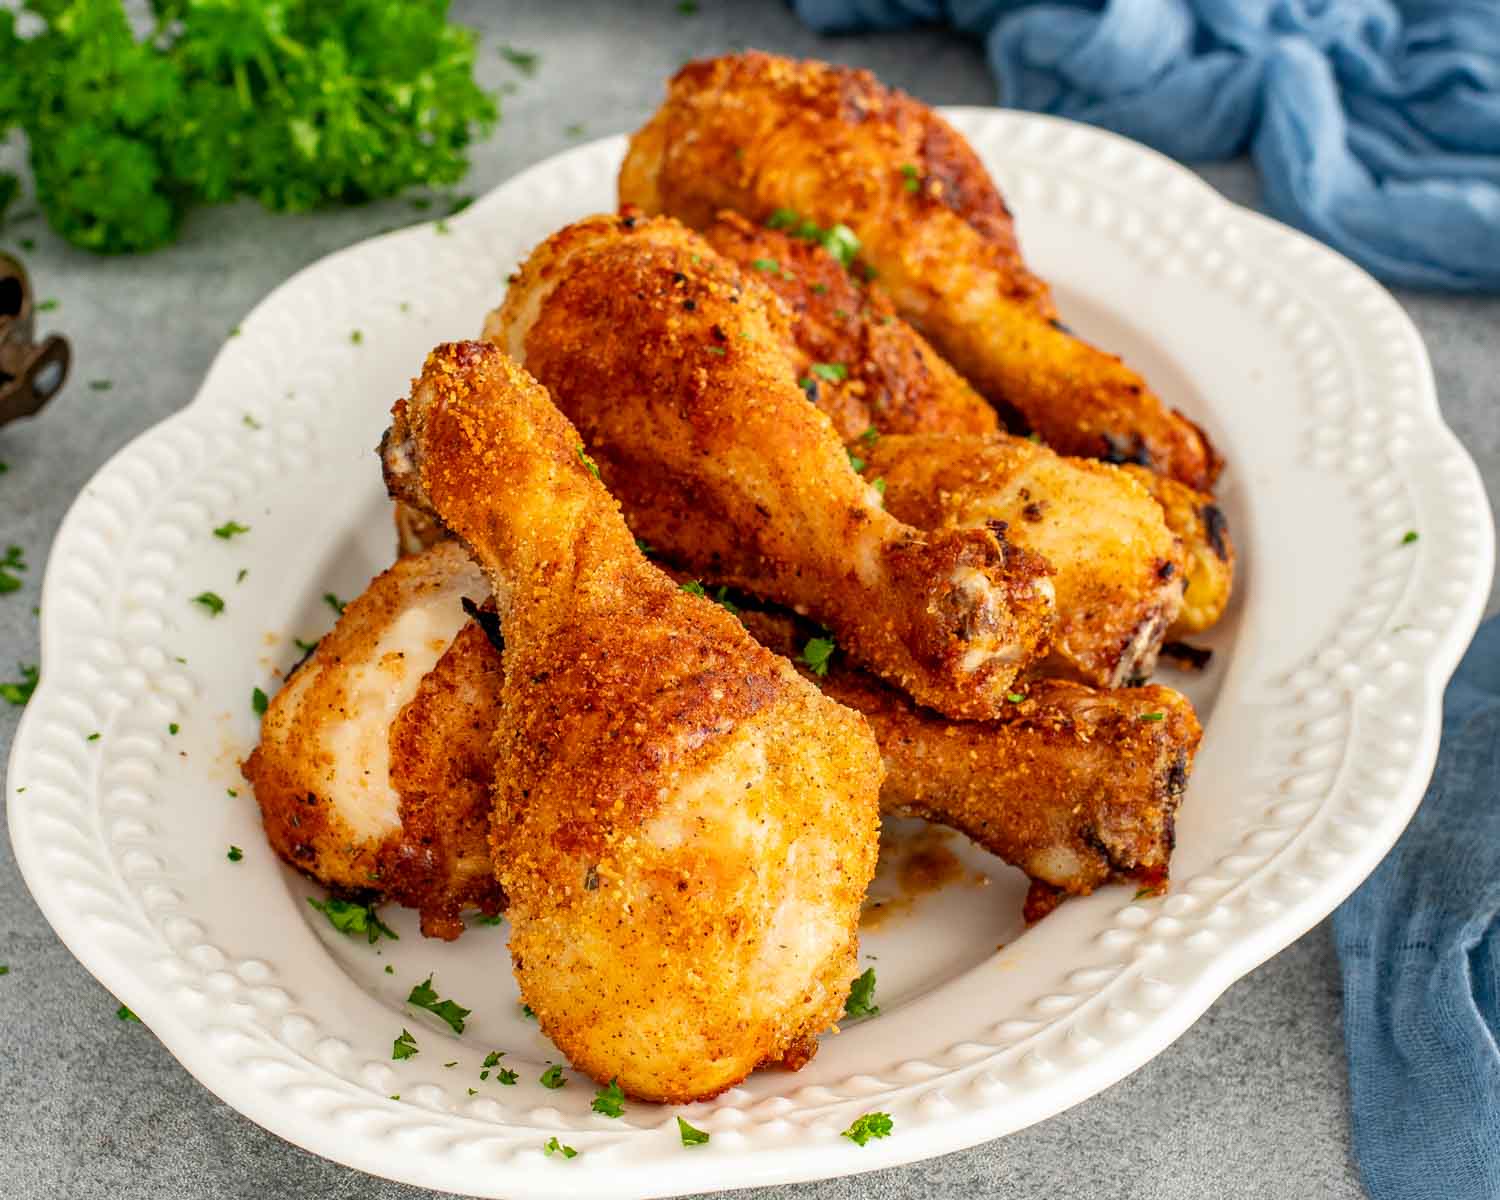
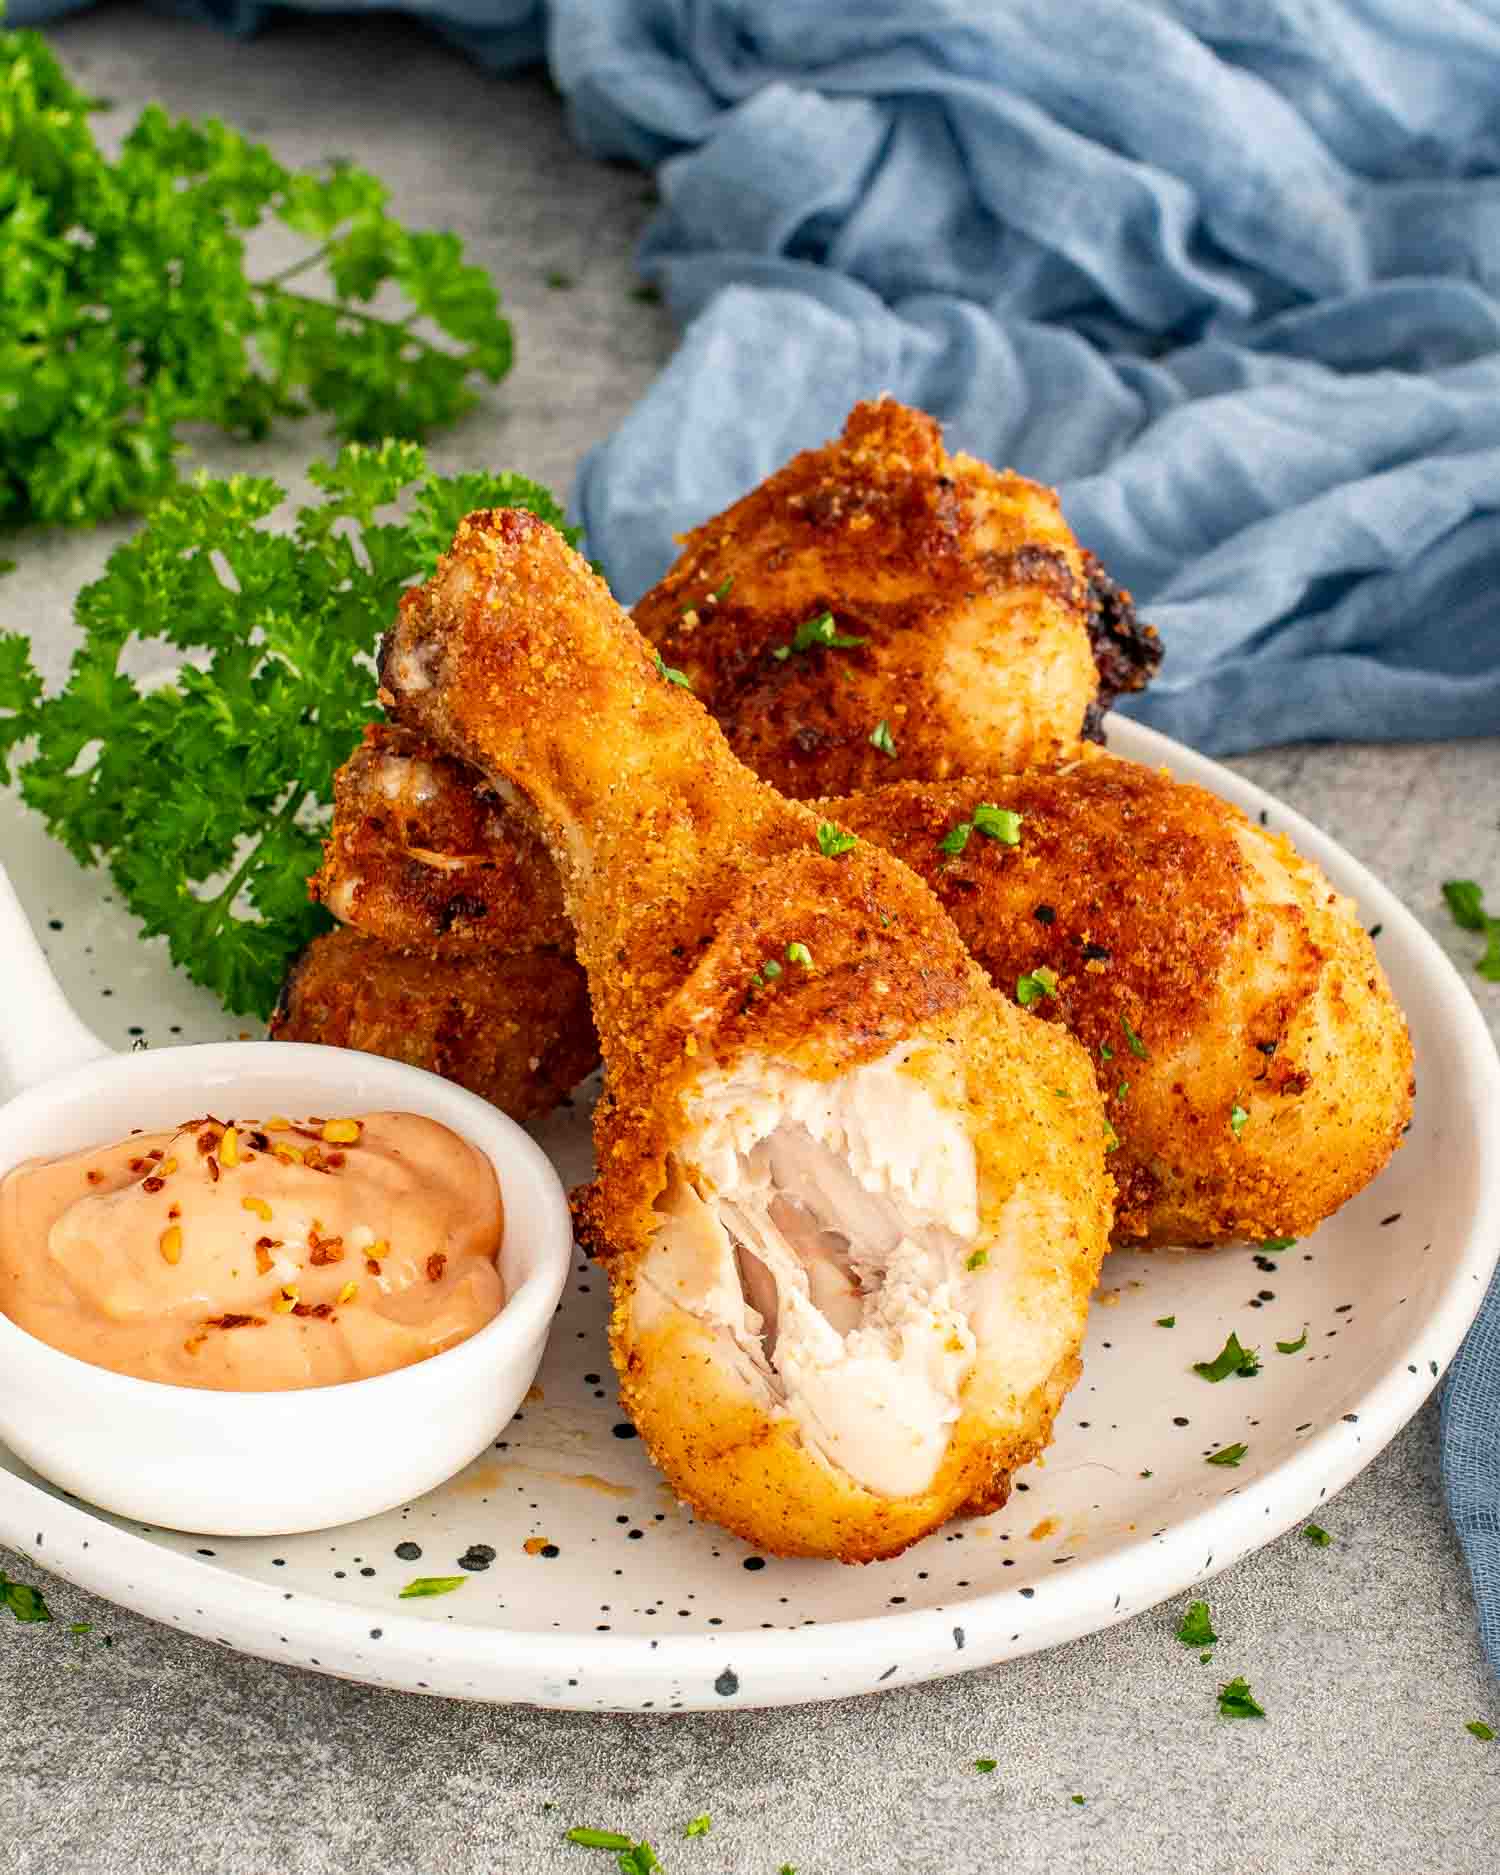
This Air Fryer Shake-and-Bake Chicken has a crispy Parmesan breadcrumb coating, juicy chicken underneath, and takes about 35 minutes from start to finish. It’s the childhood classic your mom made but crispier, faster, and you didn’t have to buy the packet.
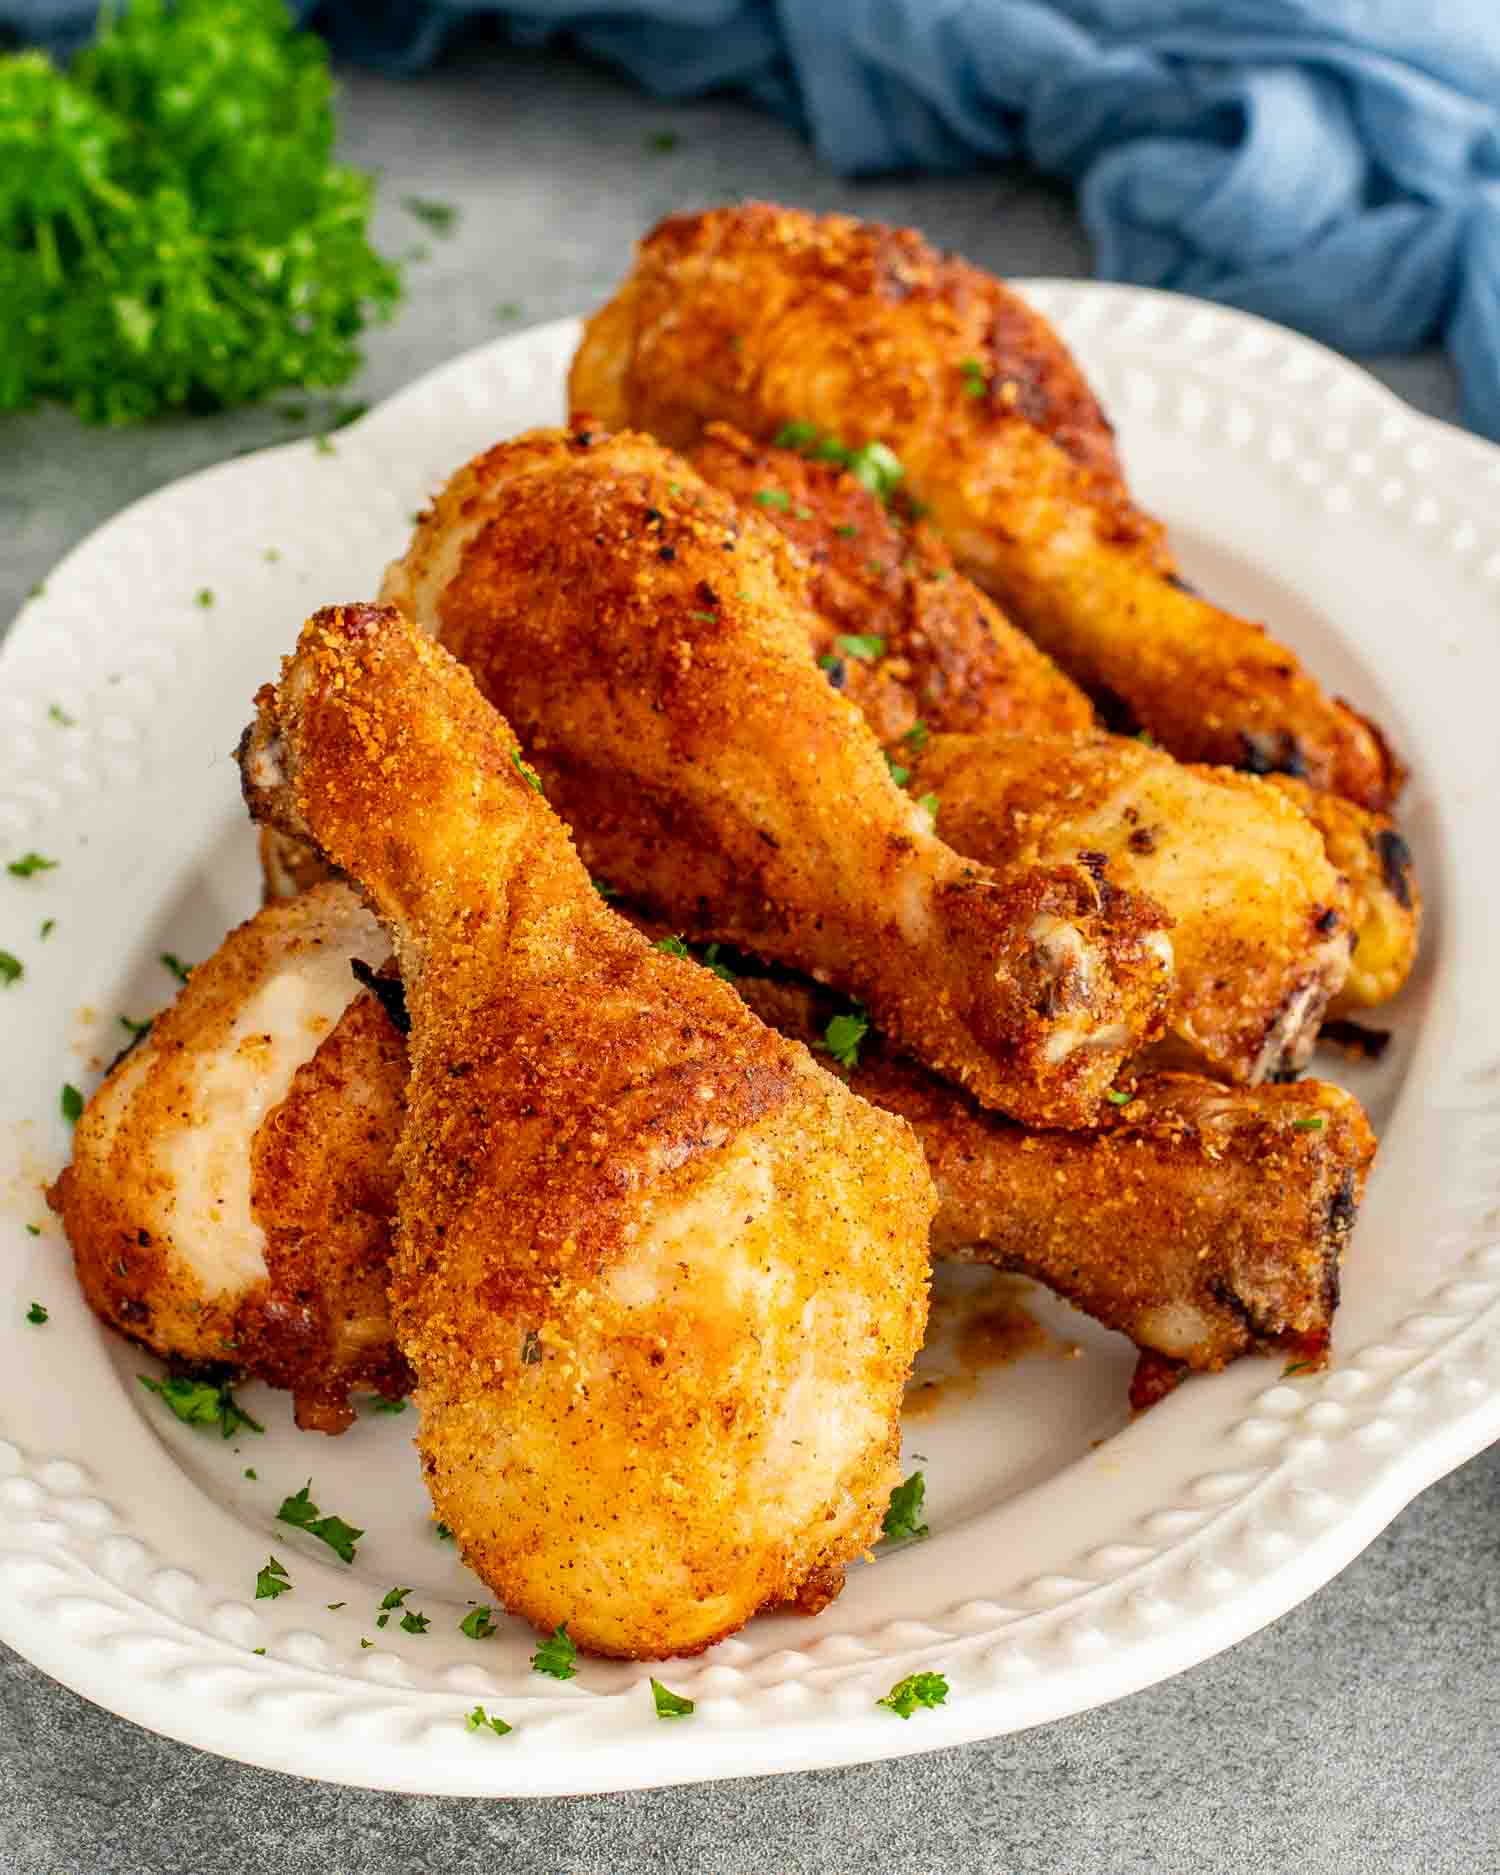
If you grew up eating Shake and Bake chicken you already know exactly what this is and you’re already interested. If you didn’t, here’s the concept. You coat chicken in a seasoned breadcrumb mixture, bake it until crispy, and end up with something that tastes like fried chicken without any of the frying or the oil or the cleanup situation that comes with frying.
The homemade coating here is better than the packet. I said it. Seasoned breadcrumbs, Parmesan, paprika, garlic powder, and a few other pantry staples that come together in about 2 minutes and taste significantly better than anything that comes out of a box.
The air fryer does the rest. Crispy coating, juicy chicken inside, done in about 35 minutes. No oven required, no oil required, no dramatic oil cleanup required. Just good chicken that everyone will eat without complaint, which on a weeknight is the dream.
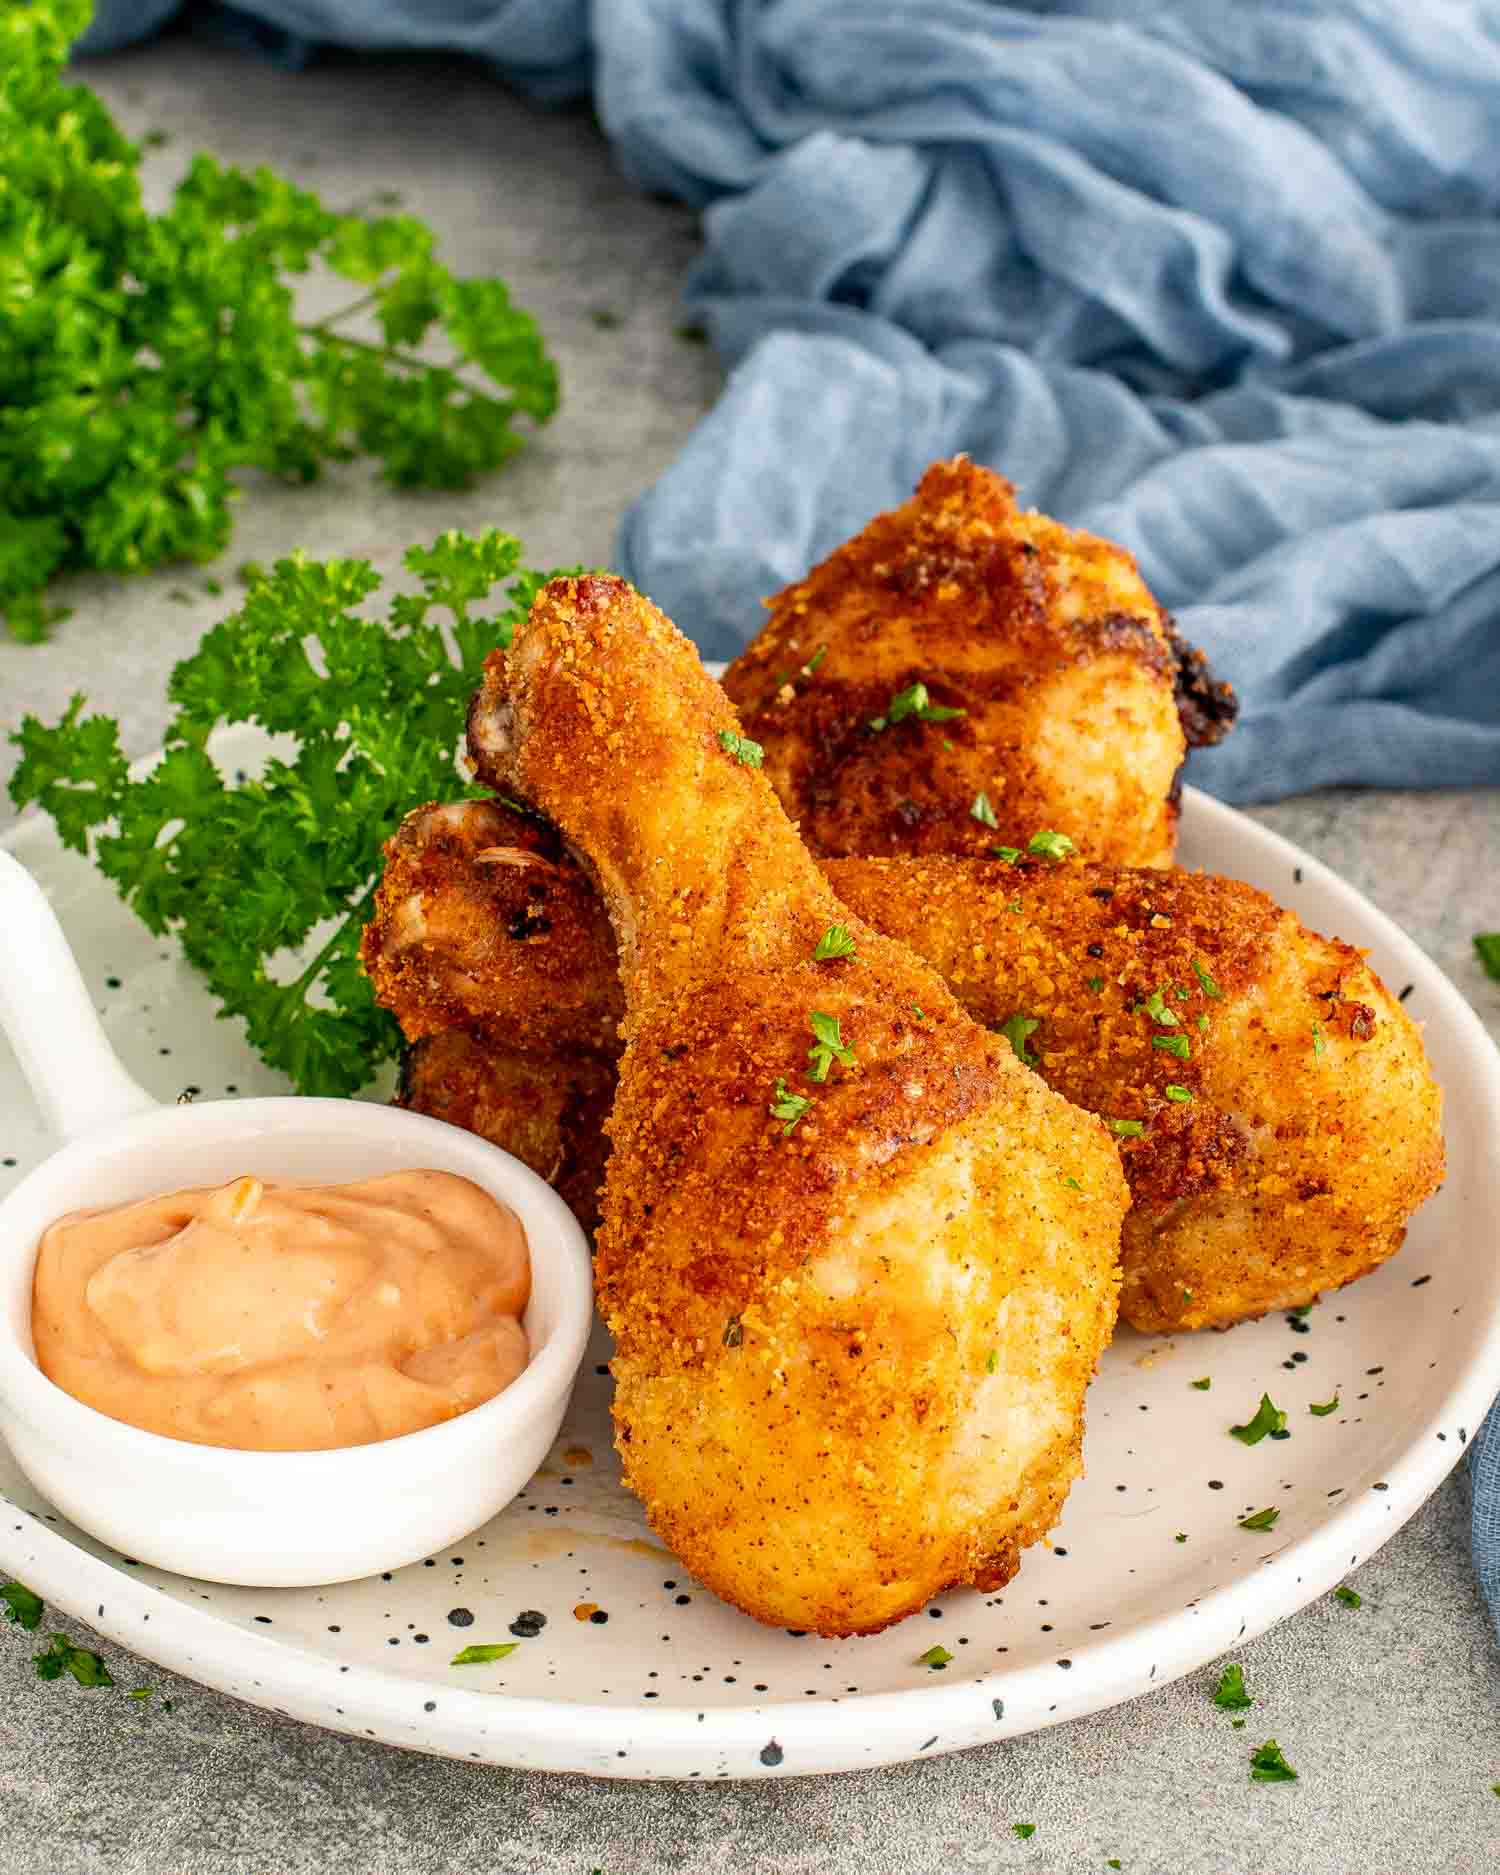
Why You’ll Love This Recipe
- It’s the nostalgia hit you didn’t know you needed. Shake and bake chicken has a very specific place in a lot of people’s childhoods and this version delivers exactly that feeling but better.
- The homemade coating is genuinely superior to the packet. More flavor, no mystery ingredients, takes 2 minutes to mix together.
- The air fryer gives you a crispier chicken than the oven. The circulating hot air gets the coating golden and crunchy all the way around without any flipping drama or uneven browning.
- And it’s 35 minutes. Which means dinner is on the table before anyone starts suggesting we just order pizza.
Ingredients in Air Fryer Shake-and-Bake Chicken
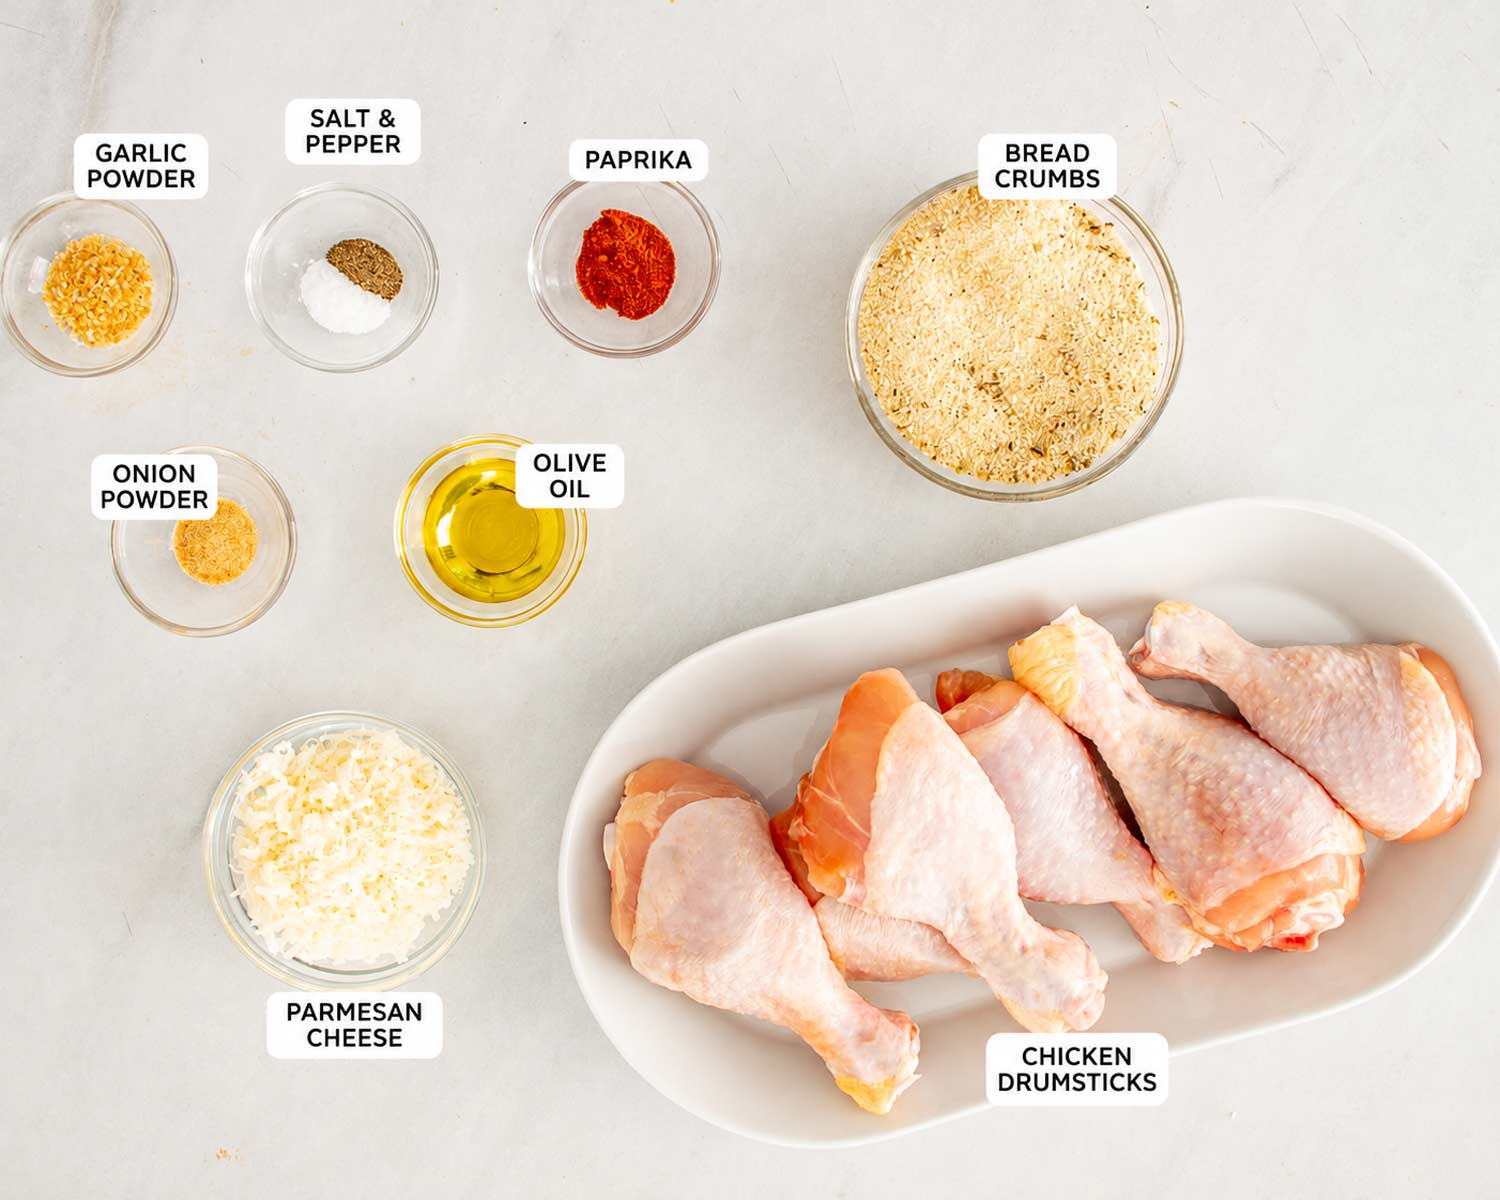
- Chicken drumsticks or thighs (2 pounds): Both work beautifully here. Drumsticks are classic shake and bake territory and kids love them. Thighs are juicier and have more flavor. You can’t go wrong with either.
- Olive oil (1 tablespoon): Rubbed all over the chicken before coating so the breadcrumbs actually stick. Don’t skip it.
- Seasoned breadcrumbs (1 cup): The base of the coating. Seasoned breadcrumbs have more flavor than plain and do a lot of the work for you.
- Parmesan cheese (¼ cup, grated): Adds a salty savory depth to the coating and helps it get extra golden and crispy in the air fryer. Don’t skip it.
- Paprika: Color and a subtle smokiness.
- Garlic powder and onion powder: The flavor backbone of the coating.
- Salt and black pepper: Season properly. Underseasoned breadcrumb coating is a sad thing.
How to Make Air Fryer Shake-and-Bake Chicken
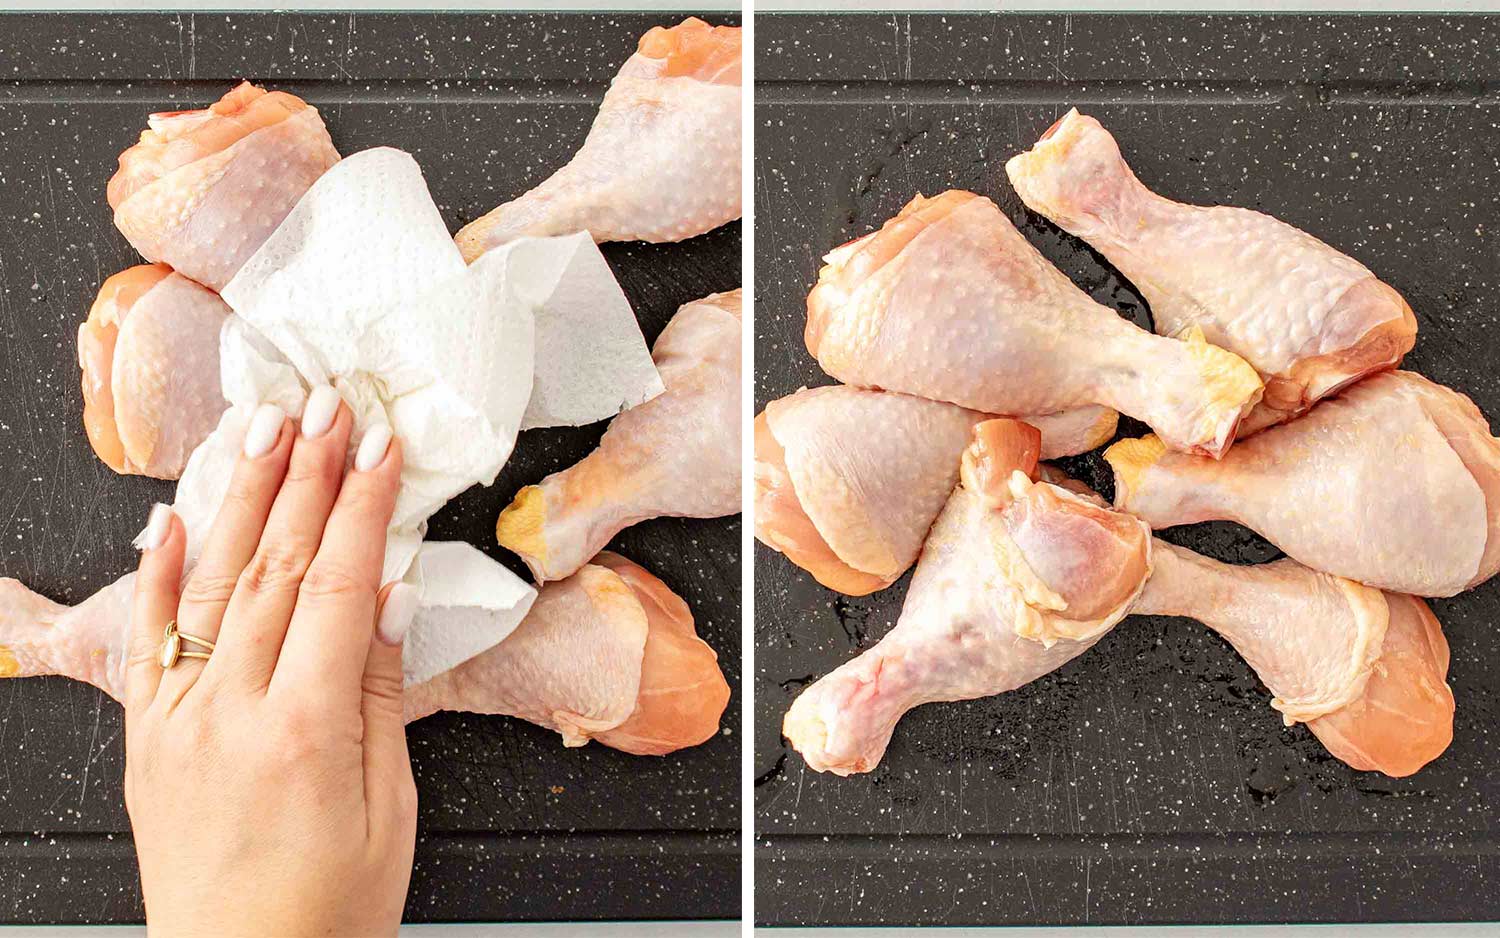
Pat the chicken dry with paper towels. This is always the first step and it always matters. Dry chicken means the coating sticks and the skin gets crispy. Wet chicken means the coating slides off and you end up with sad naked chicken.
Drizzle the olive oil over the chicken and rub it all over every piece so the coating has something to cling to.
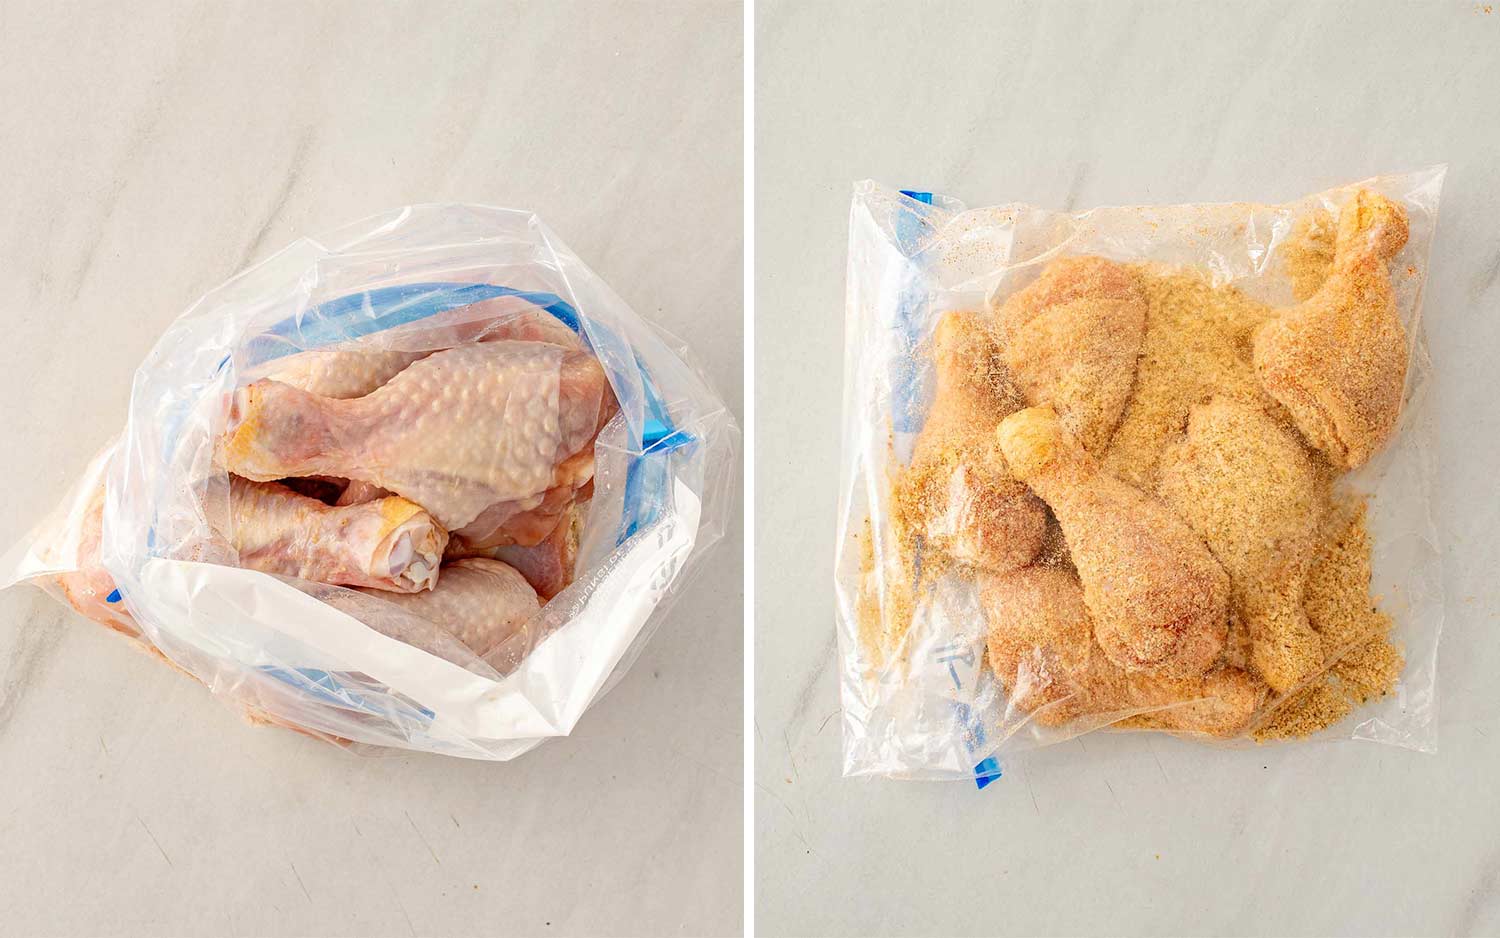
Mix the breadcrumbs, Parmesan, paprika, garlic powder, onion powder, salt, and pepper together in a large bowl or zip top bag. Add the chicken and toss until every piece is well coated, pressing gently so the crumbs really stick. This is the shaking part. It’s satisfying.
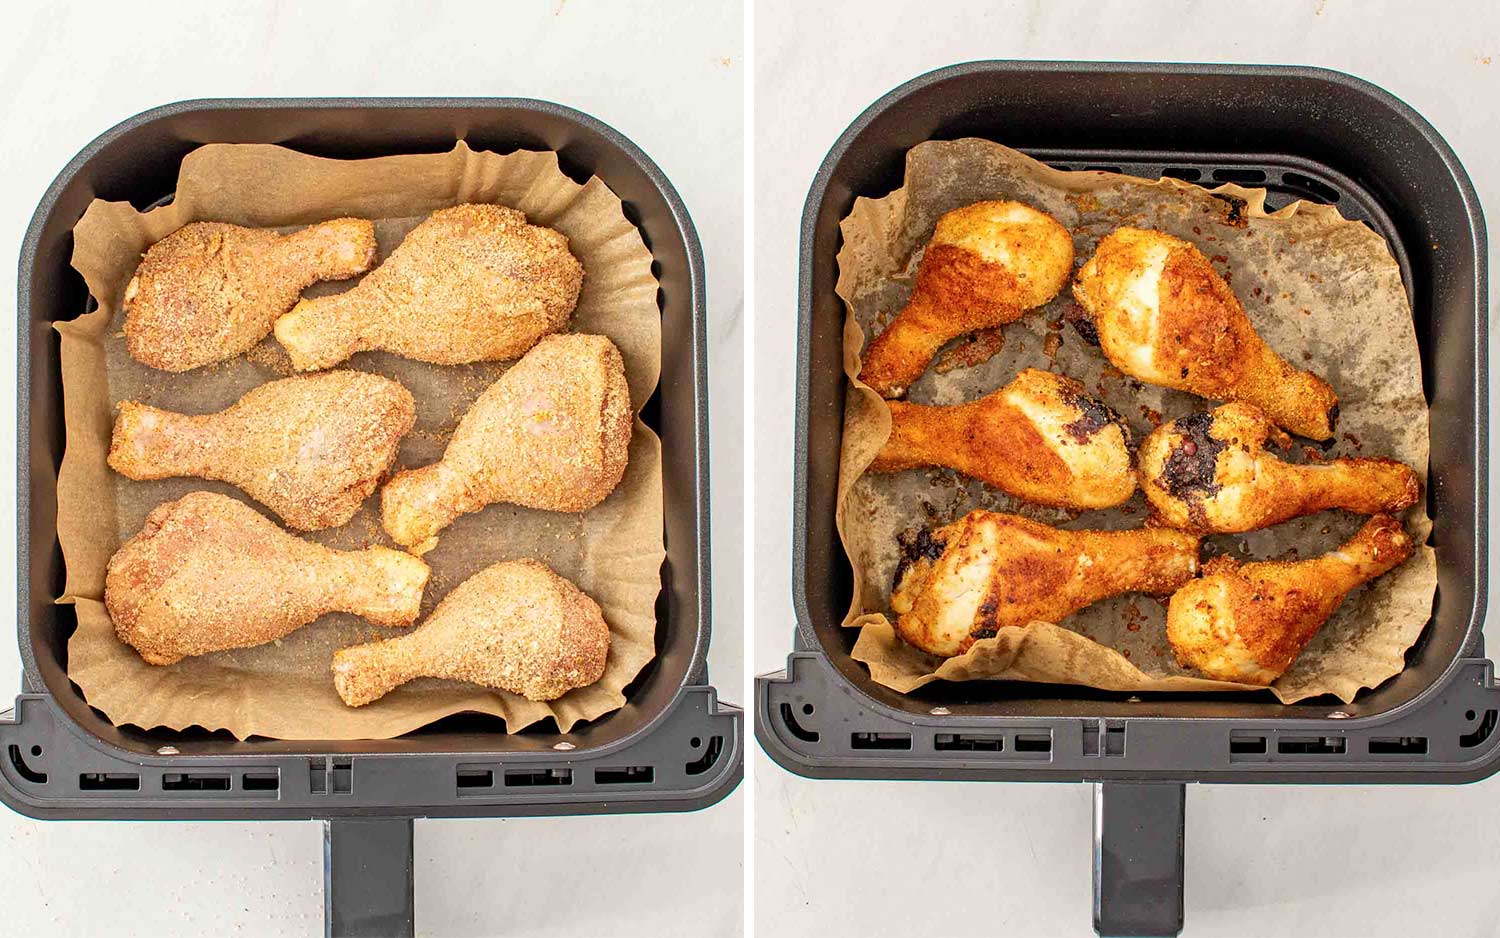
Preheat the air fryer to 380°F. Arrange the chicken in a single layer skin side up. Don’t crowd it, the air needs to circulate around each piece to get everything crispy. Cook for 12 minutes, flip, then cook for another 12 to 15 minutes until the coating is golden and the internal temperature reaches 165°F.
Let it rest for 5 minutes before serving. The juices need a moment to settle and the coating firms up slightly during the rest.
Tips and Tricks
- Pat the chicken dry. Every single time. It’s the step that makes the difference between a coating that sticks and one that doesn’t.
- Press the coating on. Don’t just toss and hope. Press the breadcrumbs gently into the chicken so they actually adhere.
- Don’t crowd the air fryer. Single layer with space between each piece. Crowding means steaming means no crispy coating and that defeats the entire purpose.
- Flip halfway through. The bottom side needs the heat too and flipping is what gets you even crispiness all the way around.
- Use a meat thermometer. 165°F is the safe pull temperature. Don’t guess, just check.
- Rest before serving. 5 minutes off the heat lets the juices redistribute and the coating firms up. Worth the wait.
Variations
- Different cuts: Bone-in skin-on chicken breasts work too, just add 5 to 8 minutes to the cook time and check the temperature. Boneless thighs work but reduce the cook time slightly.
- Spicier version: Add a teaspoon of cayenne to the coating or swap the paprika for smoked paprika and add some chili powder. Great if you want something with a kick.
- Italian style: Add a teaspoon of Italian seasoning to the coating and serve with marinara for dipping. Excellent variation that feels completely different from the original.
- Lemon herb: Add lemon zest and dried herbs like thyme and oregano to the coating. Fresh and bright and very good.
What to Serve With This
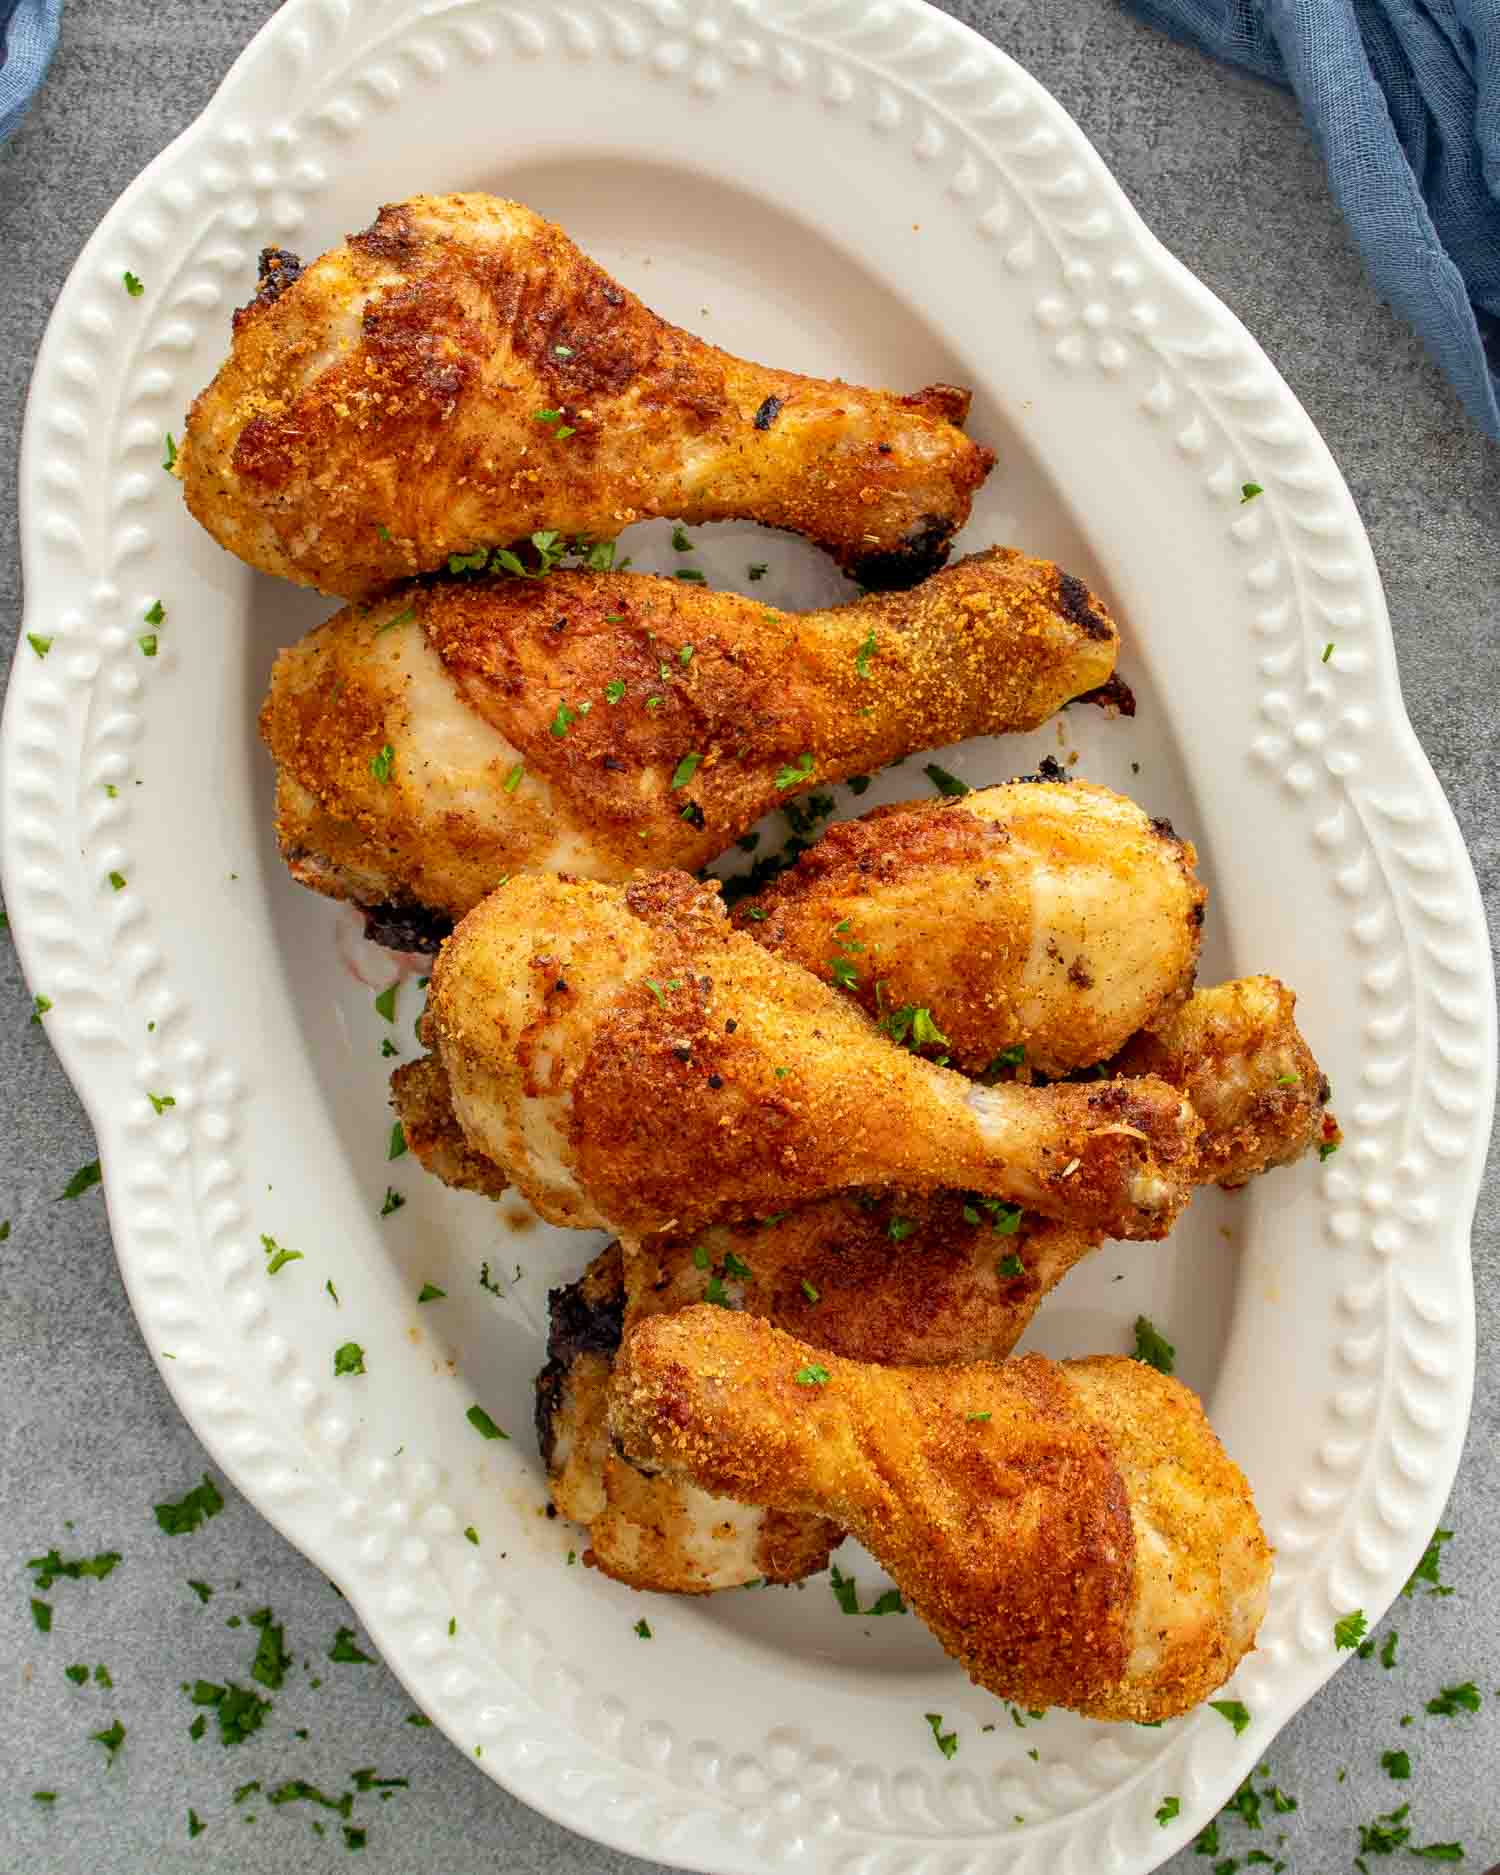
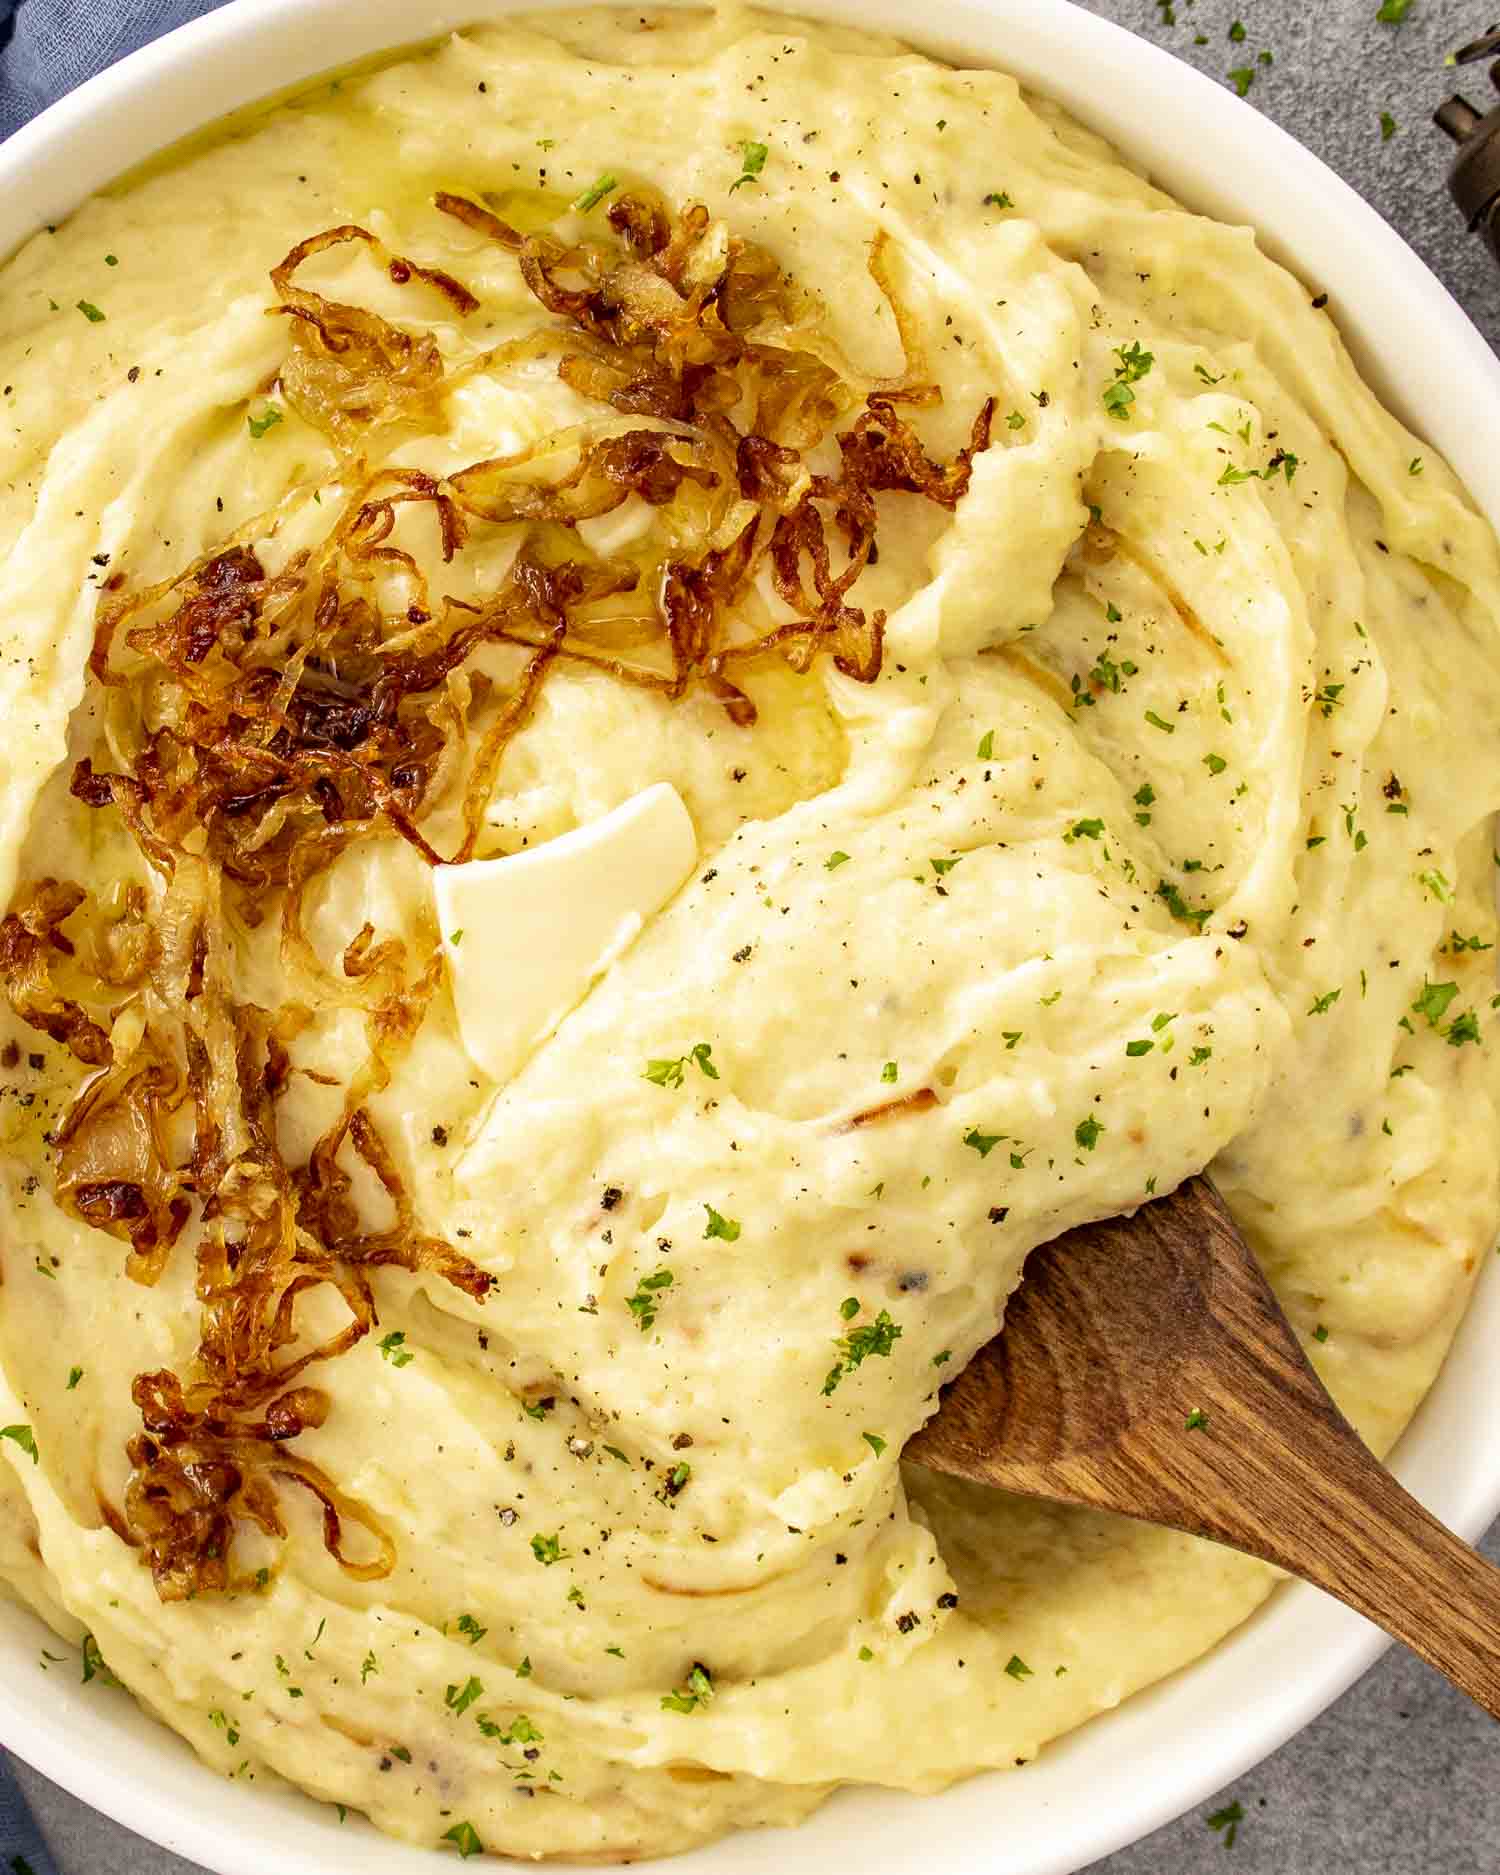
This goes with pretty much everything. Mashed potatoes and a green vegetable is the classic and correct answer. Coleslaw alongside is also excellent, the cool crunch against the crispy coating is a very good combination. A simple green salad if you want to keep it light. Or honestly just eat it straight out of the air fryer basket standing in the kitchen because sometimes that’s just what happens.
Try These Recipes Next
- Chicken Taquitos
- Crispy Zucchini Fries with Garlic Aioli
- Sticky Maple Dijon Drumsticks
- Honey Garlic Chicken Wings
- Doner Kebab
Air Fryer Shake-and-Bake Chicken
Ingredients
- 2 pounds chicken drumsticks, or thighs
- 1 tablespoon olive oil
Shake-and-Bake Coating
- 1 cup seasoned breadcrumbs
- ¼ cup grated Parmesan cheese
- 1 teaspoon paprika
- 1 teaspoon garlic powder
- ½ teaspoon onion powder
- ½ teaspoon salt
- ¼ teaspoon black pepper
Instructions
- Pat the chicken dry with paper towels. Drizzle with 1 tablespoon of olive oil and rub it all over so the coating sticks.
- In a large bowl or zip-top bag, combine 1 cup of breadcrumbs, ¼ cup of Parmesan, 1 teaspoon of paprika, 1 teaspoon of garlic powder, ½ teaspoon of onion powder, ½ teaspoon of salt, and ¼ teaspoon of black pepper.
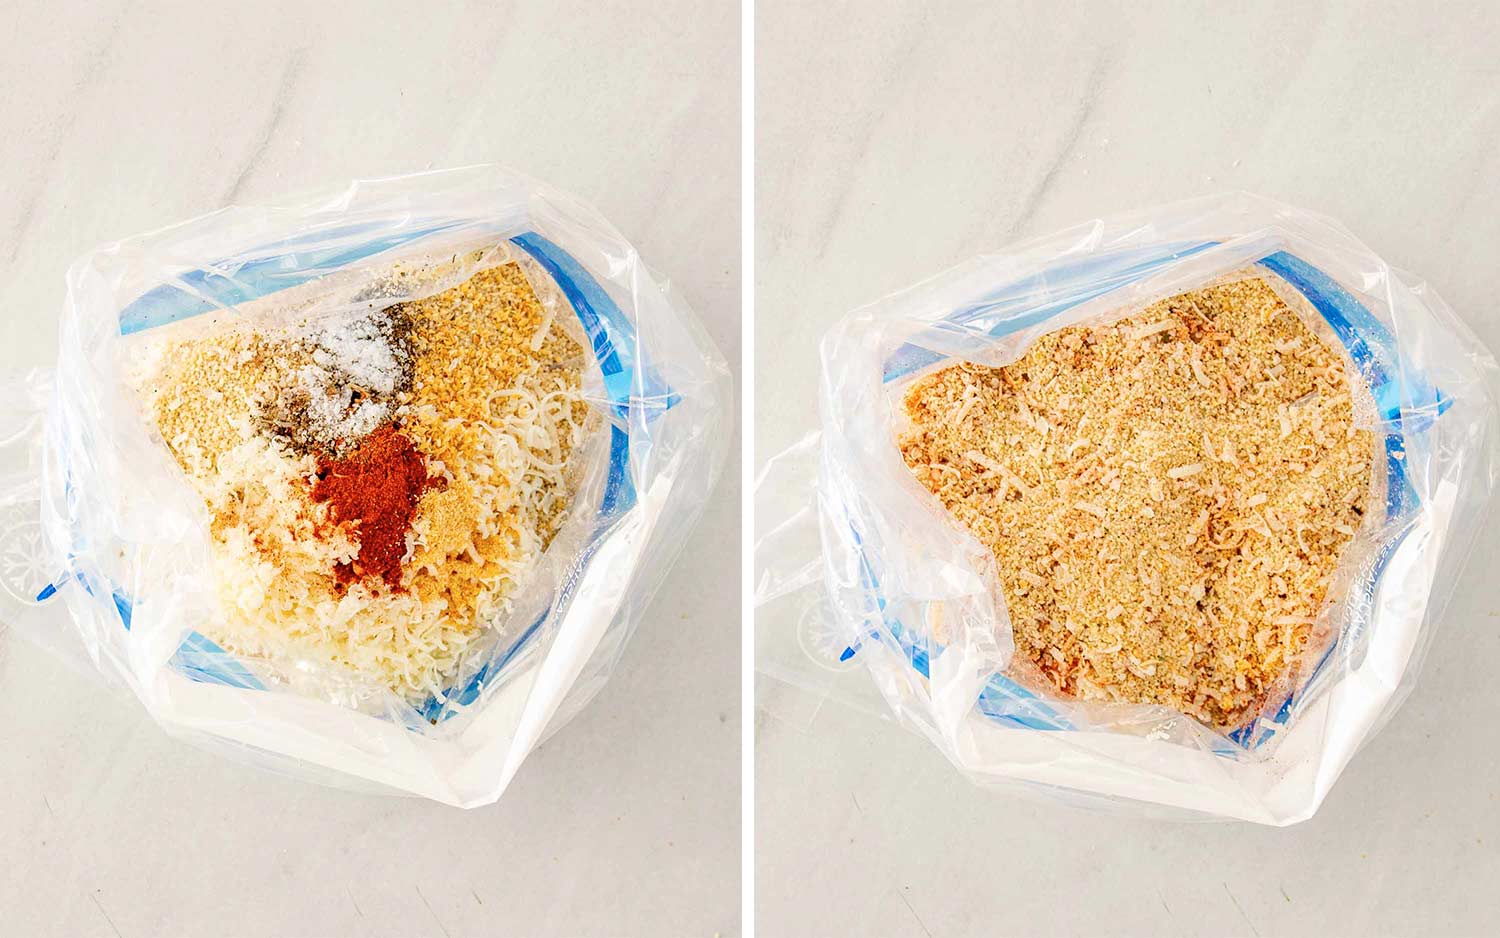
- Add the chicken to the coating and toss until well coated, pressing gently so the crumbs really stick.
- Preheat the air fryer to 380°F (193°C). Arrange the chicken in a single layer, skin-side up. Cook for 12 minutes, then flip and cook for another 12 to 15 minutes, until golden and the internal temperature reaches 165°F (74°C).
- Let the chicken rest for 5 minutes before serving.
Recipe Notes
- Pat the chicken dry: Always the first step and always matters. Dry chicken means the coating sticks and gets crispy. Wet chicken means it slides off.
- Press the coating on: Don’t just toss and hope. Press the breadcrumbs gently into each piece so they actually adhere properly.
- Don’t crowd the air fryer: Single layer with space between each piece. Crowding means steaming means no crispy coating.
- Preheat the air fryer: A cold air fryer gives you uneven results. Always preheat to 380°F before the chicken goes in.
- Flip halfway through: The bottom needs the heat too. Flipping at the halfway point is what gets you even crispiness all around.
- Internal temperature: Pull at 165°F. Use a meat thermometer, don’t guess.
- Rest before serving: 5 minutes off the heat lets the juices redistribute and the coating firms up slightly.
- Seasoned vs plain breadcrumbs: I’d use seasoned breadcrumbs here. They have more flavor built in and do a lot of the work for you. If you only have plain add more seasoning to compensate.
- Oven option: Bake at 425°F for 35 to 40 minutes flipping halfway through. The air fryer gives a crispier result but the oven works well too.
- Wings: Chicken wings work great with this coating. Cook at 380°F for 20 to 22 minutes shaking the basket halfway through.
- Leftovers: Reheat in the air fryer at 350°F for 5 to 6 minutes to re-crisp the coating. Much better than the microwave which will make it soggy.
Nutrition Information
Frequently Asked Questions
Yes, I’d reduce the cook time to about 10 minutes per side and keep a close eye on the internal temperature. Boneless pieces cook faster and you don’t want to dry them out.
Absolutely. Bake at 425°F for 35 to 40 minutes flipping halfway through. The air fryer gives you a crispier result but the oven version is still very good.
You can but I’d add more seasoning to compensate. An extra teaspoon of salt and a little more paprika and garlic powder at minimum. Seasoned breadcrumbs just have more going on and I think they’re worth using here.
Almost always one of 3 things. The chicken wasn’t dry enough before coating, the air fryer was overcrowded, or the temperature wasn’t high enough. Pat dry, give the pieces space, and make sure your air fryer is properly preheated.
The coating mixture can be made ahead and stored in an airtight container for up to a week. The chicken is best cooked fresh but leftovers reheat well in the air fryer at 350°F for 5 to 6 minutes to re-crisp the coating.




Leave a Reply